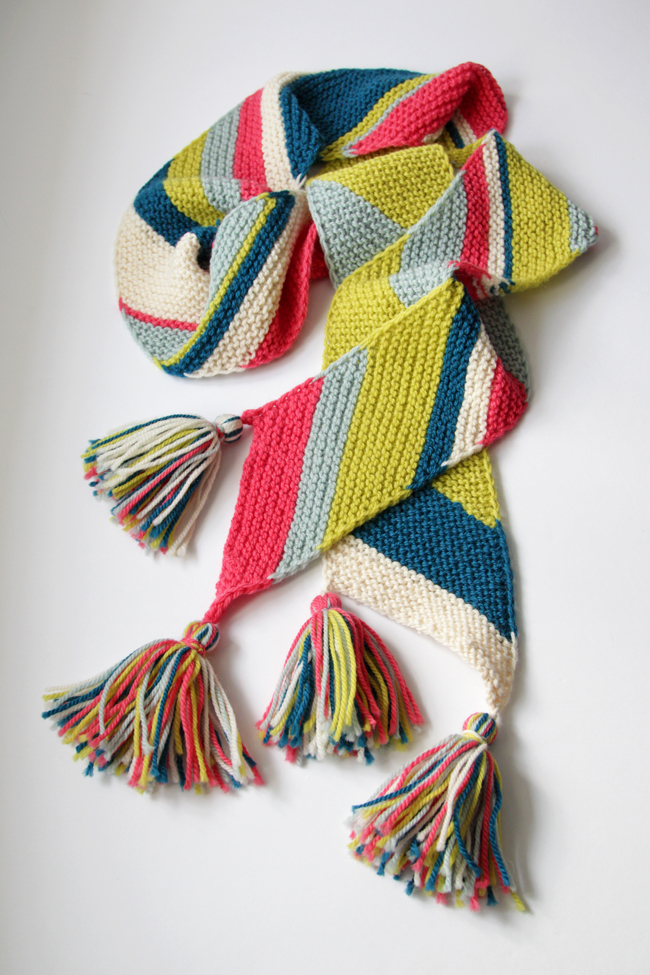
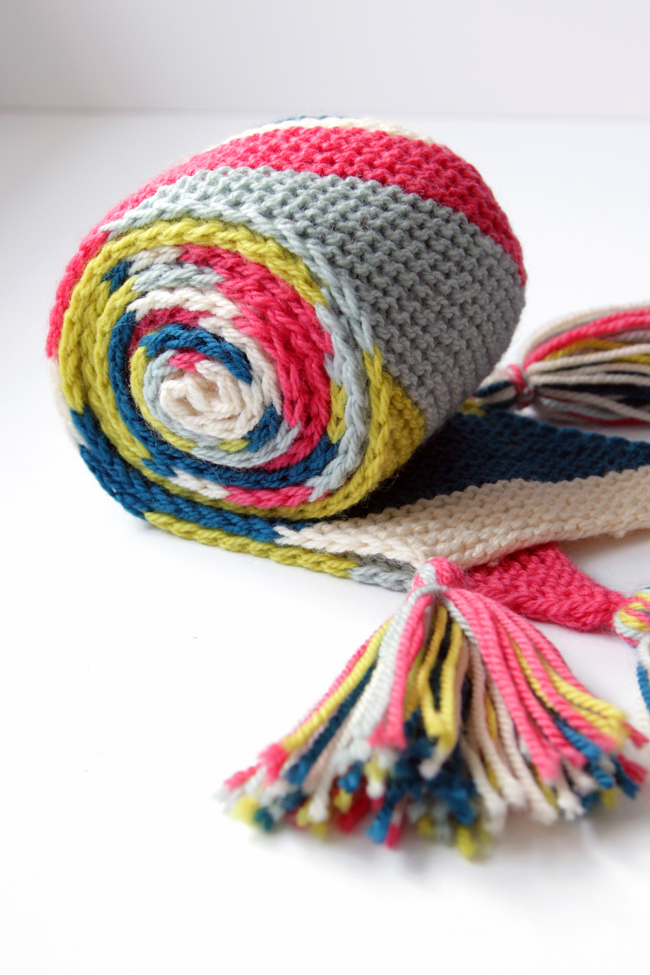
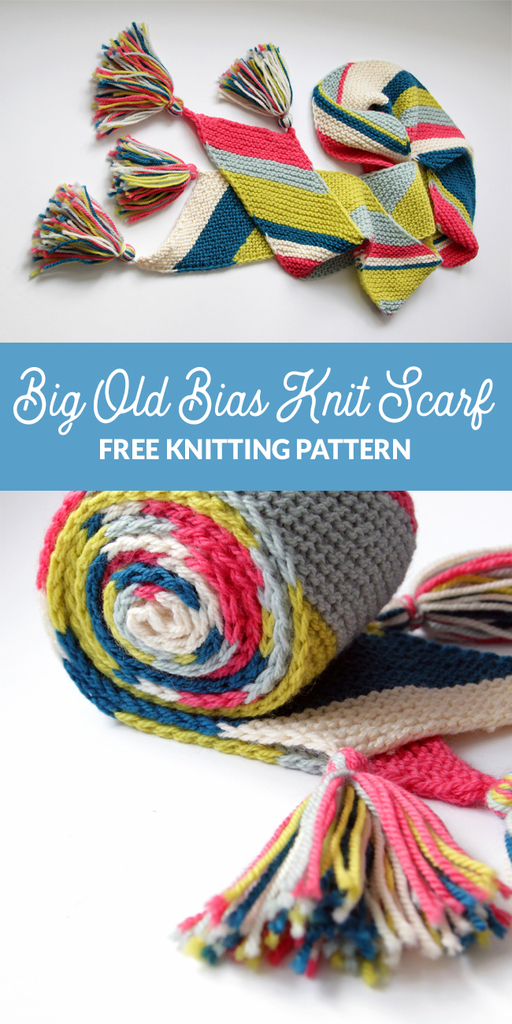
Big Old Bias Knit Scarf – Knitting Pattern
Supplies
Patons Classic Wool Worsted yarn in Seafoam, Lemongrass, Coral, Aran & Peacock (any worsted weight yarn in a variety of colors will work)
US 7 (4.5 mm) knitting needles
scissors
tapestry needle
cardboard or tassel maker
Abbreviations & Terms
CO – cast on
sts – stitches
Clr – color
RS – right side
sl – slip
wyif – with yarn in front
k – knit
WS – wrong side
M1R – make 1 right (tutorial)
k2tog – knit 2 sts together (tutorial)
rep – repeat
BO – bind off
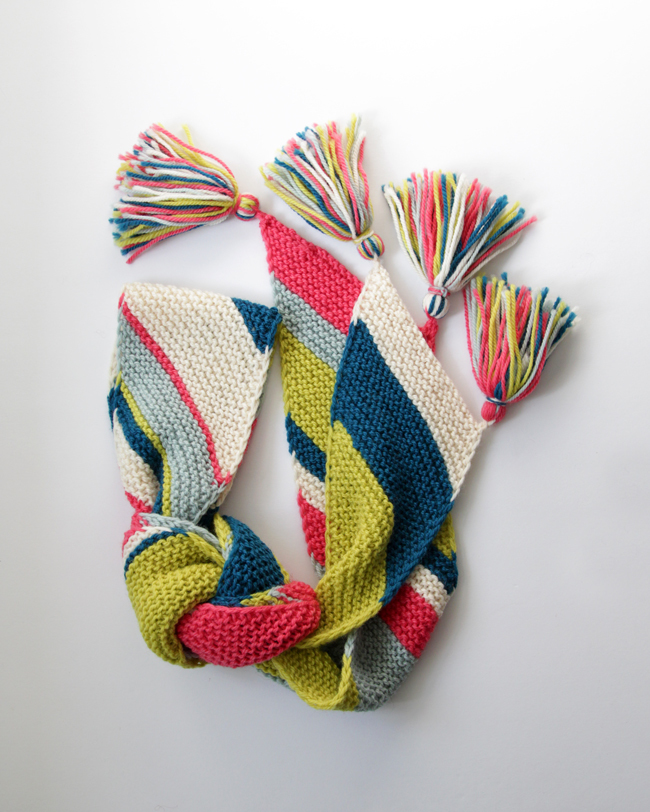
Gauge & dimensions: 20 sts & 26 rows over 4″. Finished scarf measures 5″ wide and 96″ long (not including tassels, which are 4.75″ in length).
Get a printable, ad-free PDF of this pattern here.
Tips for Success
- Before you begin, determine your color sequence, and assign them letter names A through E (or more or less if you’re working with more or fewer than 5 colors of yarn). As you work this pattern, you’ll change the color you’re working with as desired, but no matter how many rows you work of a given color, sticking to your color sequence (A B C D E A B C D E A B C D E, etc.) helps ensure a consistent look.
- To keep color changes clean on the right side of your scarf, only change the color you’re working with at the beginning of a right side row.
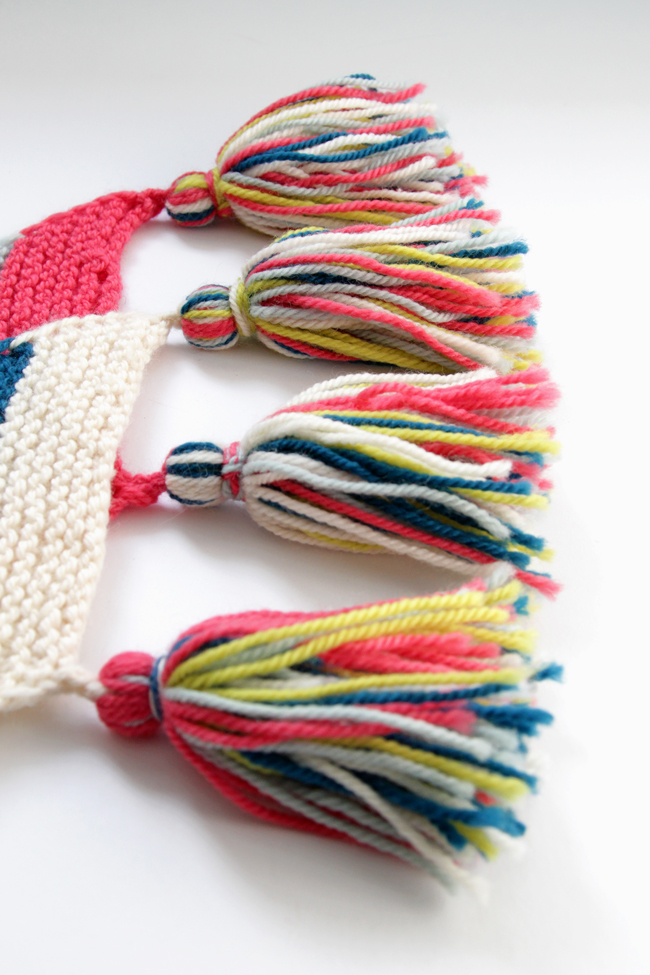
- It’s easy to make wonky tassels. I recommend watching this tutorial on how to make perfect tassels every time. Here’s another tip I use to ensure my tassels are a consistent thickness: Count the number of wraps you make around your cardboard or tassel maker. For the pictured scarf, I wrapped each color of my yarn around my 4.75″ tassel maker ten times, for a total of 50 wraps per tassel.
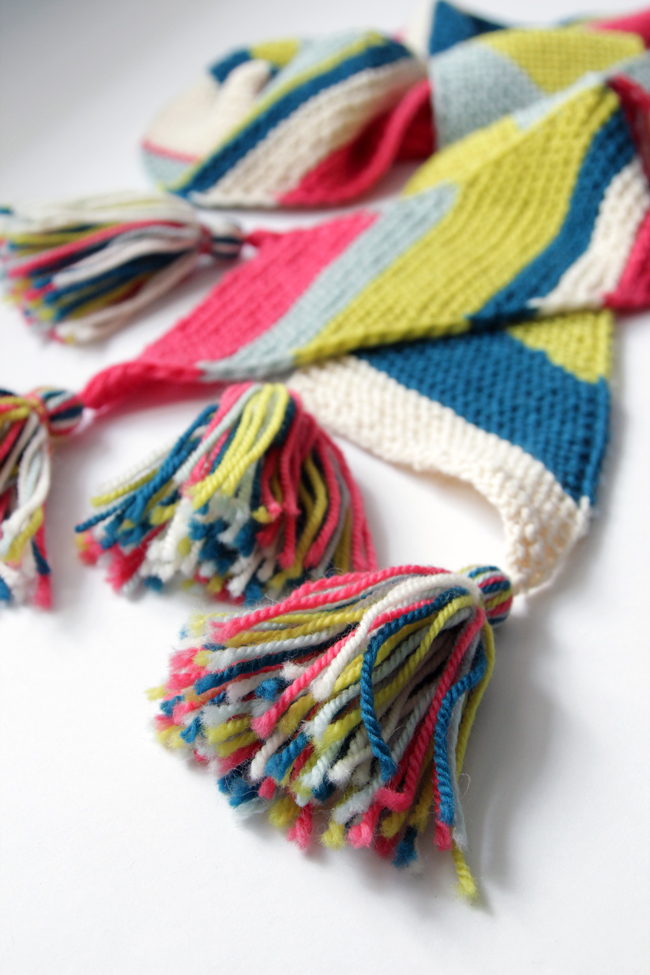
- Tie off two of your tassels with the same color yarn as your CO color (Clr A), and attach those two tassels to the CO end of your scarf. Use the BO color (Clr E if you stuck to a consistent A B C D E color repeat sequence) to tie off the other two tassels, and attach them to the BO end of your scarf. Doing this ensures that the yarn you’re using to attach your tassels to your scarf match the stripe(s) of color they’re being woven in to. You’ll notice in the photos, if you look closely, that the tassels at the pink end of my scarf are tied with pink yarn, and the tassels at the cream end are tied with cream.
CO 27 sts using a long tail cast on and Clr A.
row 1. (RS) sl 1 wyif, k 26.
row 2. (WS) sl 1 wyif, M1R, k 23, k2tog, k1.
Rep rows 1-2 to desired length, alternating colors every few rows as desired.When your scarf is the length you’d like, BO all sts. Make 4 tassels that are 4.75″ in length using all of the different yarn colors used throughout your scarf.


 & shop new patterns


I bought pattern and it won’t download
I’m sorry that happened! I just sent you an email to get you the download.
This is just gorgeous! I don’t need another scarf, but this is seriously tempting me! :) Lisa
Thanks, Lisa! I’m telling you – it’s a great one for just having in your bag for working on on-the-go. :)
I love this scarf! And what a great way to use up some yarn ends. Of course you had really cool colors too.Your photos are excellent. I’m doing this!
Awesome – I’d love to see how yours turns out! :)
I’m new to knitting so forgive me if this is a silly question. If you want the scarf to be wider is there any logic to the number of co stitches?
Since it’s garter stitch, you can CO any number of sts greater than 5, but you’ll have to adjust the pattern. The k26 in row 1 & k23 in row 2 will need adjusted accordingly depending on how much you change the stitch count.
How do you connect different colors of yarn? Do you cut them every time you switch? Or what? Your sides look so neat . Thank you
Yep, that’s what I did, but if you make narrower stripes you can carry the unused colors up the sides if you like! :) The neat edges are the result of slipping the first stitch of every row, forming a chain edge. It’s a design feature I’m particularly fond of! <3 -Heidi
You said free, but are charging $1. What’s he catch?
The pattern is free in the post on which you are commenting. If you wish to download a printer formerly, ad-free PDF it’s a dollar.
Why slip the first stitch of each row instead of knitting?
Because it looks nice. :) If you look at the edge in the photos, you can see the slipped stitches are responsible for the crisp, chained look.
Hello:)
Thank you for a great scarf ! I am new to knitting :) I am confused about how to change colors .
How do you connect a new color when you are slipping the stitch ? Do you change color when it is time for a knit stitch ? Thanks !
You’ve got it – don’t overthink, just knit the first stitch you can and weave the ends in later. (PS: apologies for the delay, I was on vacation.)
How do you make one right when you slip the stitch before M1R.
Slip with your yarn in the front, bring your working yarn to the back, then M1R as if you’d knit the previous stitch.