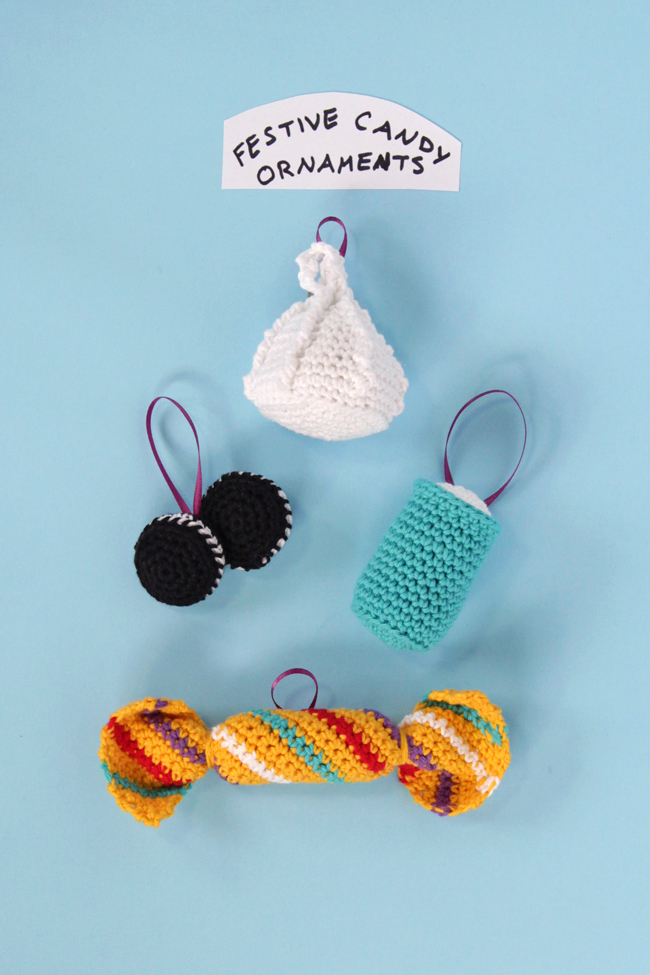
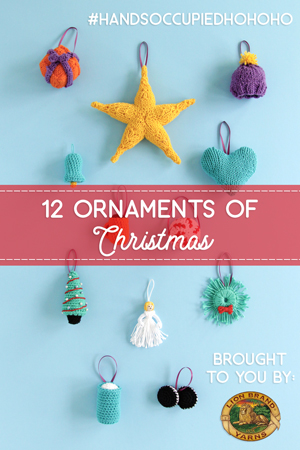
This might just be the cutest installment of the 12 ornaments of Christmas series ever! Today’s mini collection of ornaments are inspired by holiday treats, and we’re going way beyond the classic sugar cookies and gingerbread men. We’ve got a super cute little meringue, cookies and milk for Santa and a colorful piece of wrapped Christmas candy to brighten our trees. Which one will you tackle first?
PS: Don’t forget to play along with #handsoccupiedhohoho on Instagram or leave a comment to share your take on this OR last year’s free ornament patterns! Looking for a page with all of the ornaments so far? Here you go!
Get an inexpensive, printable, ad-free PDF of the Christmas candy pattern here, or you can read on to find the blog version of the pattern.
Christmas Candy Pattern
Updated 11/25/18.
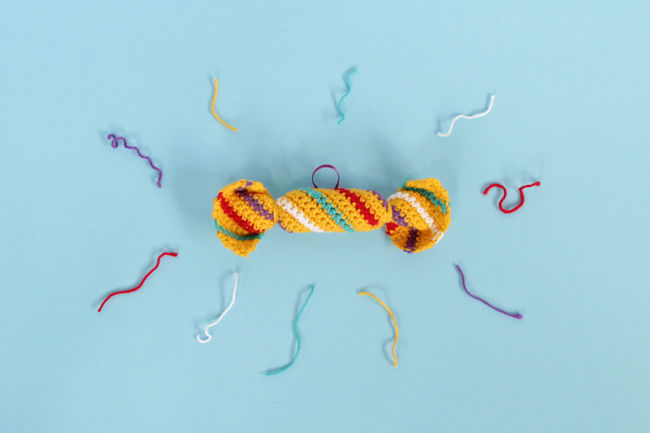
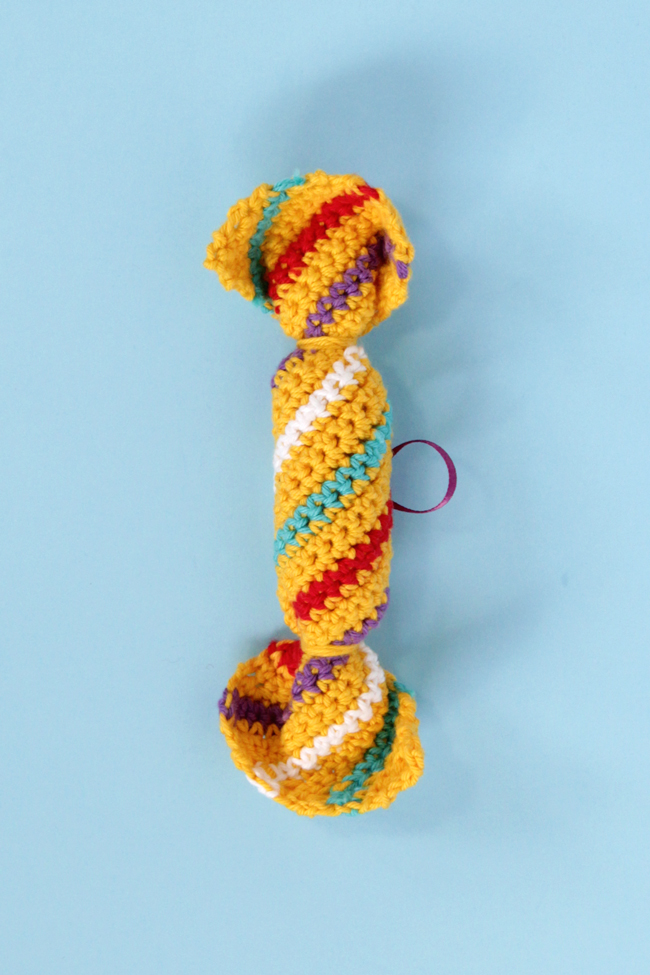
This is one of my favorite ornaments ever! This cutie is crocheted on the diagonal, giving it an iconic Christmas candy-esque look. And for those of you in the UK, this ornament could pass just as well as a cracker, though I wouldn’t advise trying to pull it apart hoping for a paper crown. ;)
Skill level: easy
Supplies
1 pack Lion Brand Yarn Bonbons in Beach (100% Cotton yarn; fingering weight), which comes with 8 mini skeins. – You need less than a skein of 1 main color and scraps of 4 other colors to complete the ornament.
US size F (3.75 mm) crochet hook
scissors
tapestry needle
poly-fil
scrap ribbon
sewing needle & thread
Abbreviations & Terms
Clr A – color A (main color, yellow in photos)
ch – chain
sts – stitches
sc – single crochet
sc 2 in next st – sc 2 times in same st
(X sts) – X is the number of sts that are now in the row
rep – repeat
sc2tog – sc 2 sts together as one
NOTE: U.S. crochet terms are used in this pattern.
Gauge & Dimensions: Approx. 19 sc & 23 rows over 4 inches. Finished ornament measures approx. 6 inches by 1.75 inches.
Get an inexpensive, printable, ad-free PDF of this pattern here, or read on for the blog version of the pattern.
Pattern
Make wrapper
Setup row. Using Clr A, ch 2, sc 2 in second ch from hook. (2 sts)
rnd 1. ch 1, turn. sc twice in each st. (4 sts)
rnd 2. ch 1, turn. sc2 in next st, sc4. (5 sts)
rnd 3. rep row 1. (7 sts)
rnd 4. switch clr. ch 1, turn. sc6, sc 2 in last st. (8 sts)
rnds 5-12. Rep rows 1-4 twice more. (20 sts)
rnd 13. ch 1, turn. sc 1, sc 2 in next st, sc15, sc2tog, sc 1.
rnd 14. ch 1, turn. sc 1, sc2tog, sc15, sc 2 in next st, sc 1.
rnd 15. rep row 5.
rnd 16. switch clr. sc 1, sc2tog, sc15, sc 2 in next st, sc 1.
rnds 17-28. Rep rows 5-8 three more times.
rnd 29. Using Clr A, ch 1 turn. sc 1, sc2tog, sc14, sc2tog, sc 1. (18 sts)
rnd 30. ch 1, turn. sc2tog, sc16. (17 sts)
rnd 31. rep row 29.
rnd 32. switch clr. ch 1, turn. sc12 sc 2 tog, sc 1. (14 sts)
rnds 33-36. Rep rows 29-32. (8 sts)
rnds 37-38. Rep rows 29-30. (5 sts)
rnd 39. ch 1, turn. sc 1, sc2tog twice. (3 sts)
rnd 40. ch 1, turn. sc 1, sc2tog. (2 sts)
rnd 41. ch1, turn. sc2tog. (1 st)
Break yarn and draw tail through last loop to secure.Finishing
Wet block your “wrapper” to help define its shape and lie flat. When dry, roll your “wrapper” into a tube shape and sew the center closed (approx. 2.5 to 3 inches, depending on your personal preference). Stuff the sewn portion with poly-fil before tying the open ends closed on either side of the stuffing using Clr A yarn. Knot to secure and weave in ends.If you’re making an ornament, sew a bit of scrap ribbon to the back of the ornament to prepare it for hanging.
Meringue Ornament Pattern
Updated 11/25/18.
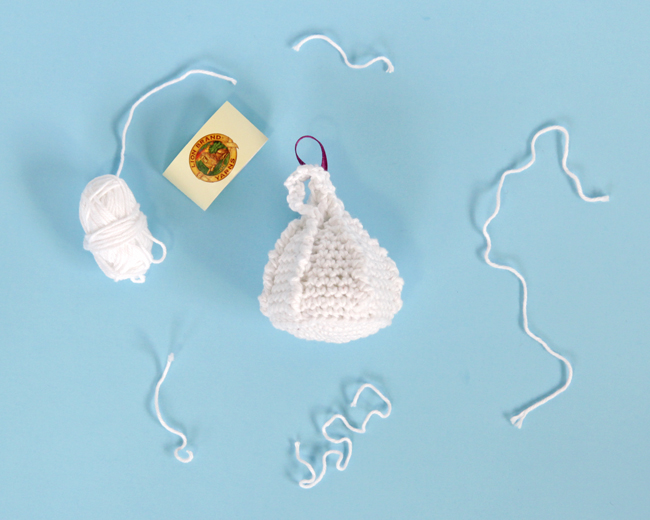
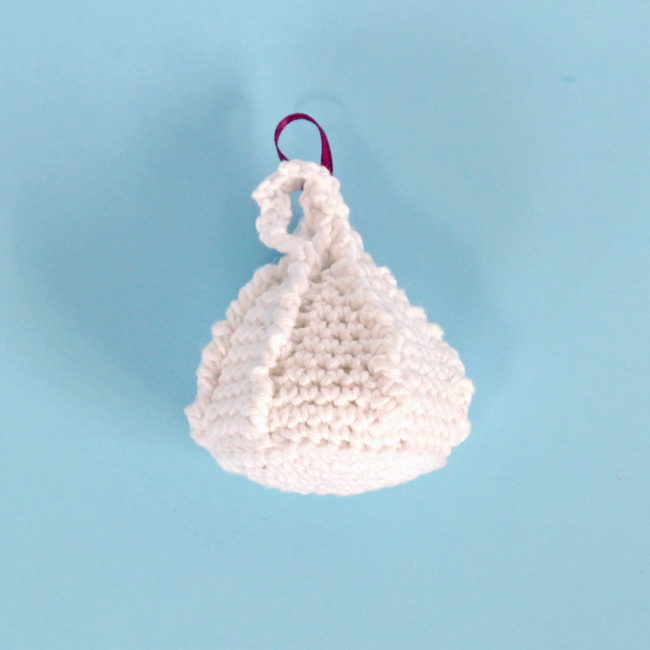
In my family, my grandmother made the best divinity candy, which originally inspired this ornament. Since a lot of divinity candy is formless, dolloped right from a spoon on to some waxed paper, I opted for the making this ornament look like fancy divinity piped from a bag. Since piped divinity looks just like the more universally relatable look of meringues, I figured I’d simplify things and refer to this one as a meringue ornament.
Skill level: easy
Supplies
1 pack Lion Brand Yarn Bonbons in Beach (100% Cotton yarn; fingering weight), which comes with 8 mini skeins. – You need less than a skein of white to complete the ornament.
US size F (3.75 mm) crochet hook
scissors
tapestry needle
poly-fil
scrap ribbon
sewing needle & thread
Abbreviations & Terms
magic ring – an adjustable starting round. Here’s a tutorial.
sc 2 in next st – sc 2 times in same st
rnd – round
arnd – around
(X sts) – X indicates the number of sts that are now in the rnd
rep from * – repeat the instructions following the asterisk as directed
tbl – through the back loop
fpdc – front post double crochet
sk – skip
fpdc2tog – fpdc 2 sts together as one
Gauge & Dimensions: Approx. 19 sc & 23 rows over 4 inches. Finished ornament measures approx. 2.5 tall by 2 inches in diameter at the base.
Get an inexpensive, printable, ad-free PDF of the meringue pattern here, or you can read on to find the blog version of the pattern.
Pattern
Make Meringue
Create a magic ring and sc 6 sts into ring.
rnd 1. sc twice in each st. (12 sts)
rnd 2. *sc 1, sc 2 in next st; rep from * 6 times. (18 sts)
rnd 3. *sc 2, sc 2 in next st; rep from * 6 times. (24 sts)
rnd 4. *sc 3, sc 2 in next st; rep from * 6 times. (30 sts)
rnd 5. *sc 4, sc 2 in next st; rep from * 6 times. (36 sts)
rnd 6. sc 36 tbl.
rnd 7. sc 36.
rnds 8-10. ch 1, *fpdc1, sc5; rep from * 6 times, sl to join.
rnd 11. ch 1, *fpdc1, sk 1, sc 4; rep from * 6 times, sl to join. (30 sts)
rnds 12-13. ch 1, *fpdc1, sc 4; rep from * 6 times, sl to join.
rnd 14. ch 1, *fpdc1, sk 1, sc 3; rep from * 6 times, sl to join. (24 sts)
rnd 15. ch 1, *fpdc1, sk 1, sc 2; rep from * 6 times, sl to join. (18 sts)
rnd 16. ch 1, *fpdc1, sk 1, sc 1; rep from * 6 times, sl to join. (12 sts)
rnd 17. ch 1, *fpdc1, sc 1; rep from *6 times, sl to join.
rnd 18. ch 1, *fpdc1, sk 1; rep from * 6 times, sl to join. (6 sts)
rnd 19. ch1, fpdc6, sl to join. 20. ch1, fpdc2tog 3 times, sl to join. (3 sts)
rnd 21. ch1, fpdc1, fpdc2tog. (2 sts)
rnds 22-28. Working flat: ch 1, turn. sc 2. rnd 29. ch 1, sl st. (1 st)
Break yarn and draw tail through last loop to secure.Finishing
Create a “dollop” by twisting the tip of your meringue and sl st to attach it to one of the ridges. Weave in ends. If you’re making an ornament, sew a bit of scrap ribbon to the back of the ornament to prepare it for hanging.
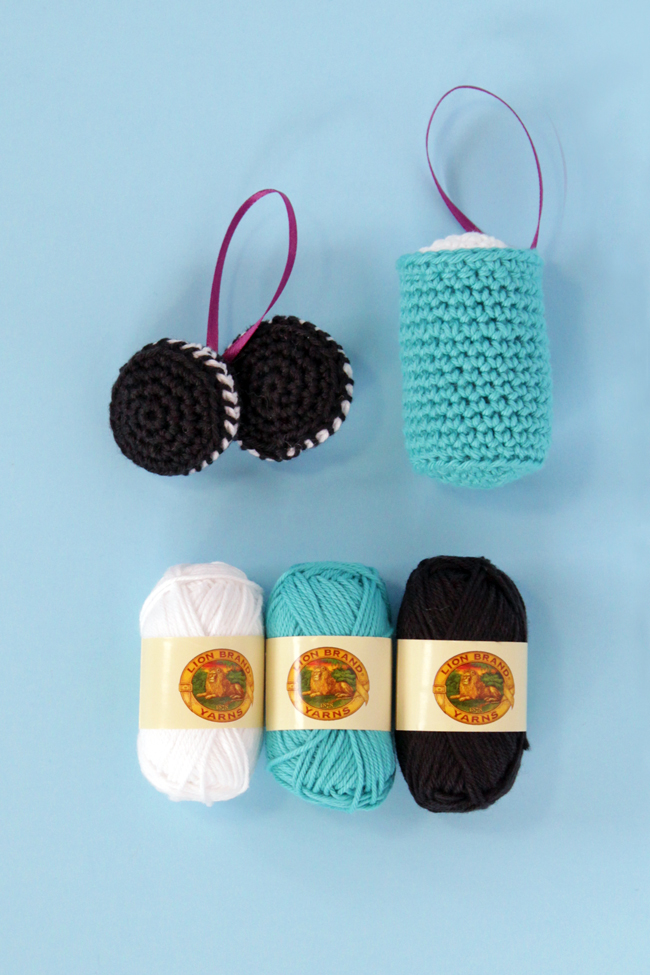
Get the free mini milk cookies pattern here.
Support for the 12 Ornaments of Christmas series on Hands Occupied was provided by Lion Brand Yarn. All patterns in this series were designed and knit with Lion Brand Yarn Bonbons in Beach.




Leave a Reply