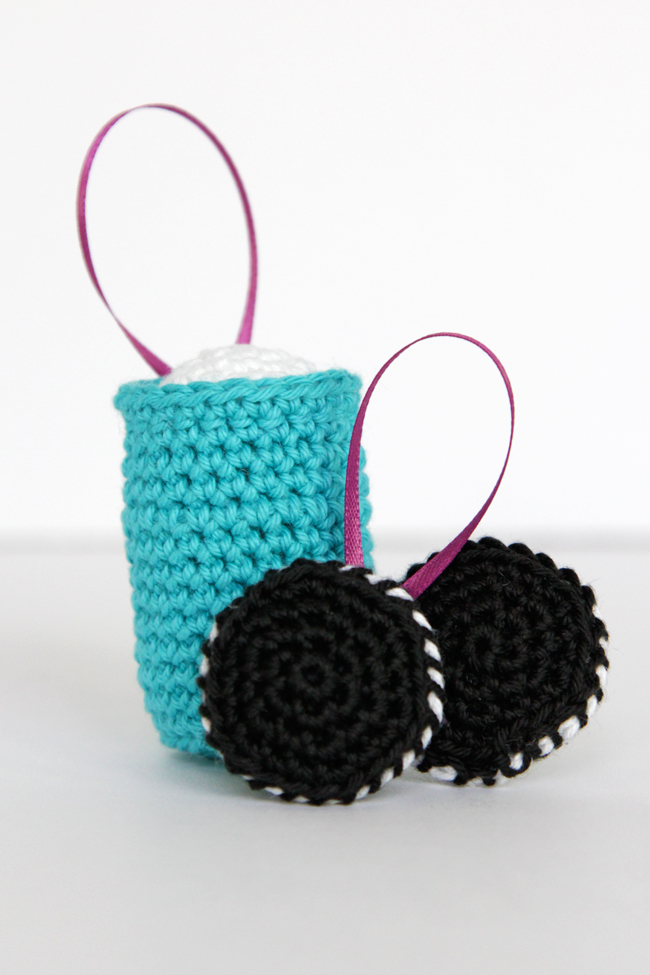
The last ornaments in our series this year are, hands down, my absolute favorite of the lot. Isn’t it funny how 11th hour inspiration works? I had another couple of ornaments planned for the 11th and 12th spots, but I woke up yesterday morning with a super cute stroke of inspiration for crocheting some milk and cookies ornaments instead. And they turned out even better than I’d hoped! These little dudes could not be more appropriate for the last two ornaments of Christmas – milk and cookies go totally hand in hand with Christmas Eve. :)
Get an inexpensive, printable, ad-free PDF of these two patterns here and here, or you can continue scrolling to find the blog version of the pattern.

Crochet Milk & Cookies Ornaments Patterns
Updated 11/25/18.
Skill level: beginner
Supplies
1 pack Lion Brand Yarn Bonbons in Beach (100% Cotton yarn; fingering weight), which comes with 8 mini skeins. – You need less than a skein of blue, white & black to complete both ornaments.
US size F (3.75 mm) crochet hook
scissors
tapestry needle
poly-fil
scrap ribbon
sewing needle & thread
Abbreviations & Terms
magic ring – an adjustable starting round
sc – single crochet
ch – chain
rnd round
(X sts) – X is the number of sts that are now in the rnd
rep from * – repeat the instructions following the asterisk as directed
sc 2 in next st – sc 2 times in same st
sl – slip
blsc – sc into the back of the ch.
(Y rnds) – Y is the number of times you work the rnd
Gauge & Dimensions: Approx. 19 sc & 23 rows over 4 inches. Finished Glass of Milk Ornament measures approx. 2” tall by 1.5” in diameter. Each finished cookie measures approx. 1.5” in diameter.
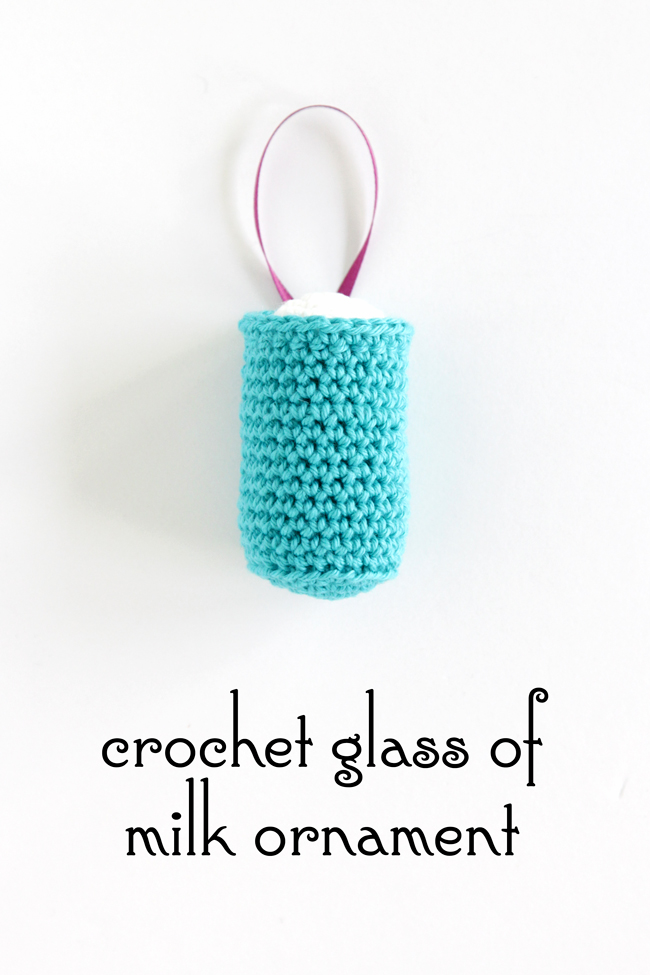
Get an inexpensive, printable, ad-free PDF of the milk ornament pattern here, or read on for the blog version of the pattern.
Glass of Milk Pattern
Make Cup
rnd 1. Using blue yarn, form a magic ring & sc 6 into ring. Pull tail to tighten loop.
rnd 2. ch 1, sc twice in each st, sl to join. (12 sts)
rnd 3. ch1, *sc 1, sc 2 in next st; rep from * 6 times, sl to join. (18 sts)
rnd 4. ch1, *sc 2, sc 2 in next st; rep from * 6 times, sl to join. (24 sts)
rnd 5. ch 1, blsc 24, sl to join.
rnds 6-17. ch1, sc 24, sl to join. (12 rnds)
Break yarn and draw tail through last loop to secure.Make Milk
rnd 1. Using white yarn, form a magic ring & sc 5 into ring. Pull tail to tighten loop.
rnd 2. ch 1, sc twice in each st, sl to join. (10 sts) rnd 3. ch1, *sc 1, sc 2 in next st; rep from * 5 times, sl to join. (15 sts)
rnd 4. ch1, *sc 2, sc 2 in next st; rep from * 5 times, sl to join. (20 sts)
Break yarn and draw tail through last loop to secure.Finishing
To finish, stuff cup with poly-fil and whip stitch milk to top of cup.
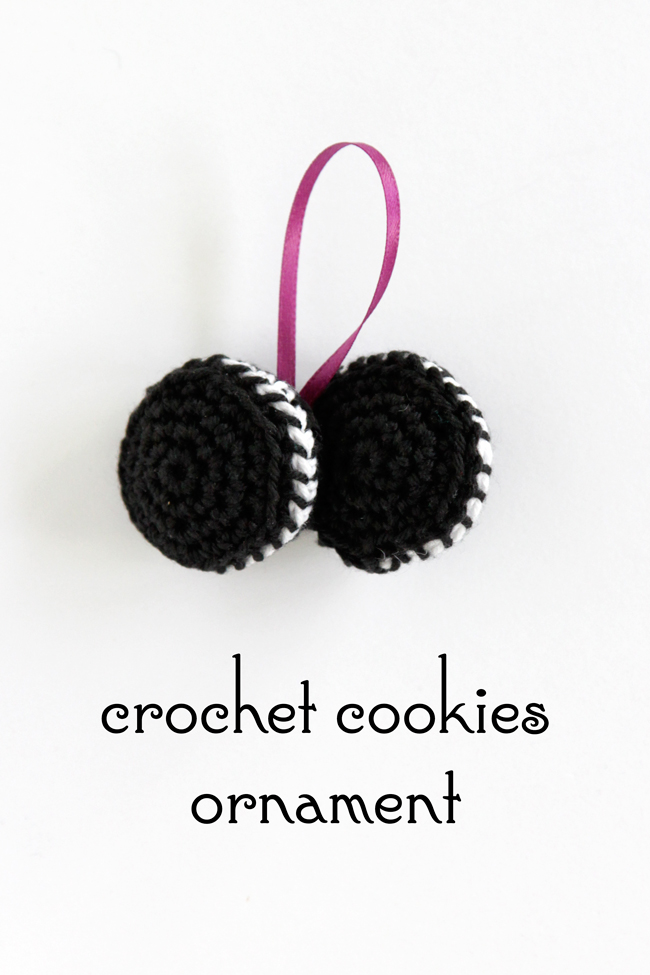
Get an inexpensive, printable, ad-free PDF of the cookies ornament pattern here, or read on for the blog version of the pattern.
Cookies Ornament Pattern
Cookies (make 2)
Bottom of Cookie & Filling
rnd 1. Using black yarn, form a magic ring & sc 6 into ring. Pull tail to tighten loop.
rnd 2. ch 1, sc twice in each st, sl to join. (12 sts)
rnd 3. ch1, * sc1, sc 2 in next st; rep from * 6 times, sl to join. (18 sts)
rnd 4. ch1, * sc2, sc 2 in next st; rep from * 6 times, sl to join. (24 sts)
rnd 5. ch 1, blsc 24, sl to join. 6. Using white yarn, ch 1, sc 24, sl to join.
Break yarn and draw tail through.Top of Cookie
Using black yarn, rep rows 1-5 from above.Finishing
To finish, stuff cookie with poly-fil and whip stitch both pieces together. Make second cookie and sew both together as shown. If you’re making an ornament, sew a bit of scrap ribbon to the back of the ornament to prepare it for hanging.

Finally and as always ;), please share your take on this and all the ornaments in this series using #handsoccupiedhohoho on social media. Happy Holidays!





 & shop new patterns


Leave a Reply