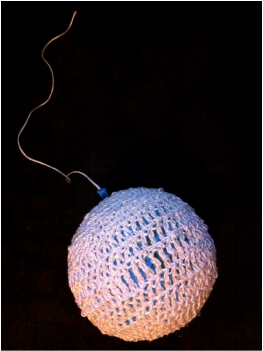
When I started crocheting a few years ago, I found myself growing bored with the type of projects I was capable of creating. My skills weren’t yet developed enough to crochet really complicated patterns, and I felt like the real power of crocheting rested on the ease with which I could create three-dimensional shapes, like amigurumi.
That’s when I decided it was time to get creative. I found some plastic twine that looked like it might make an interesting hanging lamp or sculpture. It’s kind of shiny and futuristic looking, unlike many crocheted items.
Plastic Twine Sculpture
Following a instructions for creating a basic amigurumi sphere, I figured the only way to find out if this sculpture would work was to try it. A ton of crochet stitches and a few increases and decreases later, I had my sphere… and a lot of blisters. Imagine rubbing a shredded plastic bag on your bare flesh for like fifty hours. It’s not pretty.
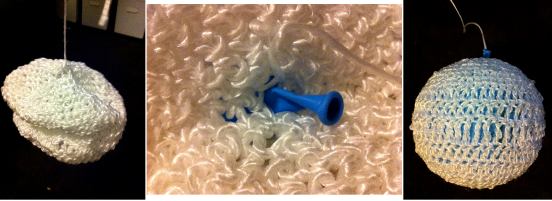
The other thing I had at the end of crocheting my sphere was kind of a deflated looking volleyball. Shoot! It wasn’t until I pulled my sad creation out of my WIP/failed projects drawer to write today’s post that I decided to fix it. Lucky for me, my first idea worked! It was as simple as blowing up a balloon (inside of a weirdo crocheted trash bag sphere).
Mason Line Hammock
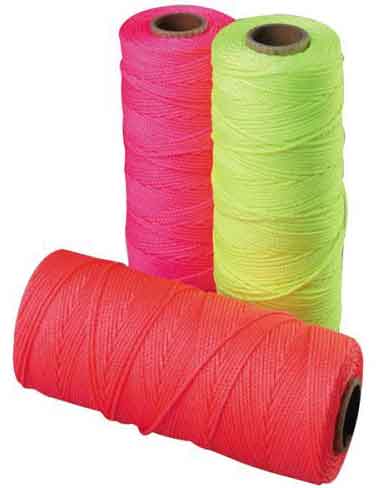
After my blisters healed, I wanted to make an exercise ball hammock using something softer.The fiber of choice? Mason line! It comes in a lot of really interesting colors and weaves. The hard thing was knowing how much to buy. It’s not like the dudes at the hardware store know what to tell you when considering yardage or ounces needed for a project!
Another note about working with this material. I learned the hard way that there are no dye lots in mason line. I’ve got a couple of shades of pink going on in this project.
Have you ever seen those corner hammocks for kids’ stuffed animals? I wanted to recreate that design for my exercise ball hammock. For the pattern I ended up winging it, so I didn’t write it down. How I constructed this thing: I crocheted a right triangle shape and added an extra spine of stitched from the right angle to the center of the hypotenuse. Don’t forget: a^2 + b^2 = c^2 when you’re planning this project! ;) Then I wove some other mason line in to a basic net formation, with two more crocheted spines dividing them.
Some pics to help you pick up what I’m putting down:
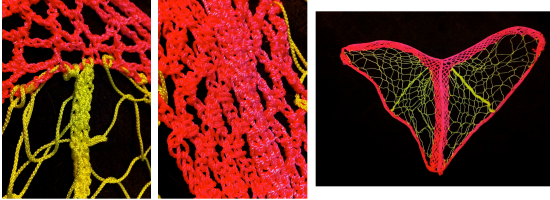
…and yes, it totally looks like a thong. I don’t know if I’d, uh, pick neon pink next time.
Other Cool Crocheting Materials
- Cassette Tape Clutch at My Recycled Bag
- How to Crochet a Rug Out of an Old T-Shirts at CraftStylish
- Knit and Crochet with Wire and Beads at Stitch Diva Studios
- There’s also the Unique Crochet Materials thread at Crochetme.com


 & shop new patterns


Leave a Reply