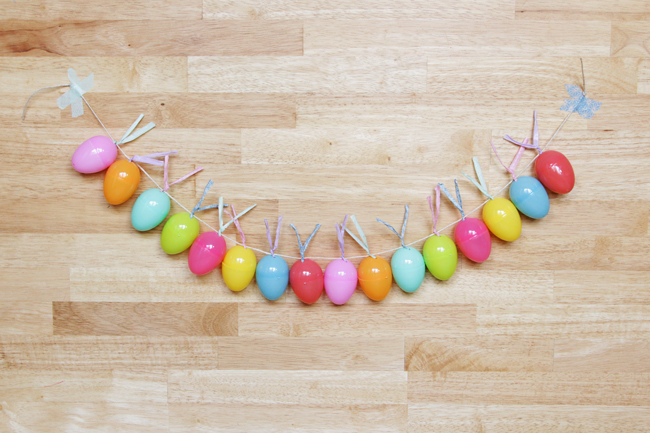
This last minute Easter egg garland is super simple, festive, and adorable! It takes just a few minutes to make and only a handful of supplies. In past years I haven’t done too many Easter DIY projects, but I’m so glad I changed my habits this year. The trends are especially colorful and cute this season, I think that’s what got me so inspired!
Supplies
plastic eggs
washi tape twist ties (regular ones work, but washi ties are prettier)
twine
scissors
mallet & 1 small nail (optional)
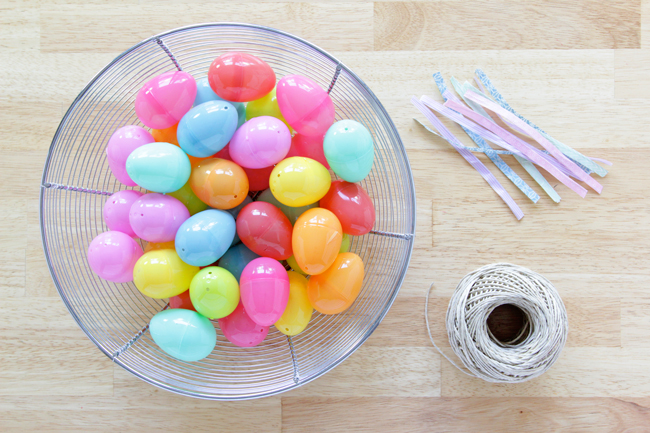
Directions
The nice thing about me posting this so close to Easter? HELLO – you can get plastic eggs for like a nickel on clearance on the way home from work today or tomorrow! ;) The eggs pictured were $2 for a big bag at Target and come with pre-drilled holes to save you hammering anything if you want to jump on them. I love the tone and mixture of colors they’re carrying this year too.
To start, make one washi tape twist tie per egg on your garland, following these instructions. If your eggs didn’t come with two holes in one end, use a hammer & nail to add holes to them. You can check out the eyeball garland I made for Halloween last fall for tips on hammering little holes into plastic objects. :)
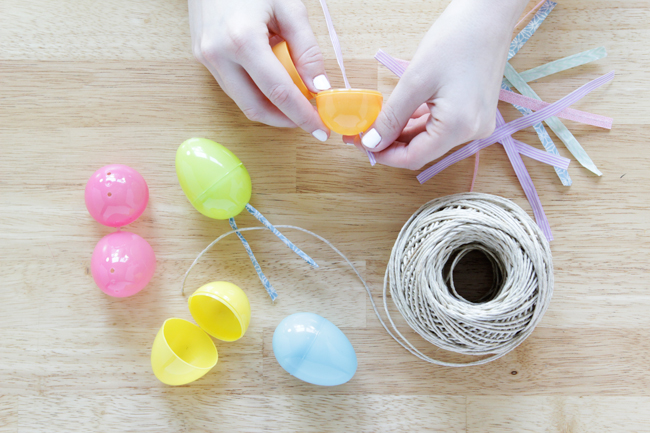
Once your ties and eggs are ready, draw a twist tie through the holes in your eggs as shown, centering them in a U shape.
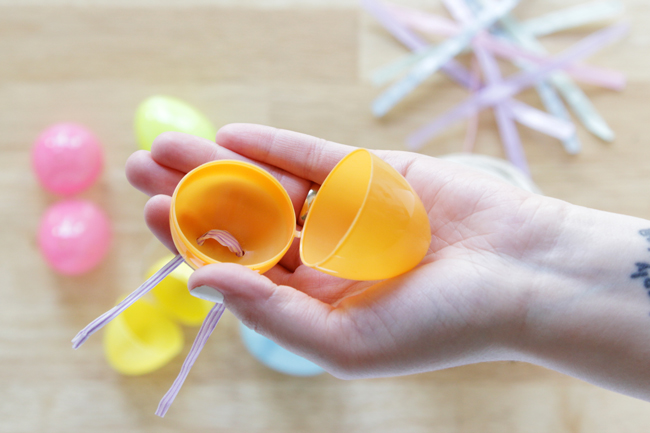
Play around with different washi tape twist tie and egg color combos until you like the arrangement.
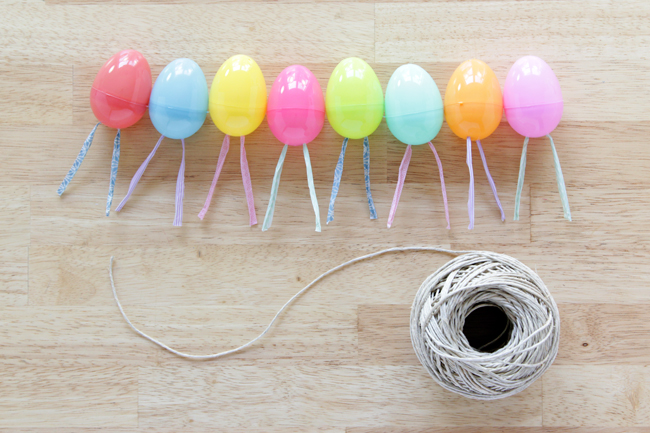
Twist the tie of each around some twine to form your garland.
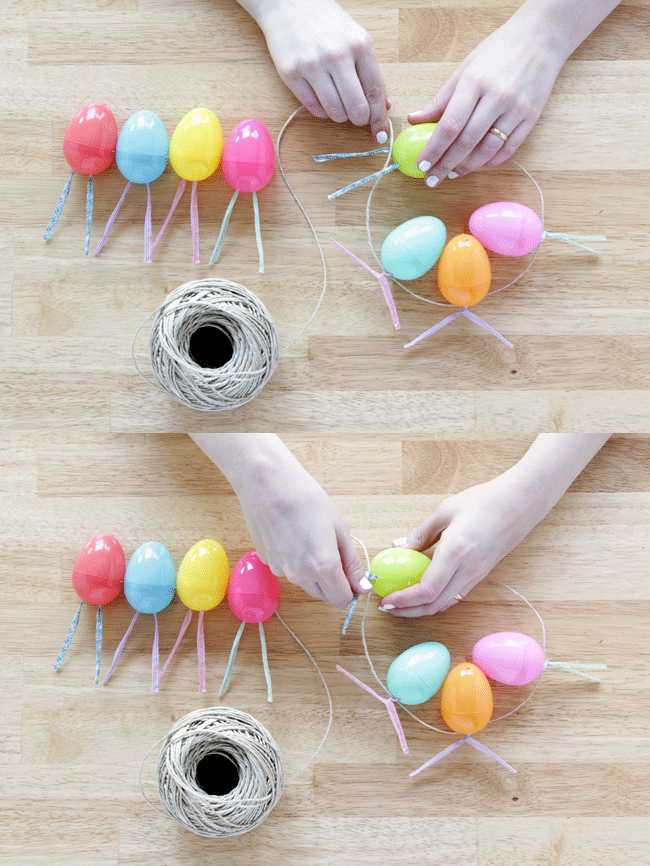
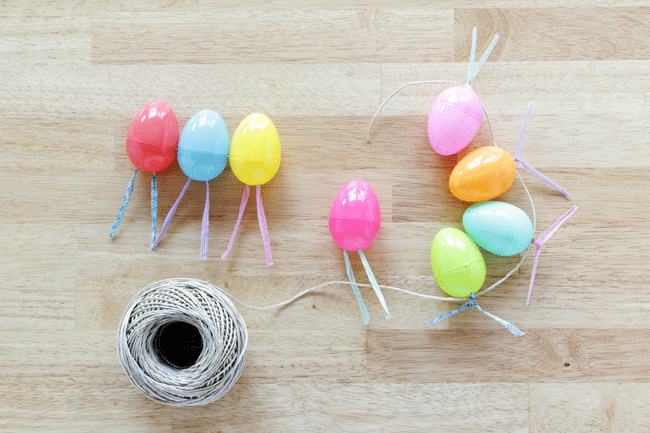
See how easy this is? Just twist ties and eggs, man. Super colorful and super fun.
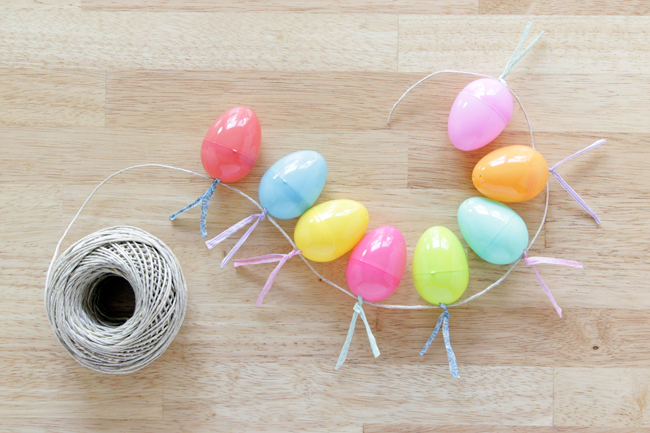
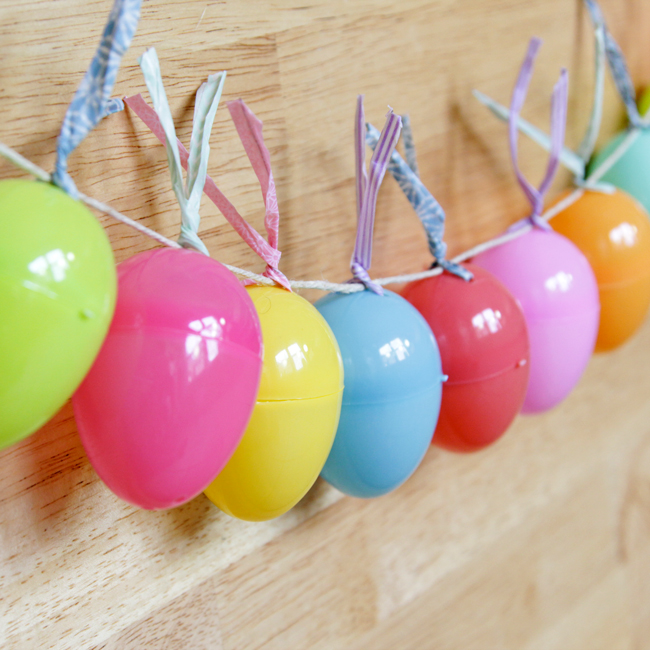
The other nice thing about this garland is how lightweight it is – you can hang it with just a little bit of washi tape and it stays just fine!
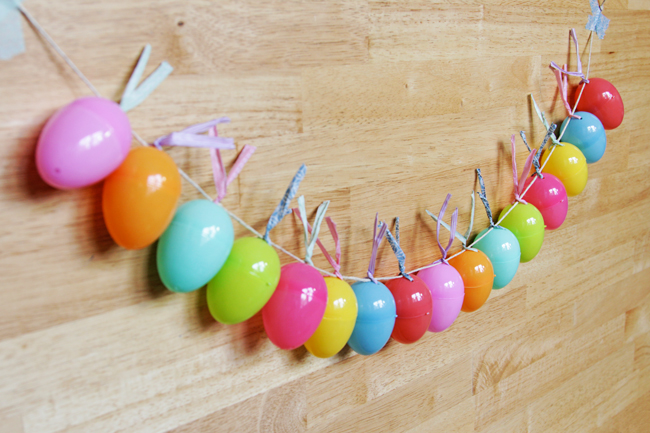
You can also play with your color combos, making this garland look like a bunch of fat little carrots (orange eggs and green ties) or bunnies (white eggs and pink ties). This is something kids can even do, I love it!






 & shop new patterns


Leave a Reply