I have been in love with needle felting for years. There’s always something eye-catching in this or that blog or magazine that has been needle felted. I had assumed that needle felting was incredibly hard. I’ve been a knitter since the age of 8, so maybe it was because the only felting instruction I’d ever seen usually involved knitting something huge and artistically shrinking it. It all seemed really scary and difficult, so I kept any hopes of successfully felting anything on the “when I have a lot of free time” list.
Then I came across needle felting kits in July at a blogger conference, and was really excited. I asked the rep showing the kits off about them, and the company sent me a couple kits to try out. I learned a lot about needle felting this week, between the kit instructions and using my librarian skills to research what needle felting is all about (something, I realize, I could TOTALLY have done years ago). I have so much interesting stuff to share with you guys today, and I’ve tried my hardest not to nerd out too much.
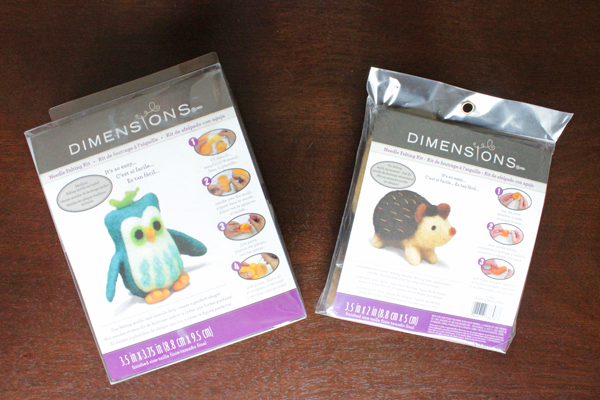
SuppliesÂ
wool roving
felting needle
felting mat
idea for what to make
-OR-
a needle felting kit that comes with everything you need
Directions
Needle felting is a dry felting method (unlike the scary wet felting methods I saw in the knitting books of my childhood). It involves using a barbed needle to hand-sculpt wool roving into a desired shape. I couldn’t believe this, but literally, needle felting means poking a pile of wool until it’s the shape you want it to be. Seriously easy!
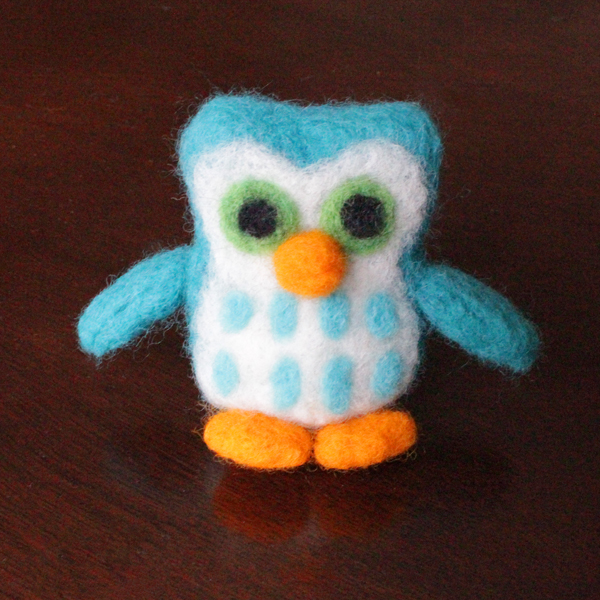
The owl kit I tried out comes with molds for creating the right body, foot, tail and wing shapes, as well as wool roving, a needle felting needle, needle felting mat, and step-by-step instructions for making an owl like the one shown on the package.
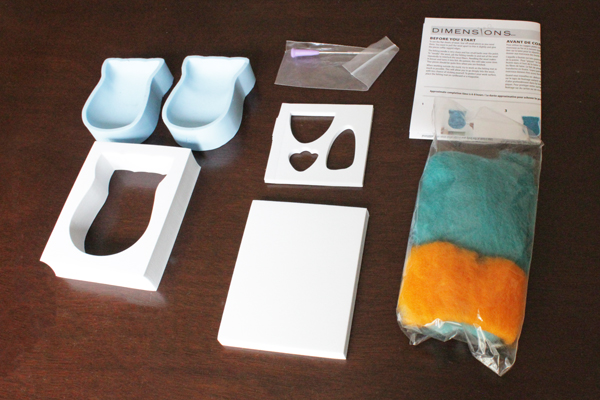
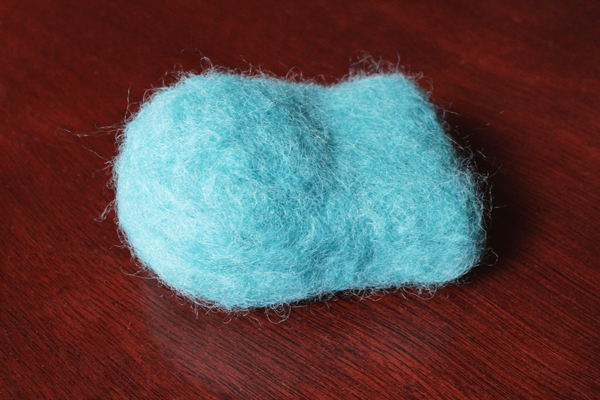
Here’s a look at most of the process the kit follows. You start by shaping the owl’s body using the molds provided.
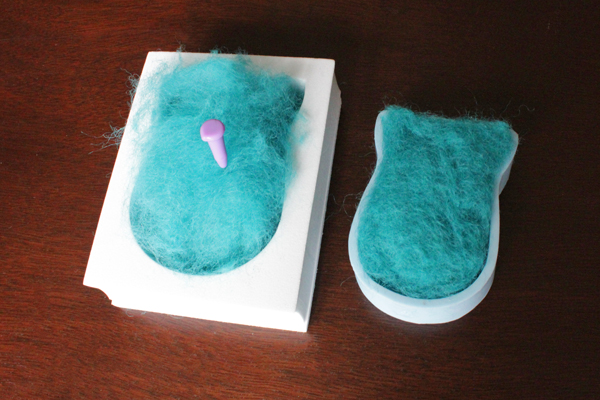
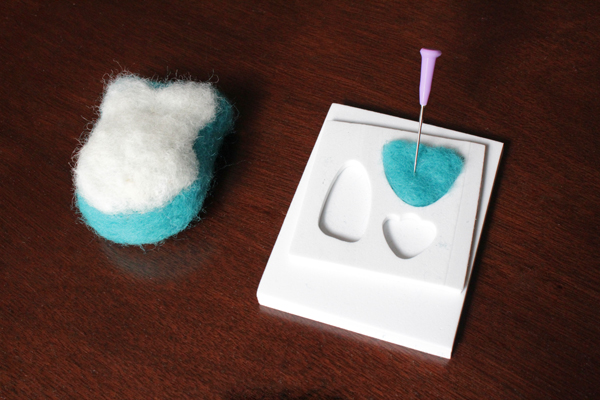
Then you add a front accent and build the tail, wings and feet before attaching them to the body.
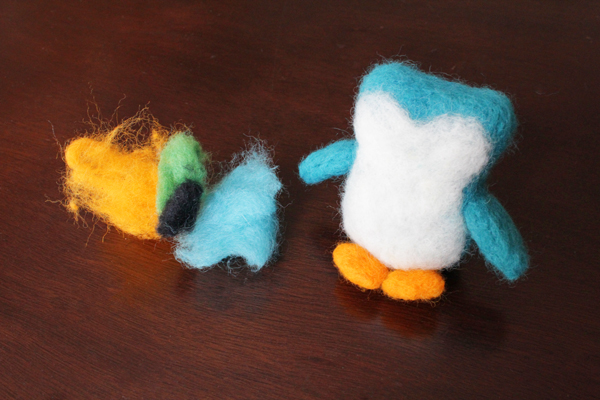
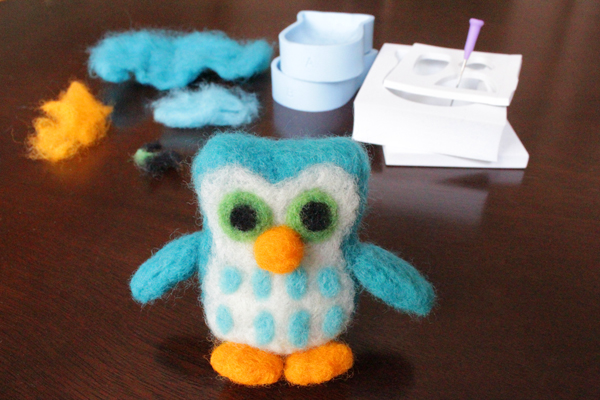
Finally you add some facial features and feather accents to your little guy. The pattern calls for adding a tuft of loosely needled feathers on the top of the head, but I liked mine plain. As you can see, I had some leftover wool at the end, so I could have made the whole critter a little denser.
A few things I learned while making my first needle felting project…
- You can almost always needle your project more, and you can add a lot more wool than you think.
- Use the needle felting mat provided or you’ll probably stab yourself. A lot.
- You can also wear a leather glove to protect the hand holding your work as you go if you don’t like using a mat.
- Needle felting, even for small projects (the owl I made is just 4 inches tall or so), takes a long time. This took me about 7 hours to make.
- If knitting or crocheting gives you tendonitis, as they do me, needle felting is easier on your wrists. Or so I found!
- You’ll stab yourself a lot, even with the needle felting mat.
- There are a lot of ways to needle felt. For example, you can needle felt motifs onto non-wool surfaces like canvas. Also, you can “paint” with needle felting  and capture landscapes or people.
- Machines with tons of needles are used to create sheets of felt like the ones we crafters use to make projects.
- Check out this video showing how felt is made.
- Felting: The Complete Guide by Jane Davis – Chapter 3 is all about needle felting and includes project ideas
- Beginner’s Guide to Needle Felting by Susanna Wallis
The kits featured in this post were provided for review purposes by EKSuccess Brands and will soon be available at Michaels Stores. Michaels also carries a variety of other needle felting supplies.Â



 & shop new patterns


Thanks for the direct, simple tutorial. I bought a mat and felting tool, and then felt baffled. Many of the on-line tutorials assume basic felting knowledge. Time to go try your suggestions. Happy creating!
I LOVE needle felting as well! It’s so fun and relaxing.
This is really interesting! What is the mold made out of? I’ve only used cookie cutter type molds, with an open bottom. for instance, a triangle to make a watermelon: https://youtu.be/-h3Bvhh61WQ
This looks like a great kit. I love how your owl turned out, and you did a great job of explaining how it was made :)
It appears to be silicon or something very similar. :)
All my questions were answered thanks to Heidi. I am off to Michaels to-day !
Verry nice!