I am not generally a fan of cutesy stuff. After seeing this adorable wreath from Nest of Posies, I was all about creating a Halloweenie felt and yarn wreath…
Source: tatertotsandjello.blogspot.com via Heidi on Pinterest
…so I did! Here’s how:
Supplies
1 styrofoam wreath, available in most craft stores’ floral sections
yarn
orange & black felt
scissors
yarn needle
straight pins
Directions
Tie your yarn around the styrofoam wreath to start.
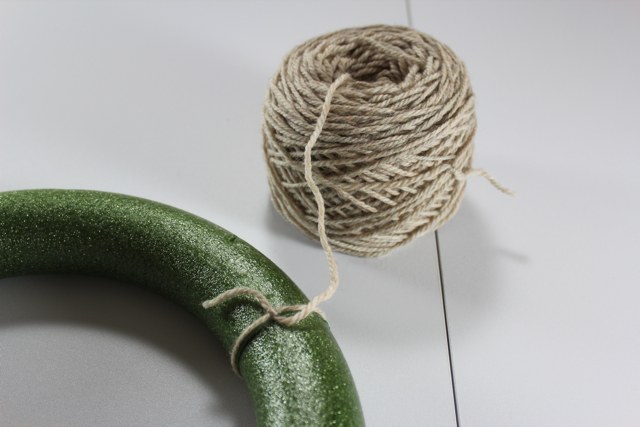
Wrap yarn around styrofoam wreath until covered. Seems like it’s going to take a million years, right?
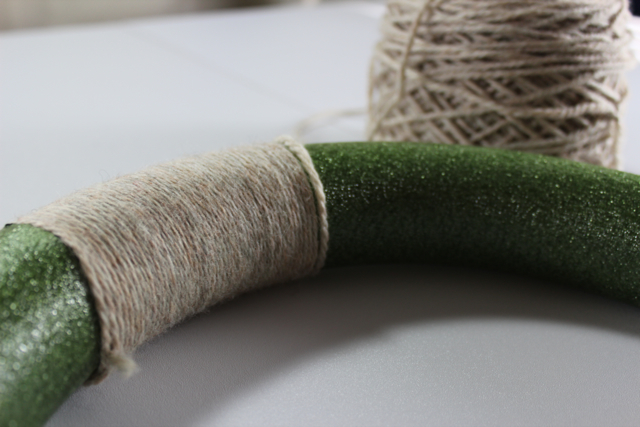
It’s really not so bad. All you’ve got to do is loosely wrap your yarn around the styrofoam wreath, like this:
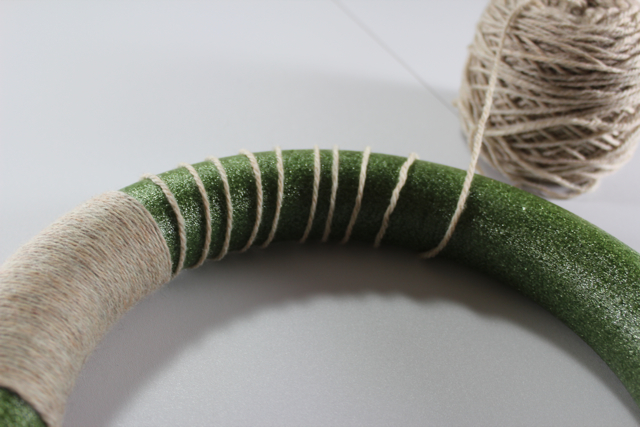
And then pull on the ball-end of the yarn to tighten all of the yarn you loosely wrapped.
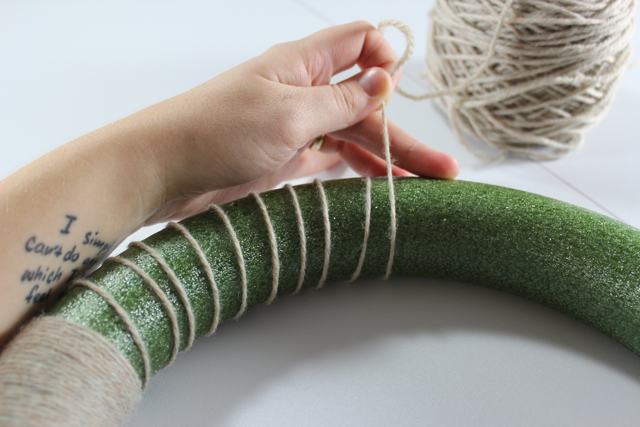
Then, push all of the tightened yarn together.
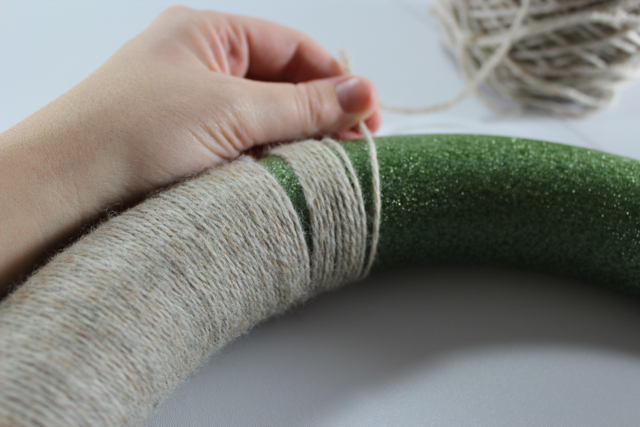
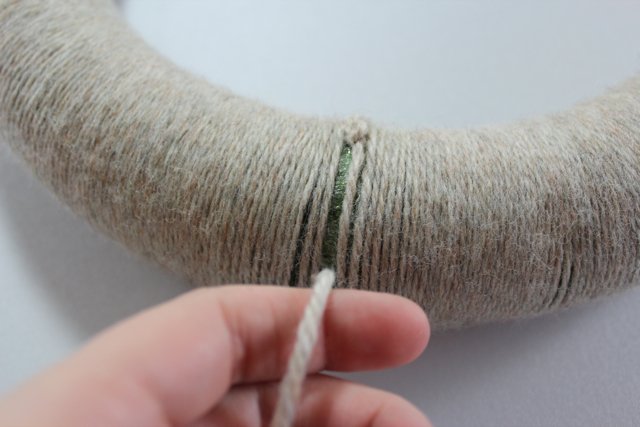
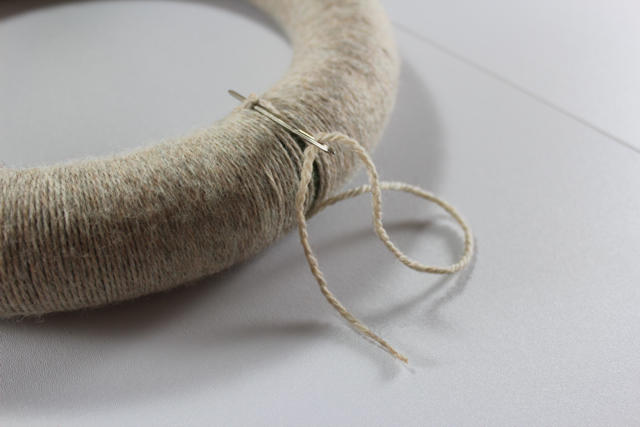
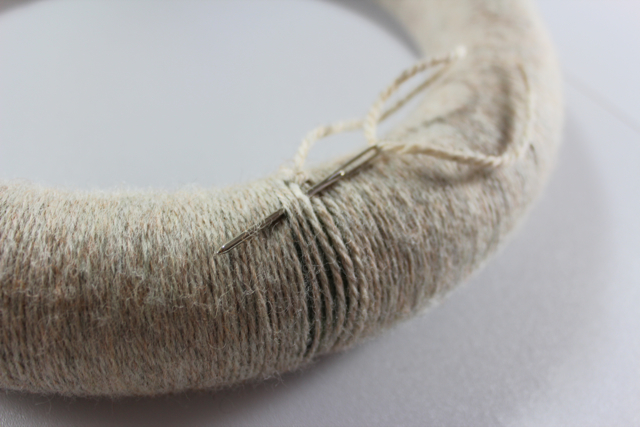
Basically, it’s just repeat, repeat, repeat after that. Once the wreath is full, cut your yarn and sew it through the other yarn on the wreath using a yarn needle and tie it off. Spend a couple minutes shifting your yarn so the styrofoam doesn’t show through.
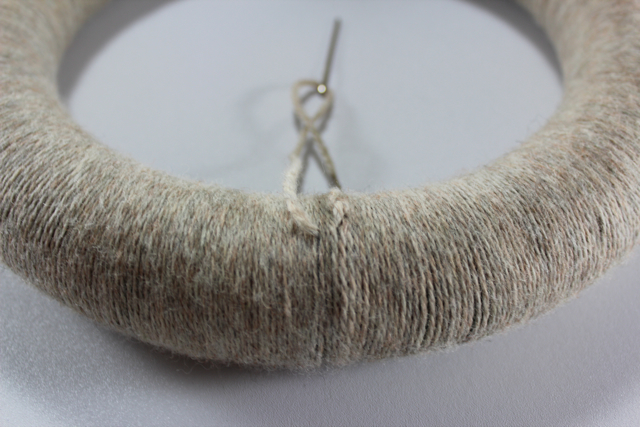
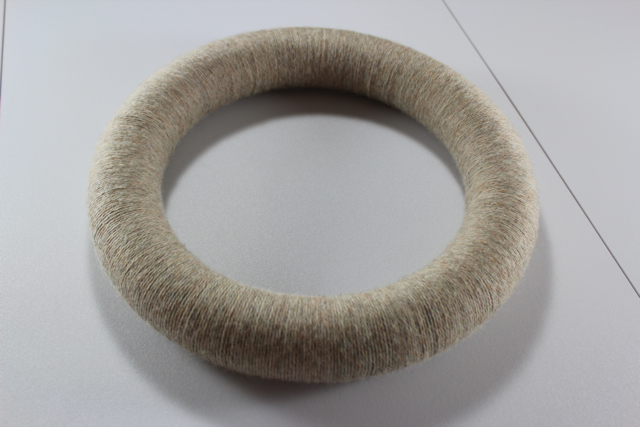
The next phase goes a lot faster and is a lot more fun. I spent some time Googling “bat silhouette,” “pumpkin silhouette,” “broom silhouette,” etc. before cutting out my felt shapes. You can always use this technique for stenciling a print out on to felt, but I freehand cut out my felt shapes. Once your shapes are cut out, spend a couple minutes playing with how they’re laid out on the wreath.
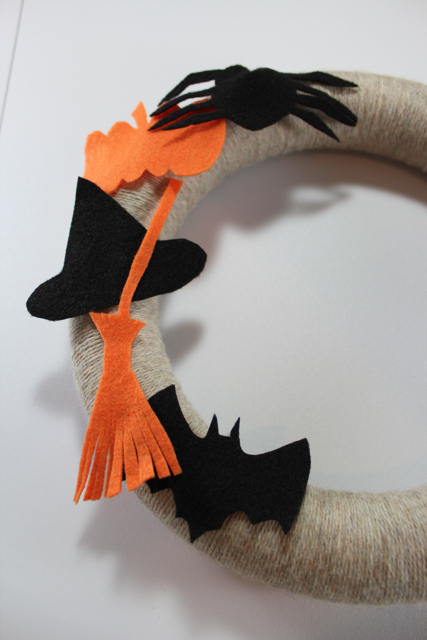
When you’re satisfied, take some straight pins and discretely attach them to the wreath.
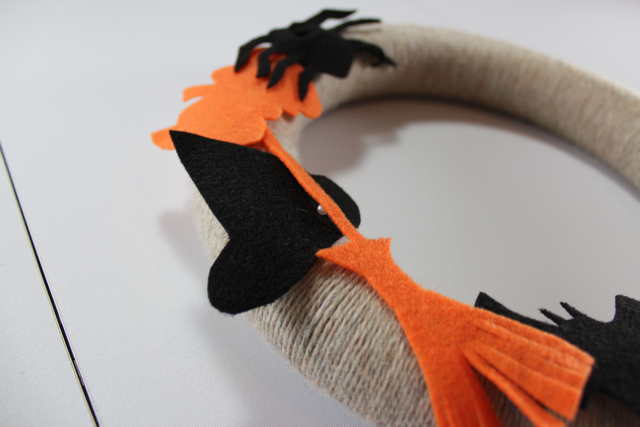
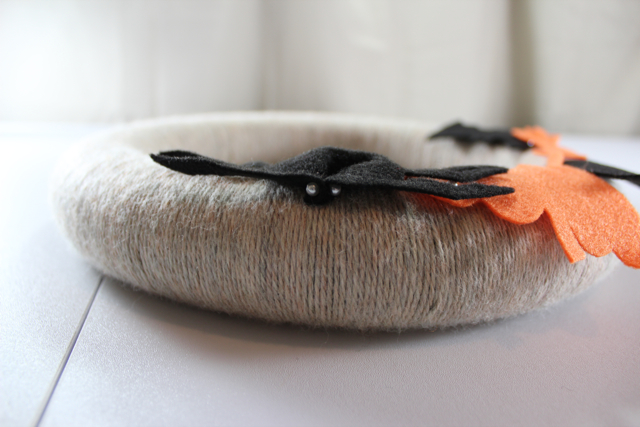
That’s it! I am so busy right now with finishing my master’s degree and working full time (ha! as if I’m not always swamped) that this project is perfect for me. I can always cut out new shapes for Thanksgiving or Christmas and simply pin them on to my beige wreath in no time.





 & shop new patterns


Leave a Reply