It’s officially August, so like I said on Monday, it’s time to start gearing up for back to school time. If you’re in college dorms, starting a new lease or otherwise living in a small space, craft supplies might not be something you want to invest tons of space in. This month, I’m going to highlight tutorials designed to be done in small spaces. Projects that don’t require a gazillion specialized supplies or machines. And projects that are also perfect for back to school season.
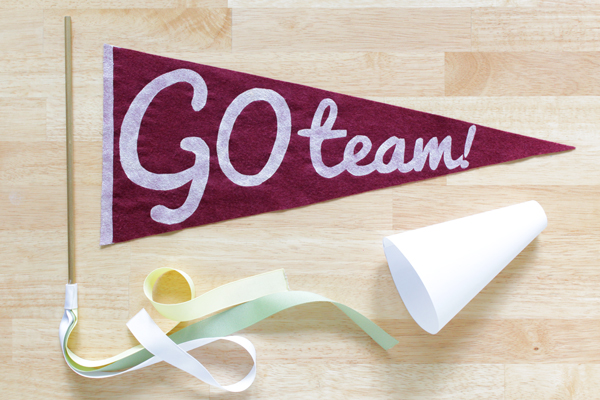
Now, while I did attend a Big Ten college, I didn’t once set foot inside Spartan Stadium the entire time I attended Michigan State. (Go Spartans and all, but spoiler alert, sports aren’t super my thing.) Despite that fact, I do think anyone – sports lovers or not – can appreciate how adorable this vintage style pennant is.
Supplies
wool felt
acrylic craft paint
freezer paper
this template
x-acto knife
sharp scissors
iron
sponge brush/sponge pouncer
cardboard or foam core
pencil
clear tape
Directions
Print the pennant template in landscape mode, setting your system to “fill entire paper” or set the scale at 100%. Line up the two pages that printed and secure with a clear tape.
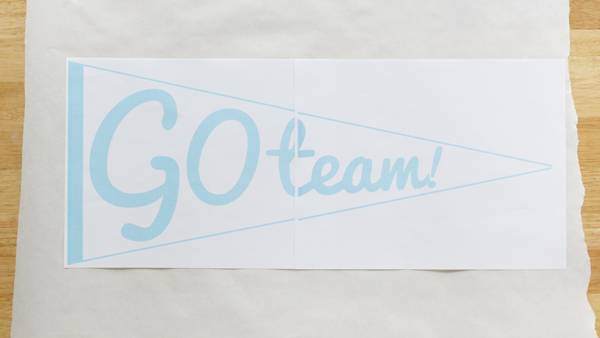
Tape the template to the waxed side of your freezer paper and trace the template onto the non-waxed side of your freezer paper. Cut around the outside of the pennant shape, iron the pennant to your felt, and cut the pennant shape out of your felt.
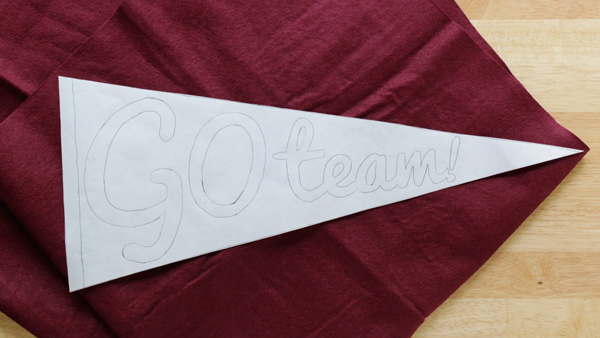
Carefully peel the freezer paper off of your cut out wool.
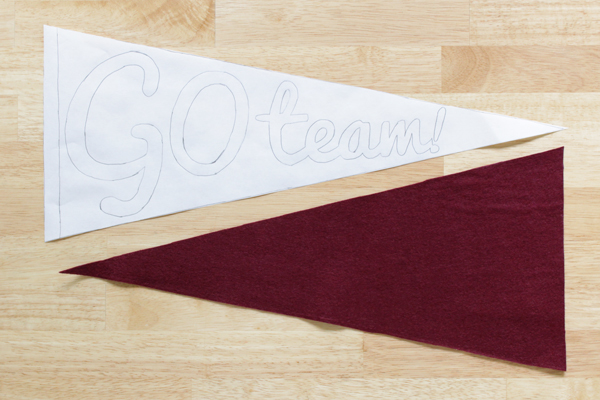
Carefully cut out the letters spelling “GO team!” from the freezer paper. Use an x-acto knife, protect your work surface with some foam core or cardboard, and retain the insides of the O, t, e and a.
If you’re using a phrase other than the one in my template, just remember to keep the insides of letters as needed to properly stencil your phrases. Also, if you like the font I used in my template, it’s called Pacifico, and you can download it free here.
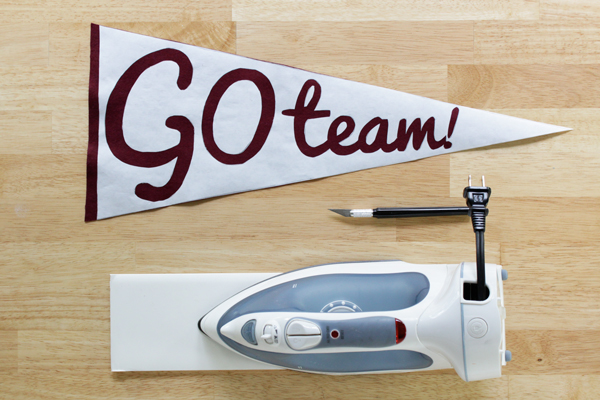
Place your cut out template and the insides of the O, t, e and a on your wool pennant and iron to secure. You can use your cardboard/foam core as a makeshift ironing board since there will be felt between it and the iron. Cool, huh?
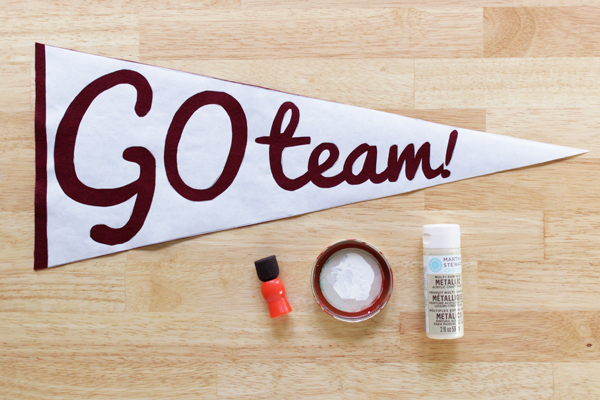
Daub acrylic paint over the openings in your stencil with a sponge brush/pouncer. I did two layers of paint to get good coverage. To paint along the left edge of your pennant, protect your work surface with scraps of freezer paper, waxed side up. You don’t have to include the left-side line on your pennant, but I found it really solidified the vintage look to include it.
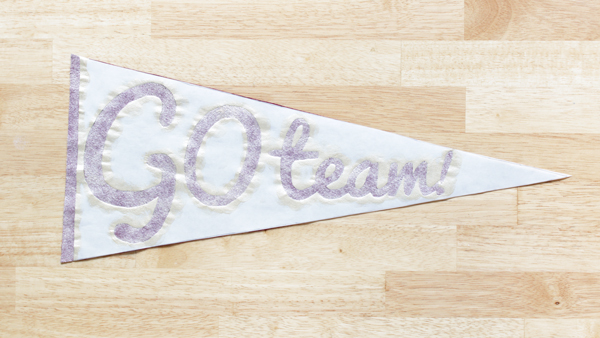
Let your paint dry completely and peel off the freezer paper to finish your pennant. You can attach it to a dowel for waving at sports, or you can hang it as-is.
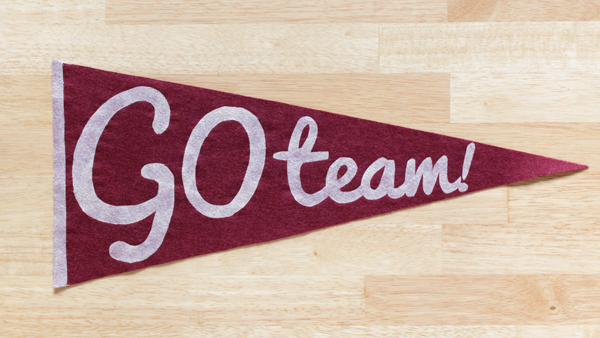
Like this project? You can use the freezer paper printing method shown for tons of different DIYs. What would you screen print with freezer paper?



 & shop new patterns


Pinning this pennant on Pinterest! ;) Love this project, Heidi!
Thanks! :D