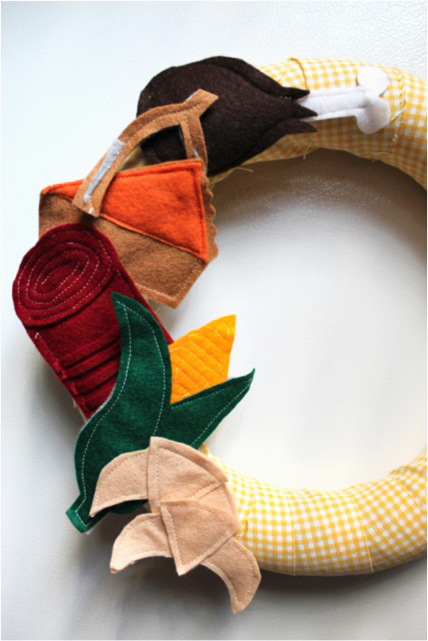
Supplies
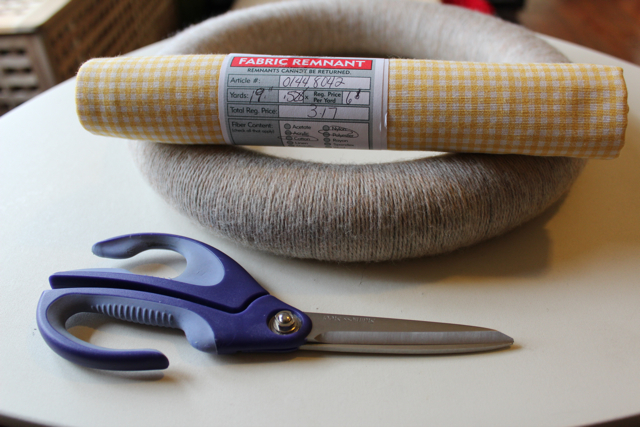
Styrofoam wreath
Craft felt in a variety of colors. I used acryllic felt because it’s way cheap.
Very sharp, small scissors (precision is key when working with felt!)
Sewing machine
Straight pins
Scrap fabric (enough to cover your styrofoam wreath)
Directions
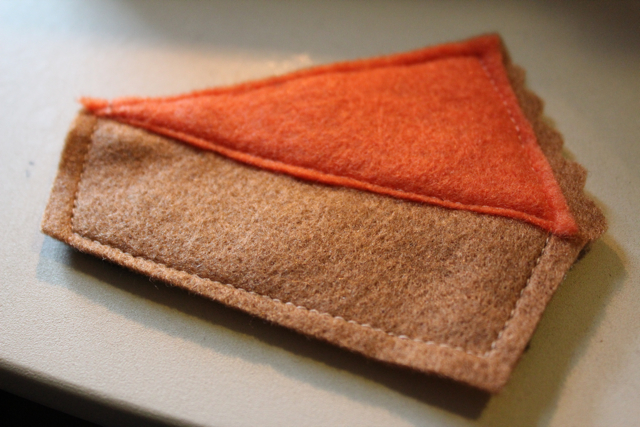
Decide what festive items you’d like on your wreath. I spent a fair bit of time brainstorming this process and drawing out ideas on paper. Most of the Thanksgiving icons I went with for this project were food. The thing with creating food out of felt is that it’s easy to get really unappetizing results. I embraced my inner cartoonist and went with (what I consider) Garfield-esque caricatures of Turkey Day dishes. A slice of pumpkin pie, corn on the cob, crescent rolls, a wishbone, and cranberries from the can floated my boat for whatever reason today.
When you’ve got your drawings all set, start cutting them out of the appropriate felt.
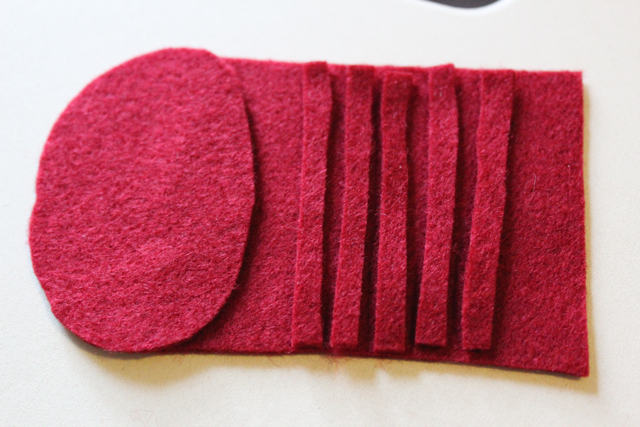
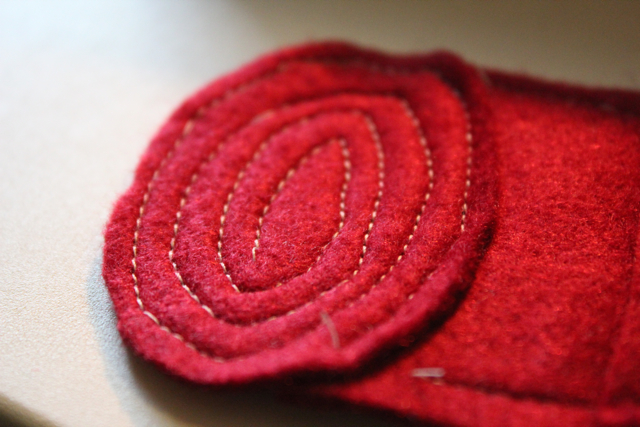
To create an easy cranberry design, cut a rectangle, an ellipse, and a few strips of felt as shown above. Super easy, even for the less-than-artistic types out there. Like me ;). The crescent rolls, shown in some photos of the finished product at the bottom of this page, were really easy too.
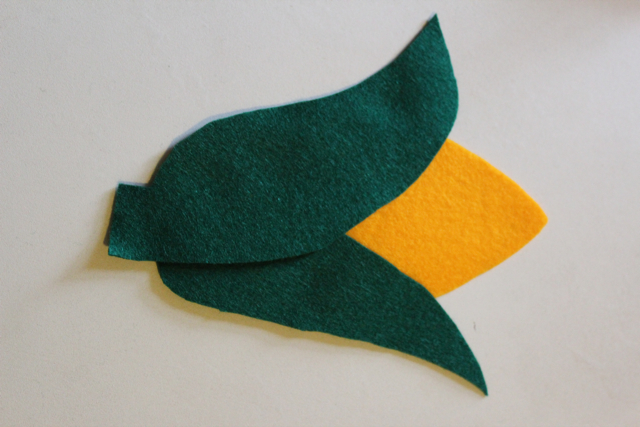
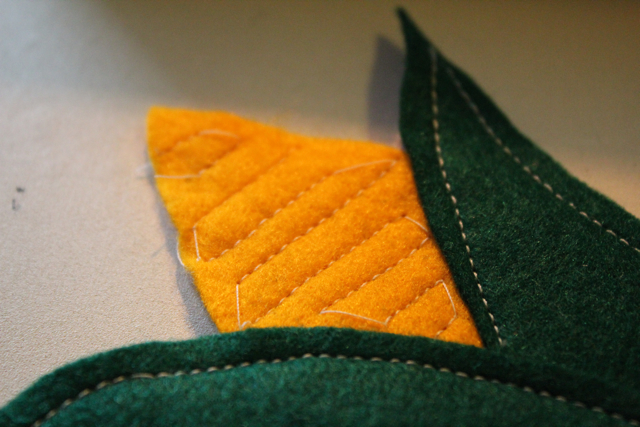
Corn on the cob:
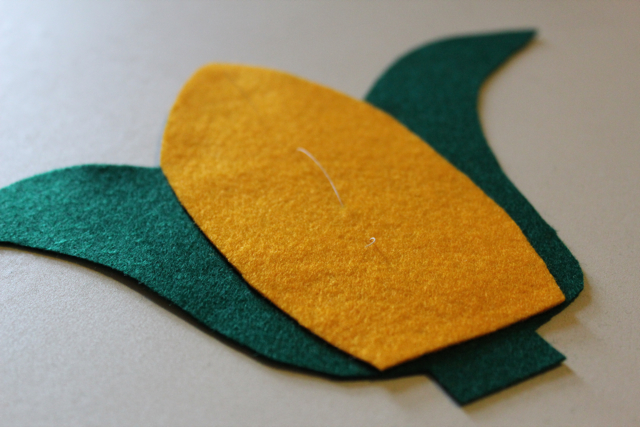
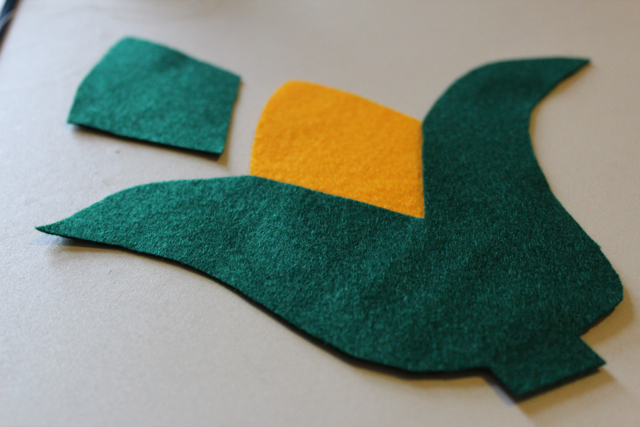

The wishbone is probably the easiest of all of these to make. I added a couple pieces of gray felt over my brown background for some added realism, but that’s probably not a necessary step in this process.
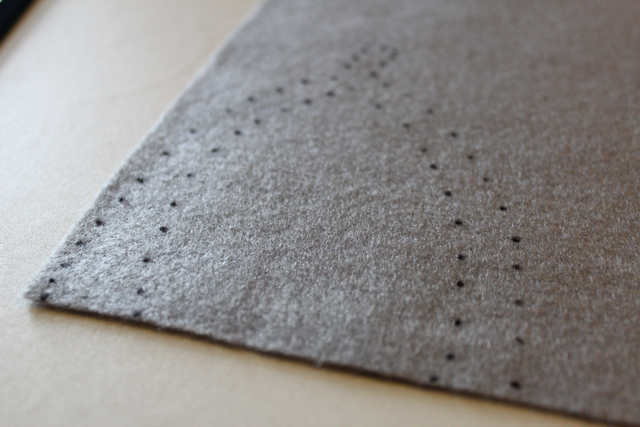
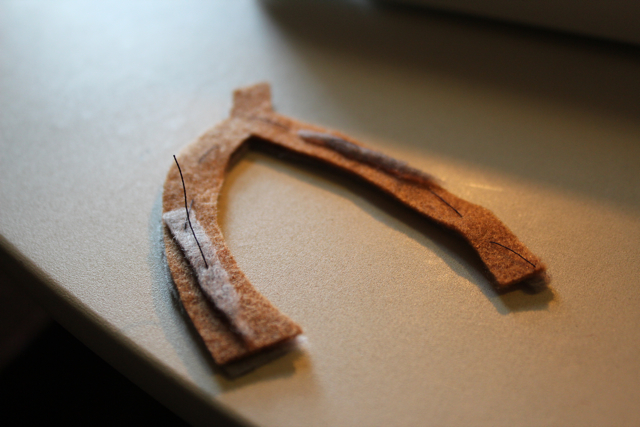
Once all of your felt food is cut out, cut out a backing piece of felt for each one. This will help them stand up when you attach them to the wreath at the end. A simple silhouette of the whole food piece is all you need.
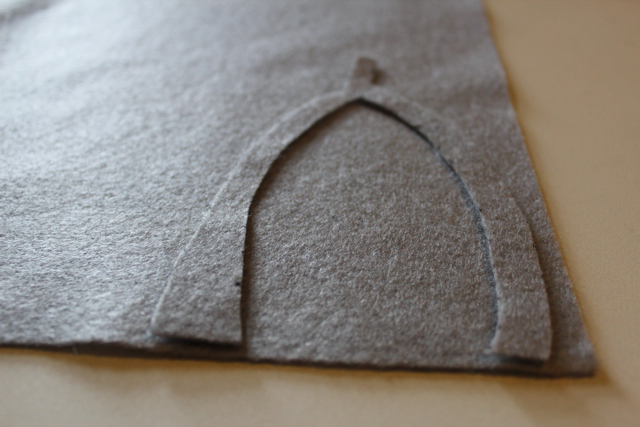
Then, use a simple basting stitch to hold them together. The reason you want to use a basting stitch instead of straight pins is because pins will warp your felt and affect how the pieces lay.
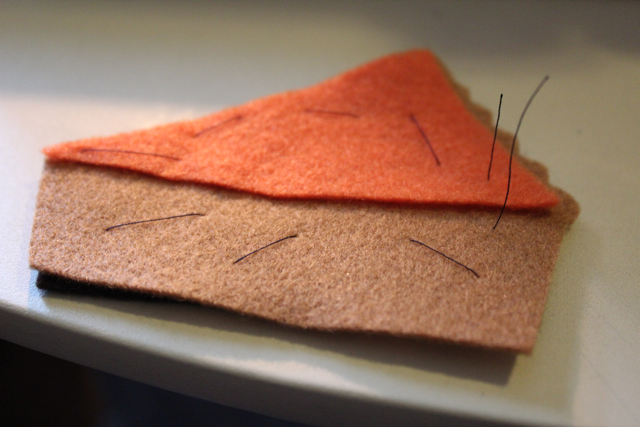
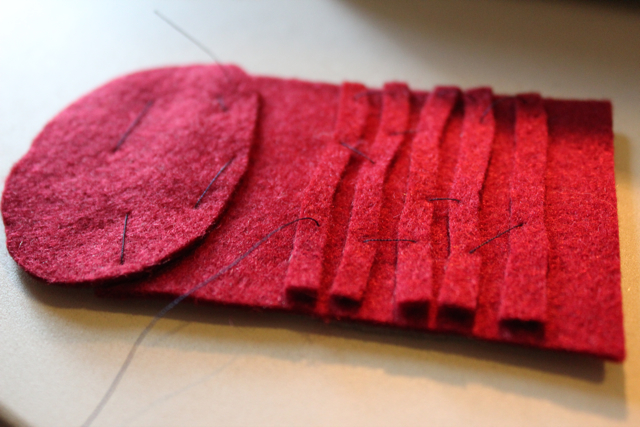
Now, you can start sewing all of the pieces together with a sewing machine. You can sew right over your basting stitches because you’ll be pulling them out later.
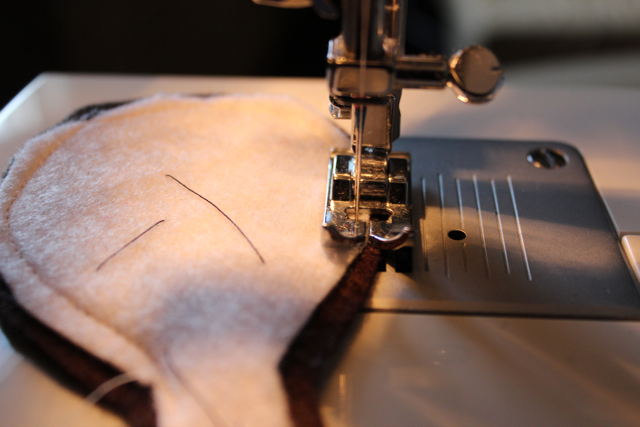
I had a fun time adding some textural details to my cranberries and corn on the cob, though it took a little creative maneuvering with the ole sewing machine.
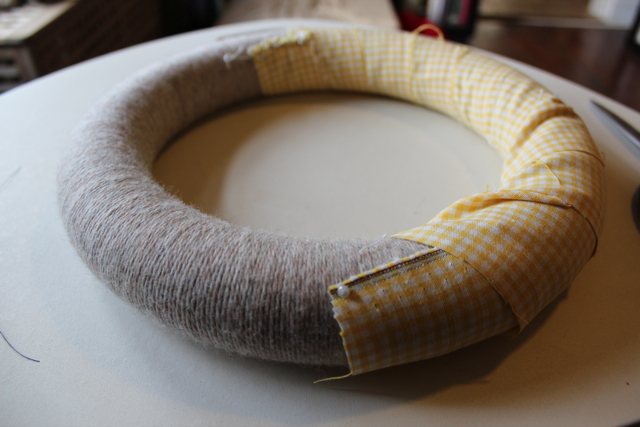
Once your food is all set, you’re almost home free! Cut some long strips of fabric and wrap them around your Styrofoam wreath, pinning them in place.
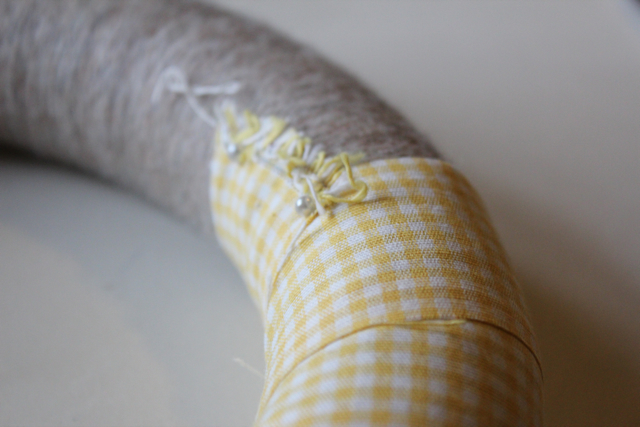
Play around with the placement of your felt food on the wreath until you’re satisfied. Then, pin those to the wreath with straight pins as well, being careful to conceal the pin heads behind overlapping pieces of food. If you created a backing for all of your felt food, it comes in handy here.
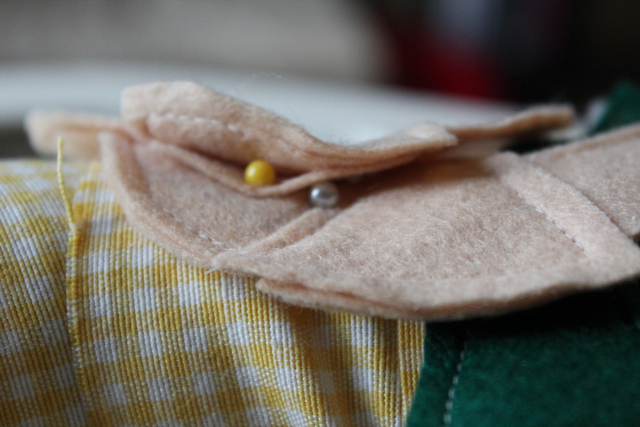
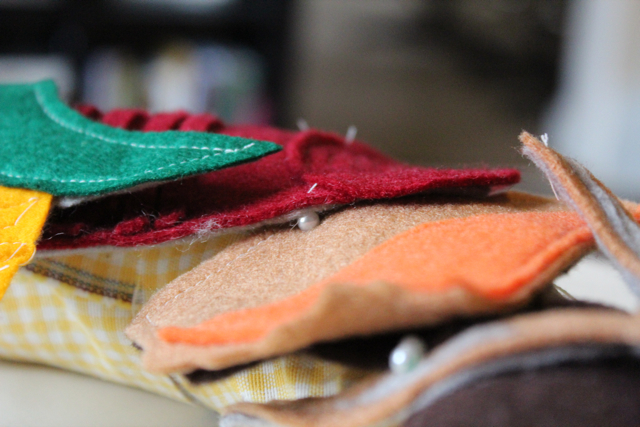
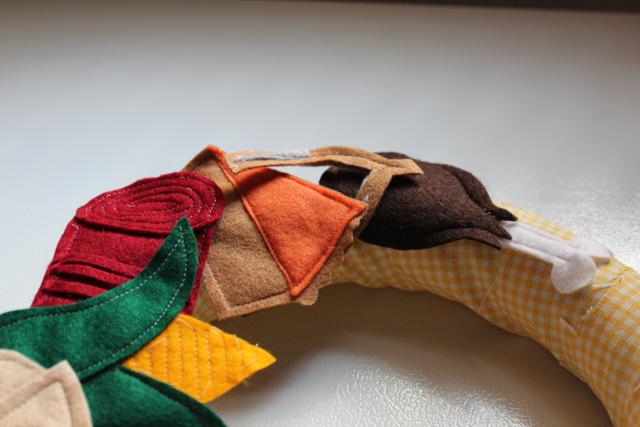
I like my Garfieldy wreath so much that I’m hanging it inside my door for the next couple weeks, at which time I’ll need to sit down and make some Christmas doodads. I really like this wreath and am glad I revisited my first, Halloween attempt and made it even better. If you’ve got friends who claim they don’t have enough time for crafting, tell them about this idea! It’s so easy to update this wreath every month once you’ve got the felt pieces in place. Just keep each month’s wreath accessories in a Ziploc with other holiday accoutrements, and you just swap out Halloween for Thanksgiving or Thanksgiving for Christmas (or whatever) each month. Easy peasy.





 & shop new patterns


[…] Hands Occupied […]