On Monday, Google ended Google Reader sharing as we knew it. My friends and I are were a part of a particularly active bunch of sharebros (a.k.a. Google Reader friends, like Facebook friends but so much better). Some of my ‘bros were even got a little bit famous last week with this article from The Atlantic Wire. My friends Laine and Ramey were mentioned and quoted in it. You see, they met on G’reader, married and are expecting a baby in a few short weeks.
via Iconspedia
In honor of their impending baby and to commemorate the end of Google Reader sharing, I decided to make them a special little onesie (surprise, guys!). If you happen to have friends totally hooked on G’reader like mine are, you should make them baby onesies or at least patches using the pattern I’m about to share.
Since it’s the old version of Google Reader I’m commemorating here, it only seemed appropriate to replicate the old version’s icon.
Supplies
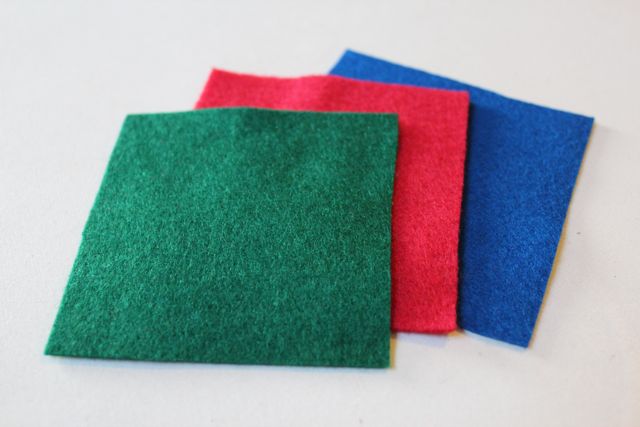
red, blue, green and white felt
fabric scissors
sharpie
needle & thread
a baby onesie
ruler
Directions
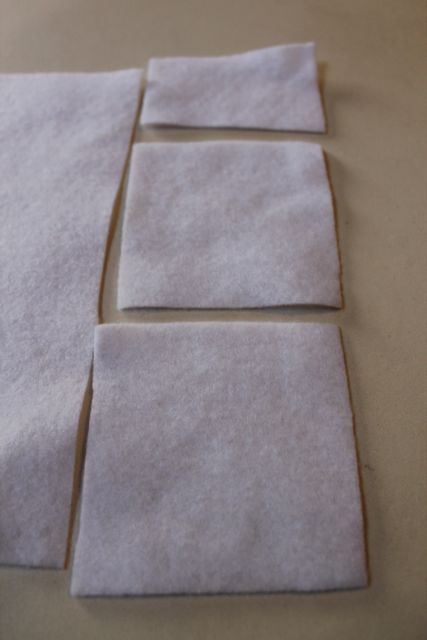
Cut one square each of red, blue and green felt in to 3″x3″ squares. My felt came in 8.5×11″ sheets, so for the white squares of felt I needed, I cut a 3×8.5″ strip of white felt into two 3×3 squares and used the extra bit leftover as-is.
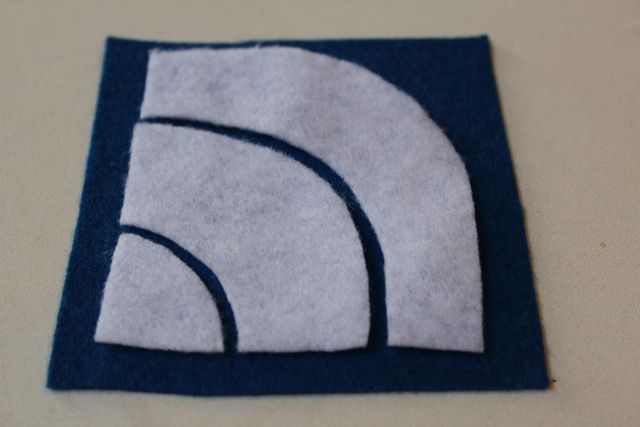
Cut one of your 3×3 white pieces into the following shape. Draw two curved lines on the shape and cut around them to form the RSS wave shapes from the icon.
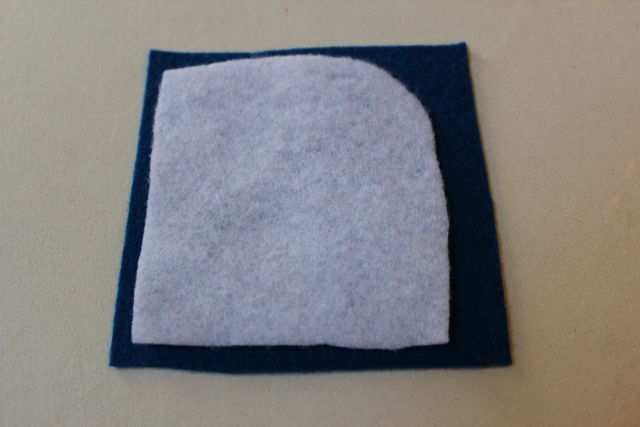
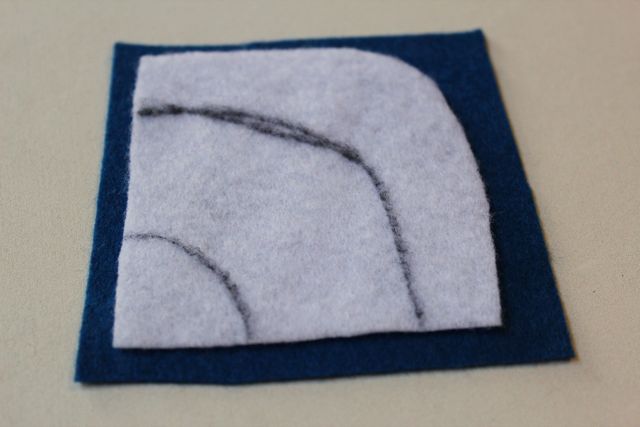
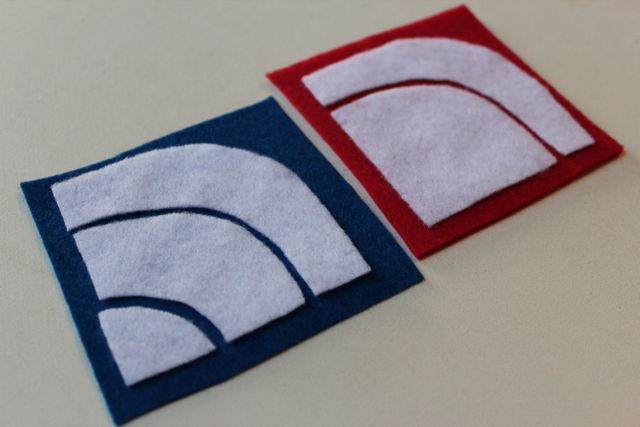
Following a similar procedure, cut out the following shapes for the red piece of your icon. The reason I did less cutting for the red piece was because you don’t see the full square when the blue square is laid over it. I referred back to the original icon a lot as I worked on this project.
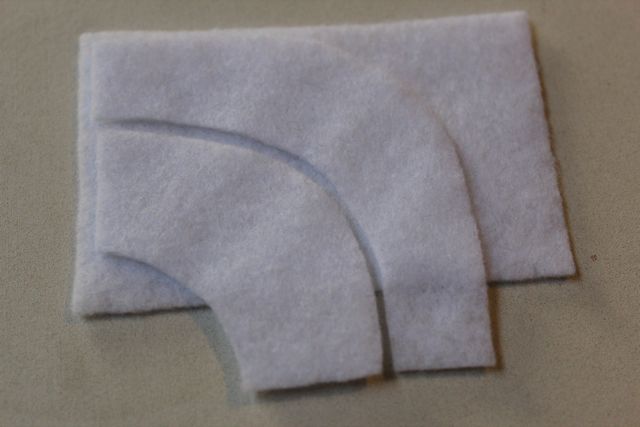
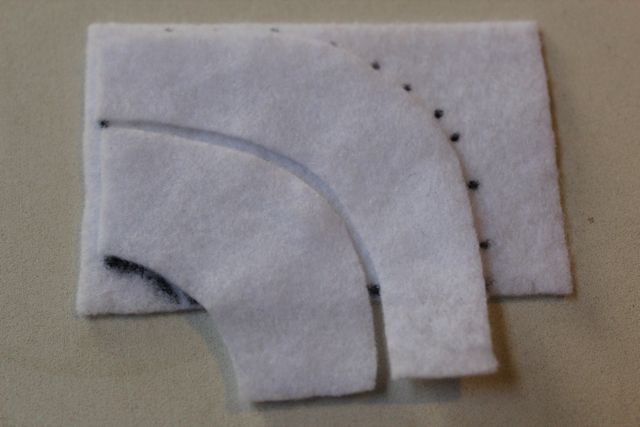
For the white pieces of felt that will lay over the green felt, you can cut out even less. This is where not needing a full third 3×3″ square of white felt comes in. I think I’ll let my photos do the explaining for how I cut out my last set of RSS-wave shapes:
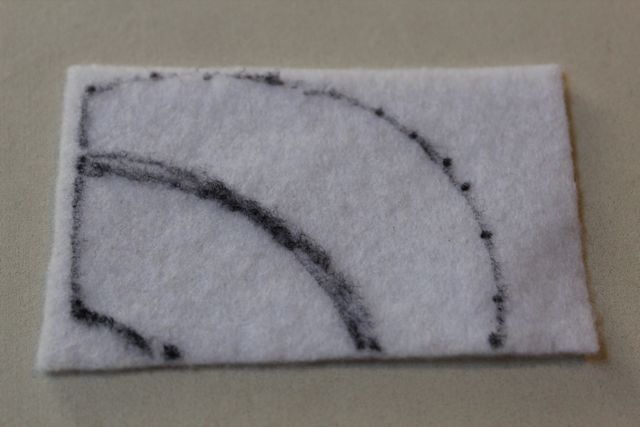
Once your pieces are all cut out, lay out everything on your work surface to make sure you’re happy with how it all lays. Now, round off the corners, being careful not to take too much off.
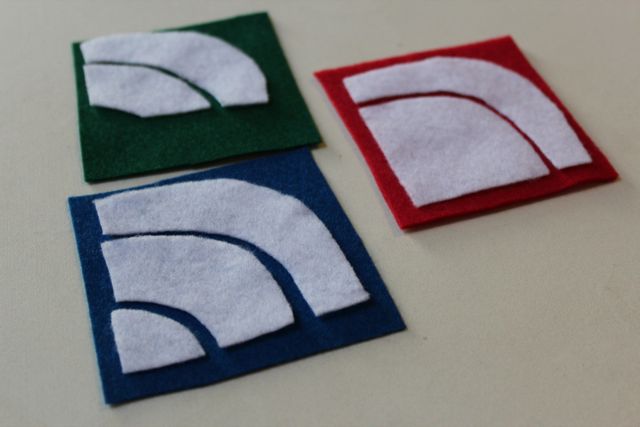
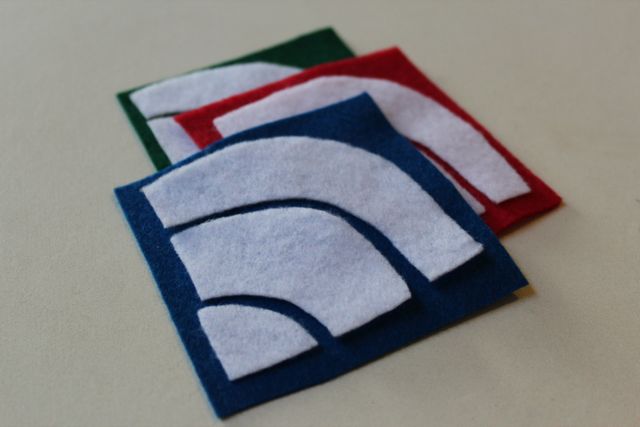
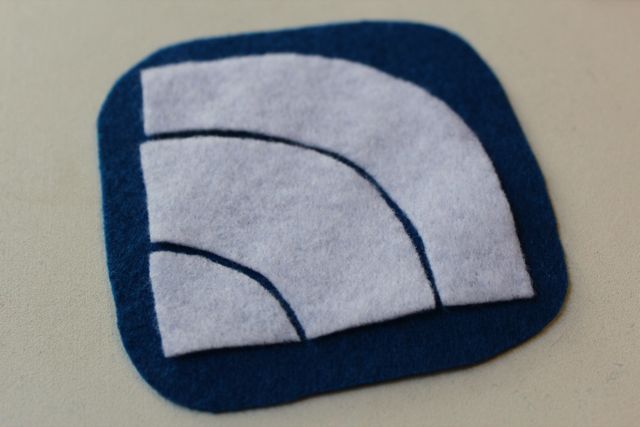
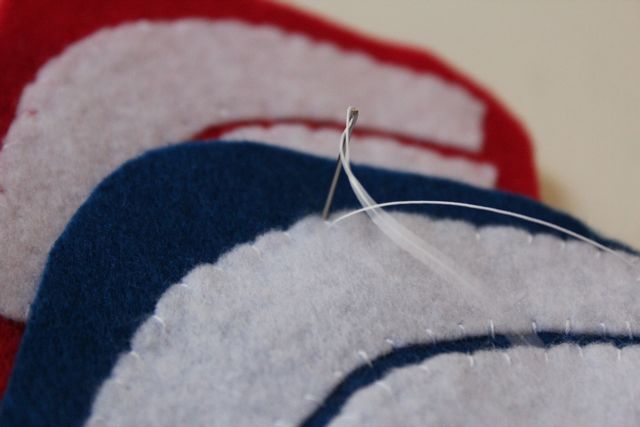
Time to start sewing! I used a basic stitch perpendicular to the edges of the pieces I was sewing to make it look very quilt-y. (If anybody knows a proper name for this, let me know. It’s late and I’m too tired to look up wtf it might be called.)
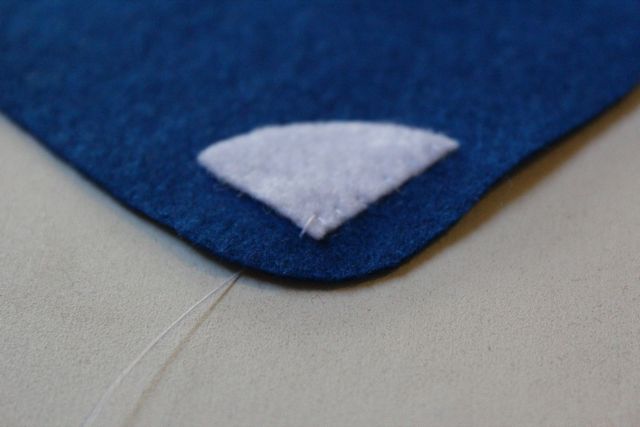
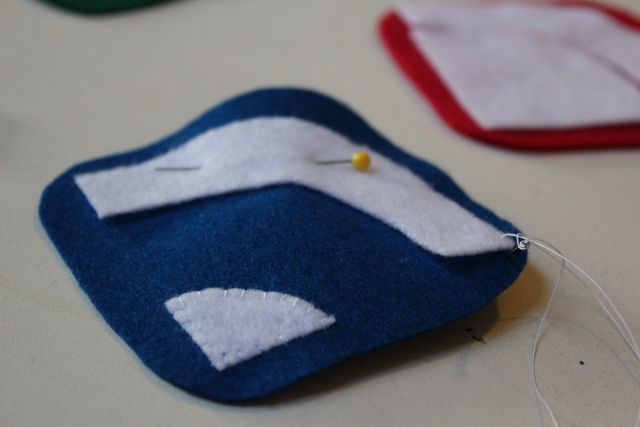
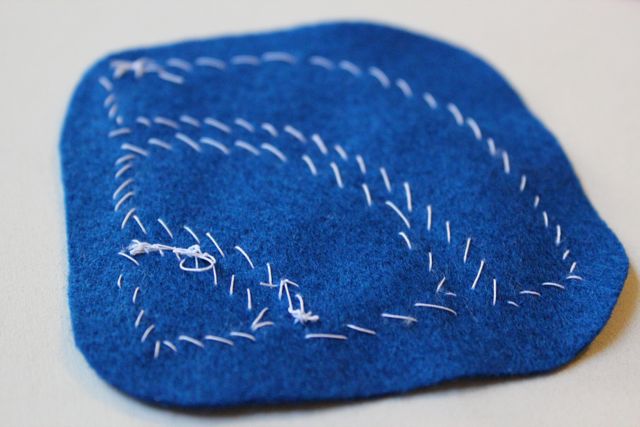
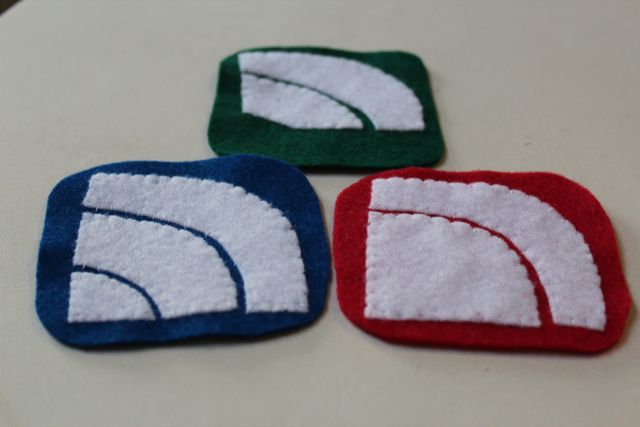
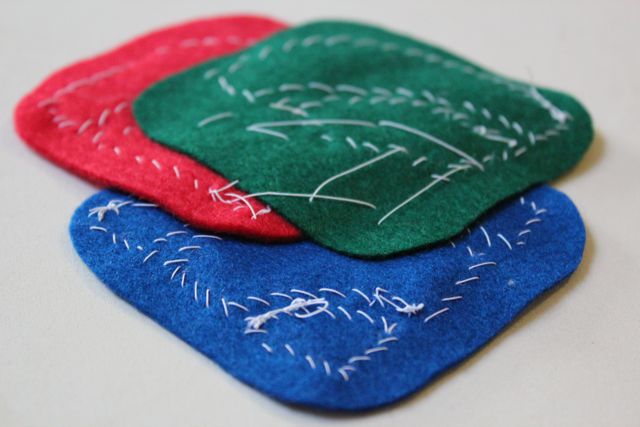
After all of the white pieces are sewn to each colored piece, lay all three in place based on the icon. Â Take off the blue piece and loosely sew the red and green ones together. Be careful to conceal the thread in places where it will be covered by the blue square.
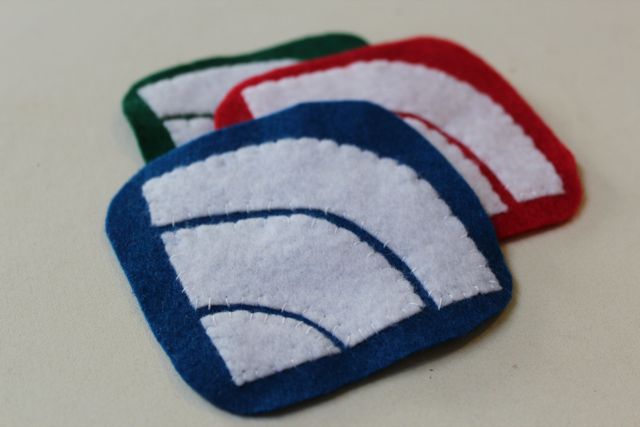
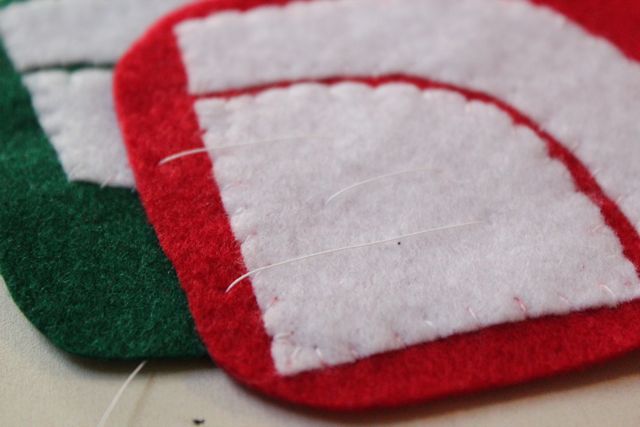
Next, add the blue piece. Since these stitches will have to be visible, place your stitches where there are already stitches in place. Like this…
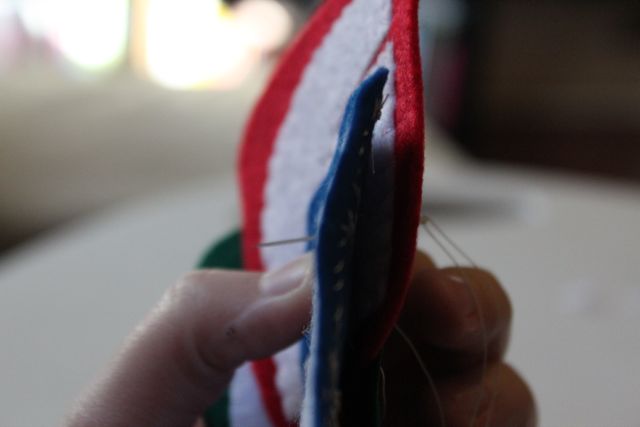
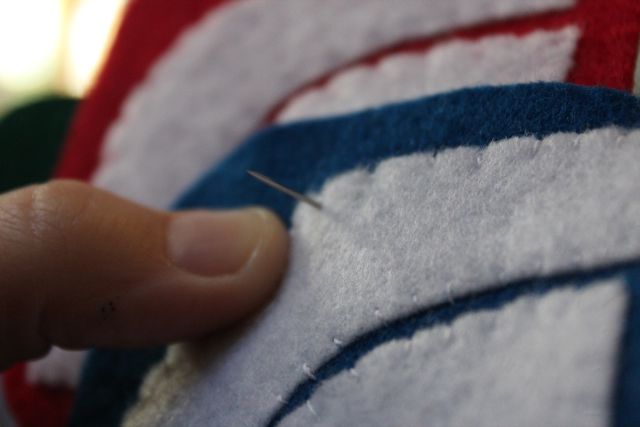
Now, sew the whole icon to your onesie using the same style of stitching you used to attach those white pieces to the colored ones. Tie it all off, and you’re set! So cute!
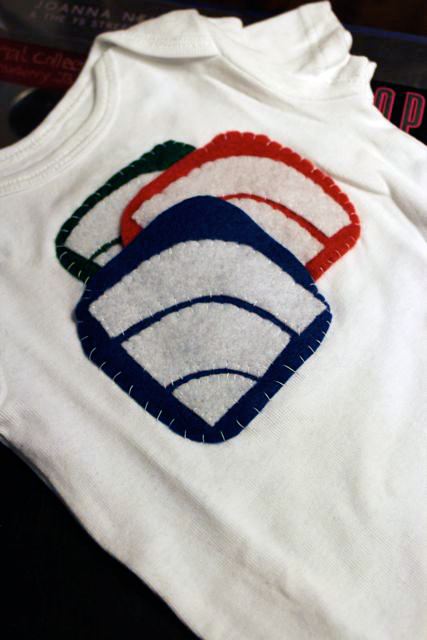
Hey, Laine? Surprise gift! Email me your mailing address so I can send you this thing. :) Normally, I’d just @you on Reader, but y’know, I can only G+ it now. #notpleasedÂ
I was originally going to have the phrase “never forget” below the icon, but I think the icon alone is much more attractive. Anybody else made techy onesies they’d like to share? Throw me a link in the comments and I’ll post it on Facebook!



 & shop new patterns


[…] It feels like so long ago that I made my Google Reader buddies’ new babies Google Reader logo onesies. […]