Only have a little time to spare for Halloween decorating? This easy project is for you. My vision for this pumpkin was to make it look like something from a crime scene. A pumpkin from the wrong side of the tracks. A pumpkin that’s seen too much!
I wanted to make this gory without being overtly disgusting like a lot of store-bought decorations out there. It took me a couple tries to get the look I wanted, so read on for some pro tips. My first, failed attempt:
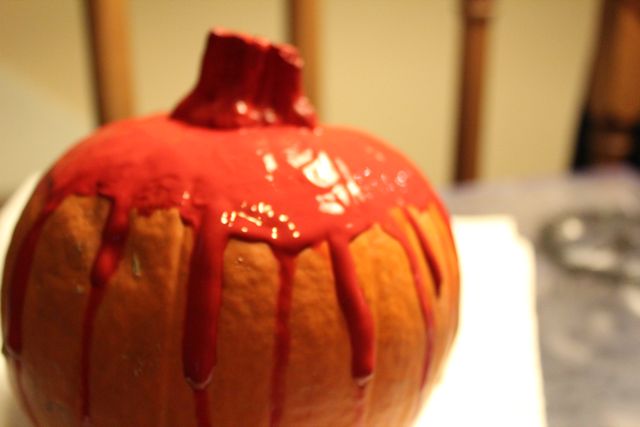
Supplies
decorative pumpkin(s)
red acrylic paint
paint brushes
water
Directions
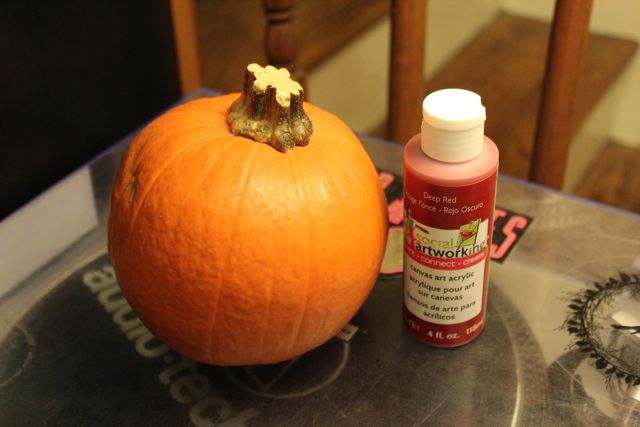
Clean your pumpkin. Mix equal parts paint and water in a container (I used a laundry detergent cap found in my recycling).
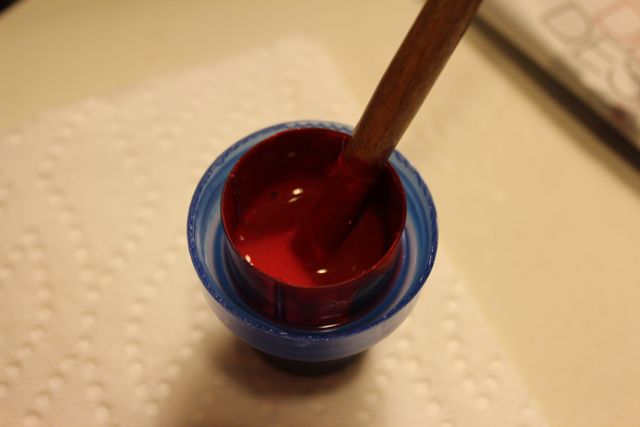
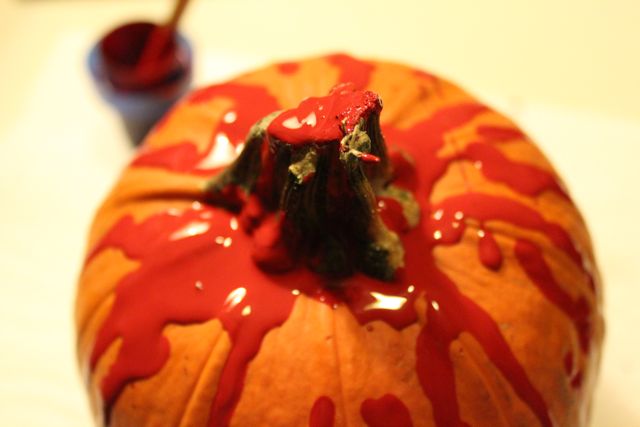
Saturate your brush with the paint mixture, and hold it over your pumpkin. Let gravity do the rest. You’re going to want enough paint on your brush that it drips down the pumpkin.

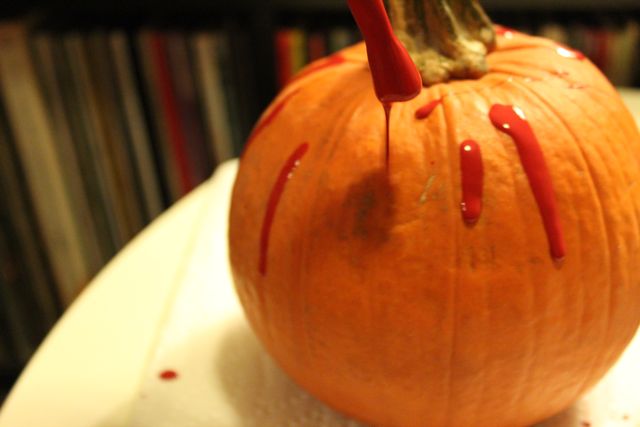
The reason my first attempt at this project failed was because I was using 100% paint, not 50% paint, 50% water. Water not only thins out the paint, making it less gluey, but water molecules are polarized, making them run together. This effect works well in this project because you’ll want to add more paint to certain drips to make them run further down (or more thickly). Here are some pics of this process in action:
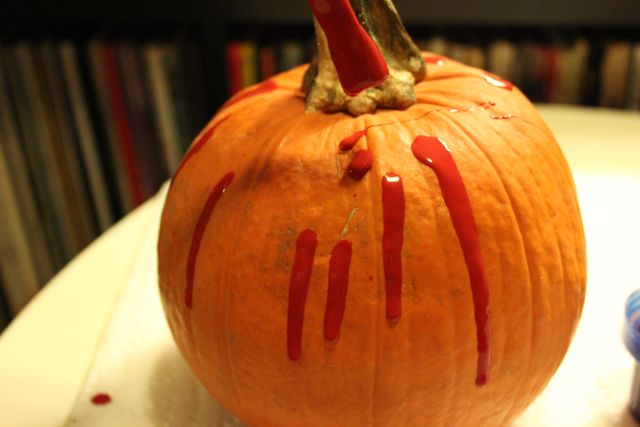
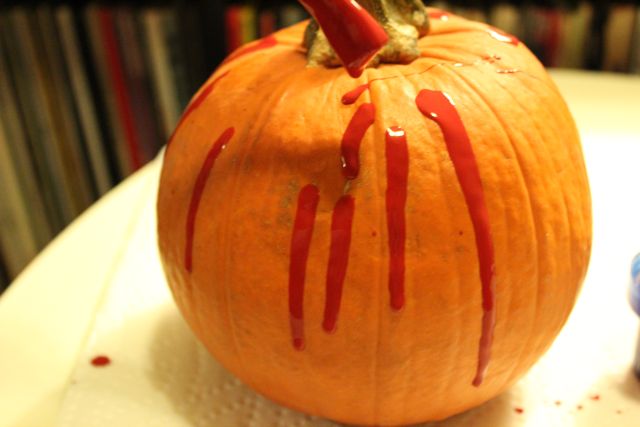
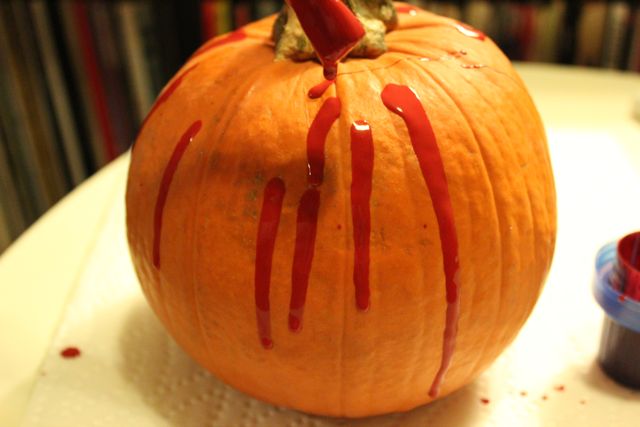
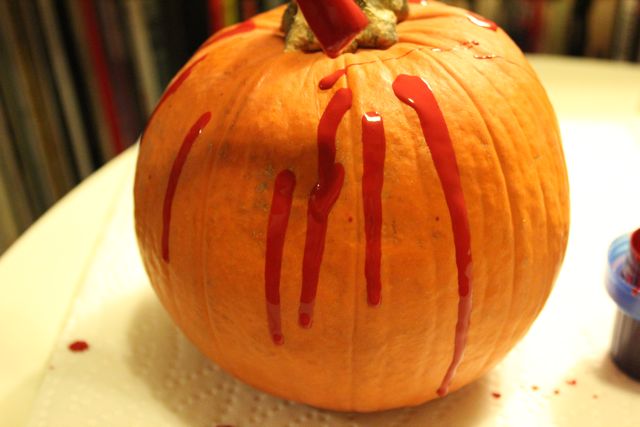
I found out it was helpful to add some extra drips on and around the stem too. The pooling effect helps it look realistic, I think. As if I’d know what a gory murder scene looked like…
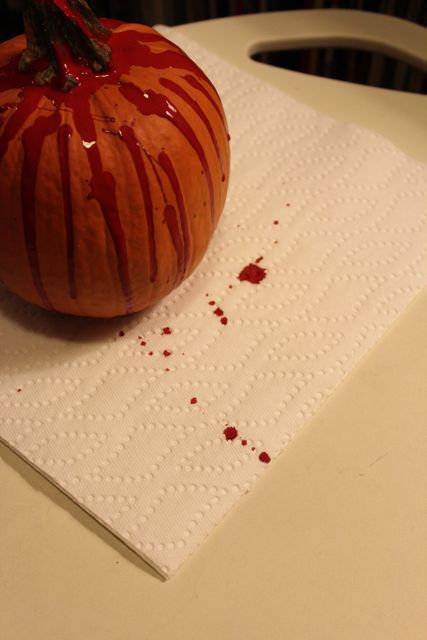
The other thing that I’m thinking about reusing from this project is the paper towel I used to protect my table. Maybe I could frame part of it and add “Happy Halloween” for a decoration? I’ll keep you posted!




 & shop new patterns


Leave a Reply