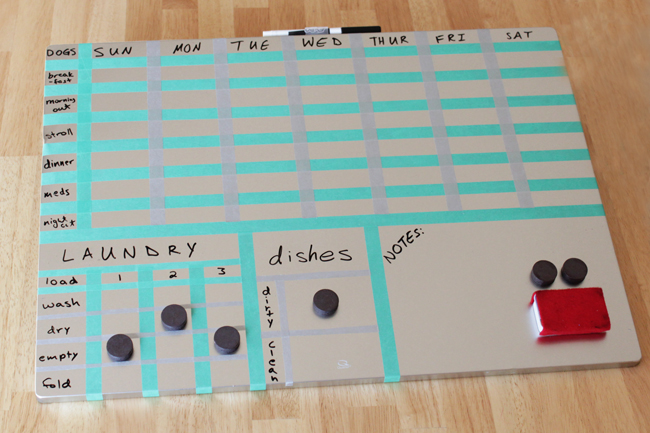
Even a household as small as mine, with just two humans and two dogs, can take a bit of doing to remain organized. Our dogs can get sick and be put on different medicine from time to time, which changes our routine. And I’d be lying if I said that in the morning rush, we were perfect at keeping track of which of us fed or let the dogs out. This scheduler came about after one too many last minute realizations that one of us had to catch a train or get going to beat traffic AND the dogs hadn’t been let out.
This project is a little different than what I usually post about, but I think it’s something everyone can use. Also, it’s a practical use for washi tape, which is a super fun crafting supply in pretty much any circumstance.
Supplies
dry erase board & marker
scrap of felt
hot glue gun
strong magnets
small, empty mint tin
your favorite couple rolls of washi tape
scissors
ruler
graph paper
painter’s tape (optional)
rubbing alcohol
Directions
1. Make a mini magnetic eraser for your board
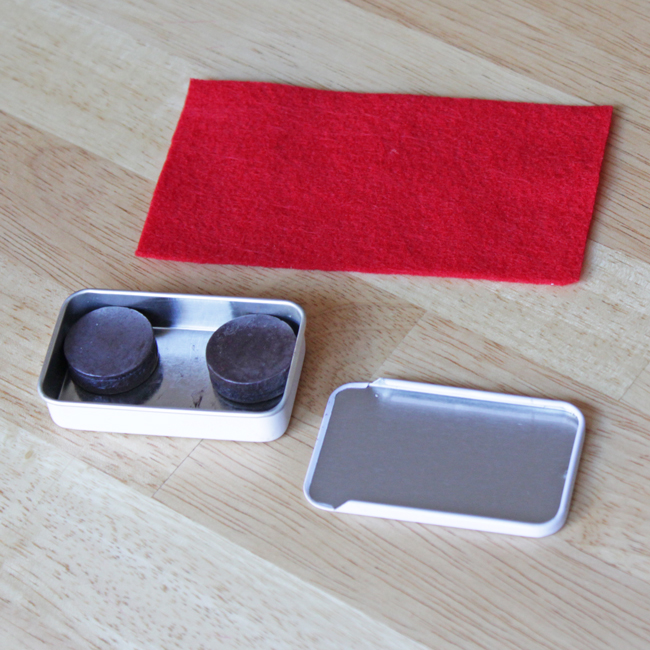
Cut a rectangle of felt as wide as the longest side of your mint tin. Place two magnets in the tin as shown. Close your tin with the magnets inside.
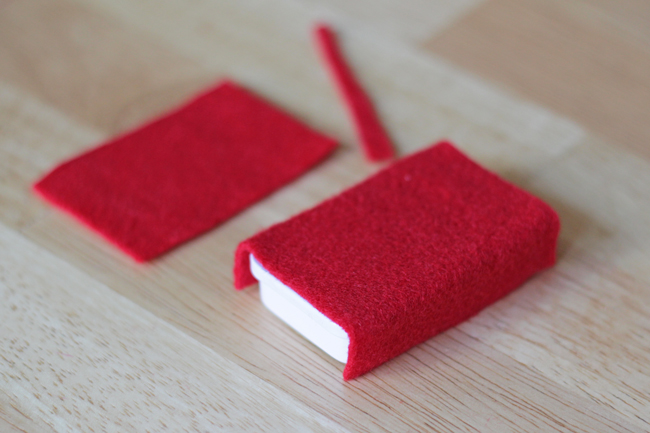
Hot glue your felt to three sides of your mint tin and trim any excess felt. Voila! One small, magnetic eraser that can live right on your soon-to-be home scheduler board.
2. Sit down with some graph paper and plan out your home scheduler.Â
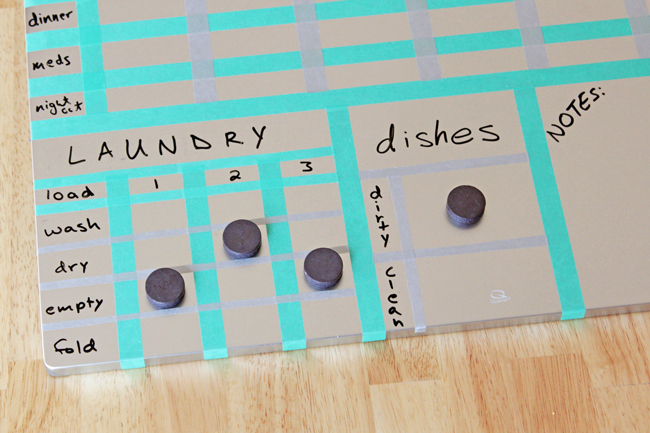
Sit down with some scratch paper and outline your home scheduling needs. My husband and I have three main tasks that we regularly forget about or half-complete or share the work of: laundry (leaving clean, wet laundry in the washer), putting dirty dishes in the clean dish washer, and all of the tasks related to our dogs.
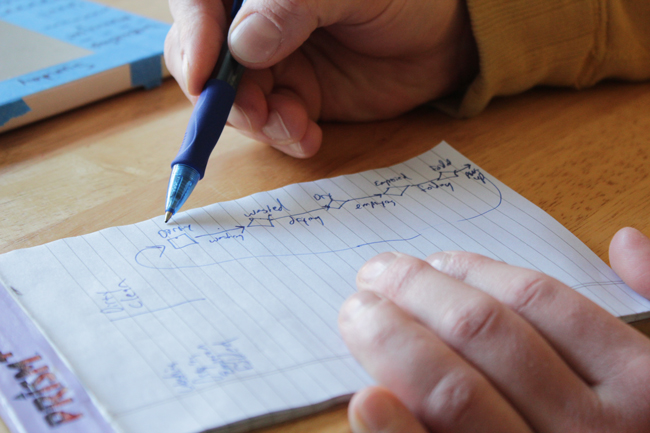
Once you have a full list of the tasks you’ll need on your board, you’re ready to plan the layout. Measure the height and width of your dry erase board. Draw a rectangle representing your board on some graph paper, with each square representing one square inch.
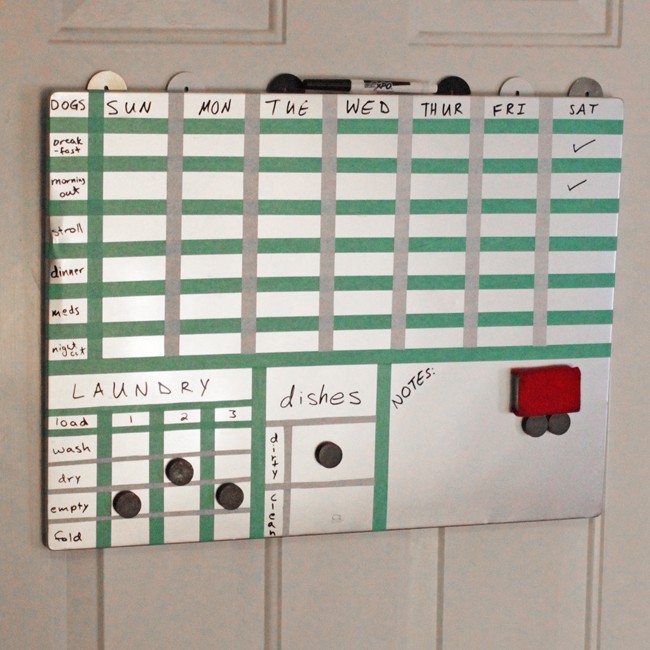
Most our board is taken up by dog-related activities: morning outside time, breakfast, walk, dinner, any meds they need to take, and their evening outside time. I needed one row for each task, one column for the list of tasks, and one column for the seven days of the week. Looking at the available space on my board, it was clear that the top half should be set aside for dog stuff since the laundry and dishes tasks didn’t need a ton of space. To make my board look nice, and have the different columns and rows evenly spaced, I busted out the calculator to determine the ideal dimensions of the columns and rows. Then, I sketched everything out on my graph paper to make sure my math was accurate.
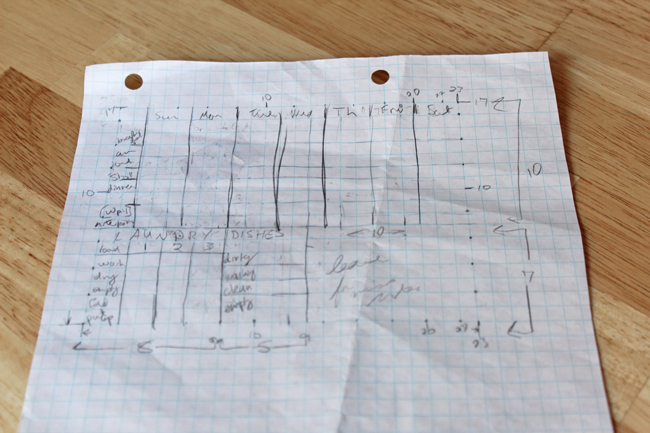
3. Test run your board (optional)
My husband and I made a version of our scheduler to try out for a month before I spent a ton of time making my board pretty and absolutely perfect. I taped off the whole thing with easily removable painter’s tape and we got to see what worked and what didn’t. We realized we didn’t need more than a “clean” and “empty” row for our dish washer tasks, for example, so when I revisited my design after the test run, I had more space to play with. We also chose to cut “put away” from our list of laundry tasks.
4. Tape up your board
Clean the whole board with some rubbing alcohol. Washi tape is a little see through, so marking your lines with dry erase marker isn’t a great idea. Rather than marking out your design with marker, here’s a clean technique I find successful.
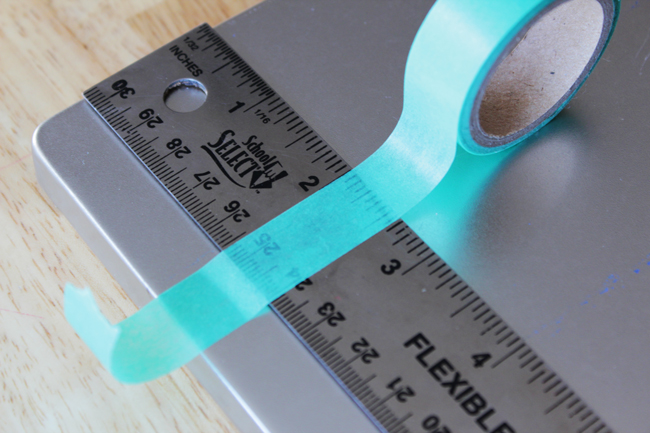
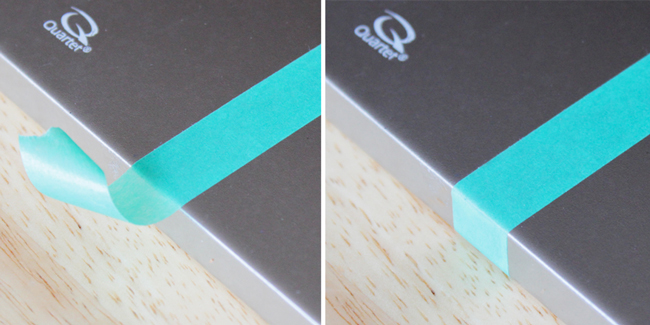
Keep your graph paper map nearby and use it for reference as you go. Using your ruler as a guide, place some tape at the edge of your board with a little bit of a tail. Lay the tape right on the ruler to ensure proper tape placement. Pull the tape off the ruler, move the ruler up the board and repeat the process until all of the tape is place where it should be, forming a line for your schedule grid.
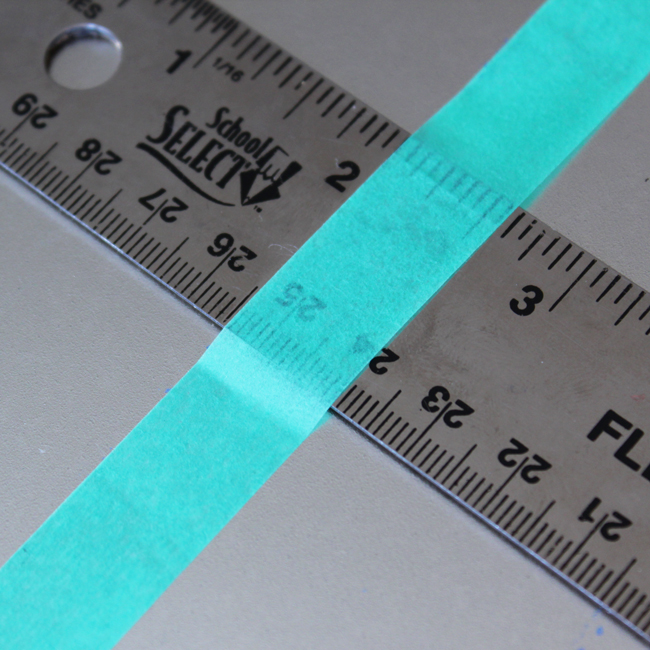
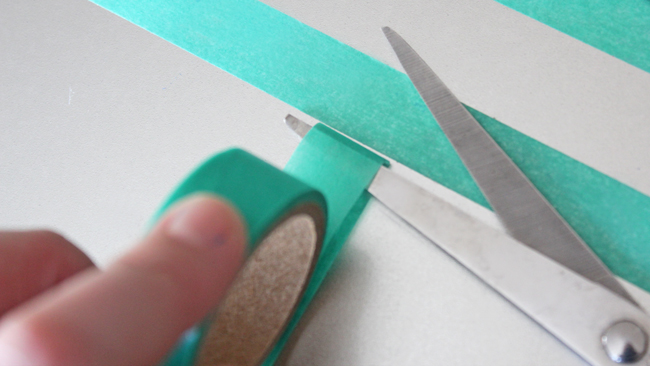
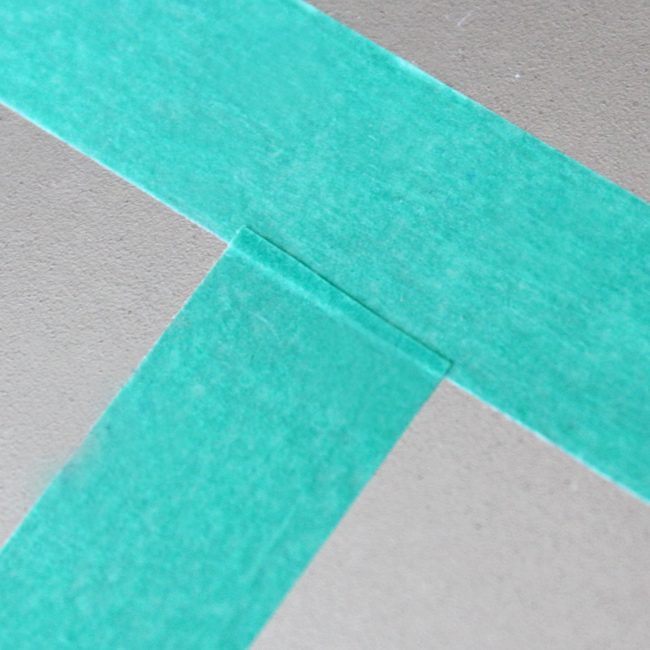
If you have two lines that run into each other, you’ll want just a little bit of overlap to keep the look of your board clean. You can fold the tape back and cut near the edge with a scissors, as shown below.
Remember the little tape tails from when you started taping your lines? Wrap those all the way around to the back of the board over the edges to complete the clean lines of the board.
I mixed in some silver washi tape in addition to the green lines to keep the board from getting too visually overwhelming. The lighter color tape helped break up each section of the board so it didn’t look like one giant grid. Maybe I got a little obsessive during this project, but I’m glad I spent so much time planning – I think the results were totally worth it! Now our dogs will never again be over or underfed, assuming we remember to keep it up to date. :)


 & shop new patterns


Leave a Reply