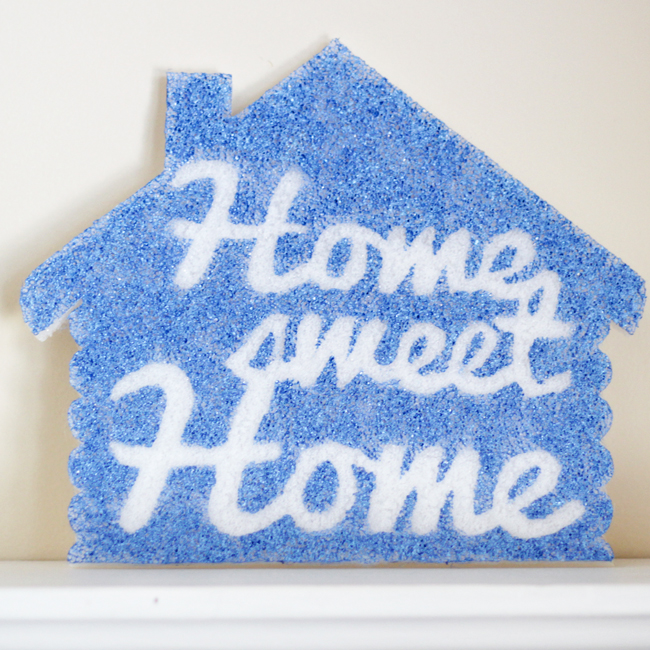
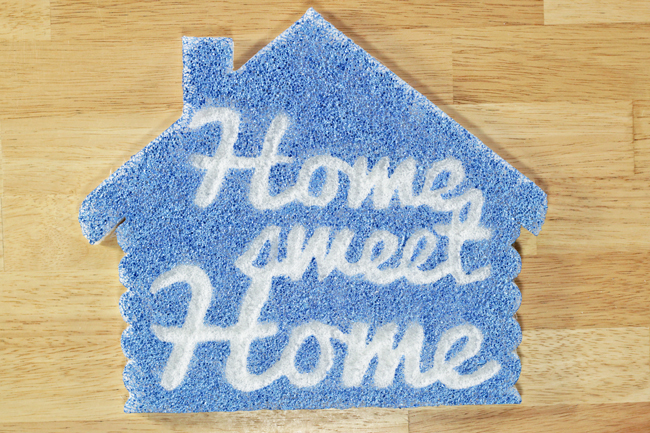
I got to learn about a lot of new craft products and tools at the Craft & Hobby Association conference in January, but probably my favorite find were FloraCraft’s new styrofoam tools. I never used to know quite what to do with styrofoam beyond using it as-is out of the box to create cute wreaths and such. Today’s project was created with the help of these new tools, some graphic design software, and a bit of craft paint. For now, this home-sweet-home accent lives on my living room mantle, but I plan on hanging it on my font door soon.
Supplies
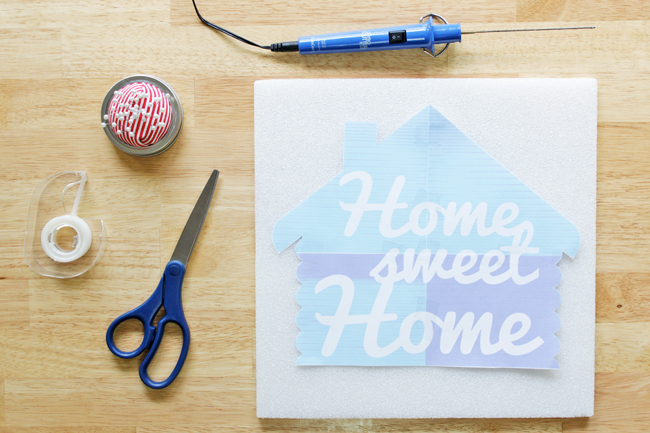
straight pins
scissors
clear tape
12″x12″ styrofoam sheet
Styro Cutter® Plus
a scrap of corrugated cardboard
this pattern
styrofoam tuck & scribe tool
acryllic craft paint
paint brush
Directions
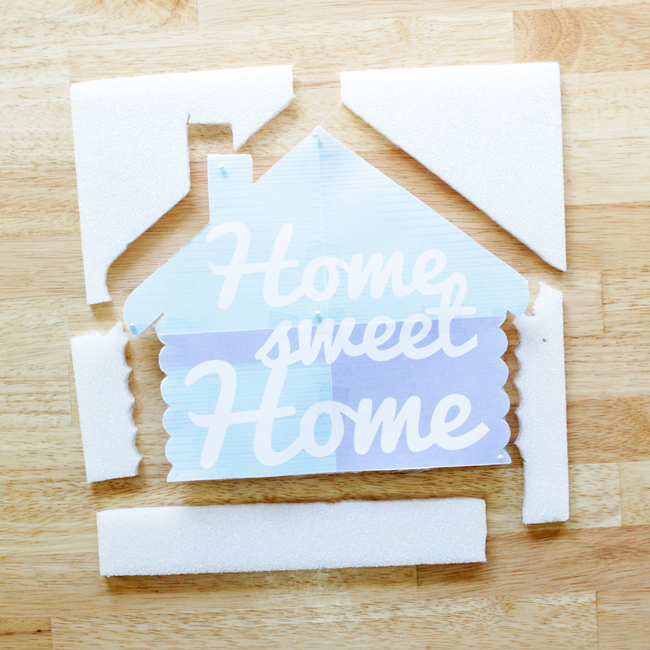
Begin by printing out this pattern (make sure that you’re printing one page per standard 8.5×11 sheet of paper), cutting out the four pieces and taping them together. Pin the pattern to your styrofoam sheet with straight pins. Plug in your Styro Cutter Plus and let it heat up – it heats up quickly, kind of like a curling iron, but it gets up to 410 degrees. Be very careful when you use this tool. It’s a great tool that I really like, but you need to handle it with care.
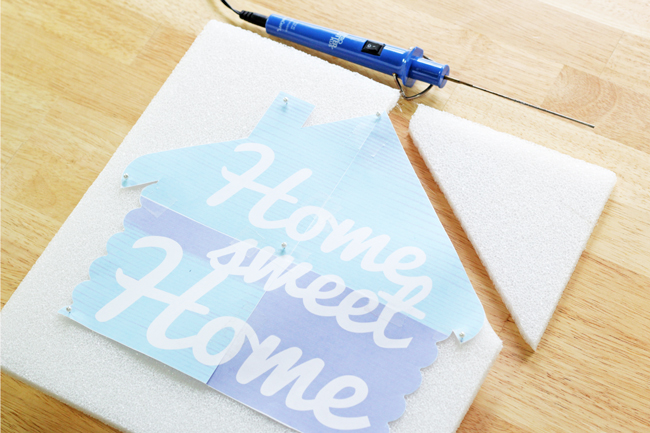
When the tool is fully hot, begin tracing around your pattern. I found it was easiest to cut it out in sections, rather than all at once.
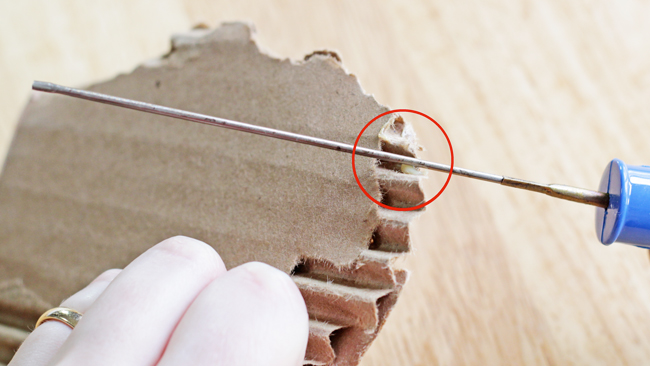
As you go, some melted styrofoam will build up on the Styro Cutter Plus tool, and simply running the tool over a ridge in the cardboard will easily clean off the residue.
When the outline of the cabin shape is all cut out, set aside the styrofoam pieces, and remove the pattern from the styrofoam.
Cut out the letters that spell out “home sweet home” carefully, creating a stencil. You can leave the middles of letters like “e” and “o” in, as shown. Center the phrase on the styrofoam and secure several straight pins.
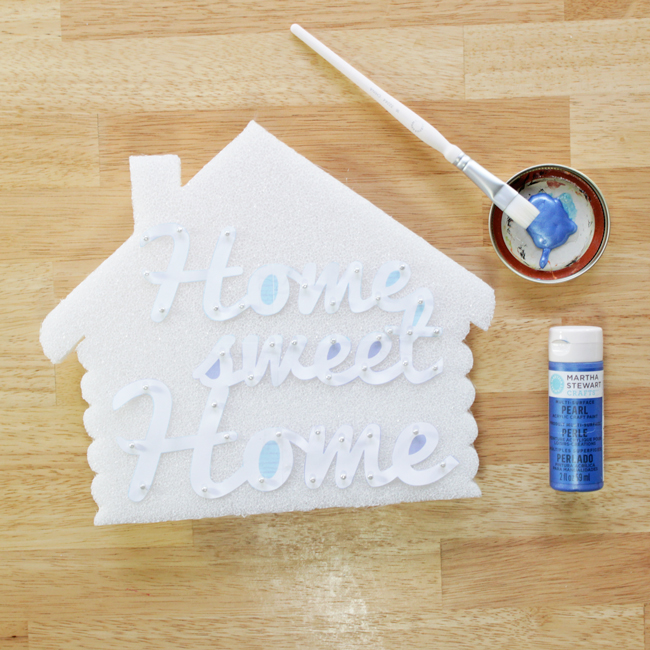
Paint over your stencil, being careful not to get paint under the stencil, affecting the legibility of the letters. Since you’re painting on styrofoam, rather than paper or fabric, the paint won’t run under the stencil like it could with those other mediums. The one drawback of the styrofoam in this case is the fact that it takes a few layers of paint to get good color coverage. FYI :)
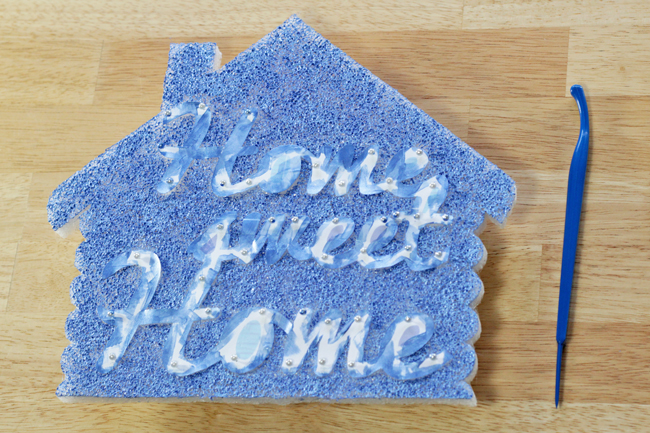
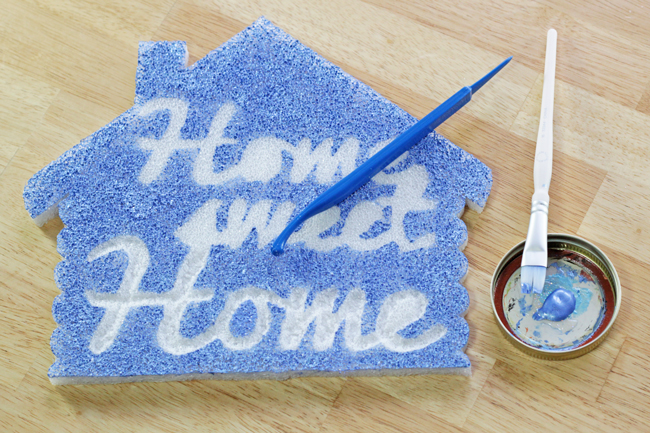
Let the paint dry completely before carefully removing all pins and peeling away the letters. Next, grab the tuck and scribe tool and squish down the unpainted styrofoam with the rounded end. This adds some great texture & depth to your sign. When you get to letters like “e” and “o”, leave the middles un-squished.
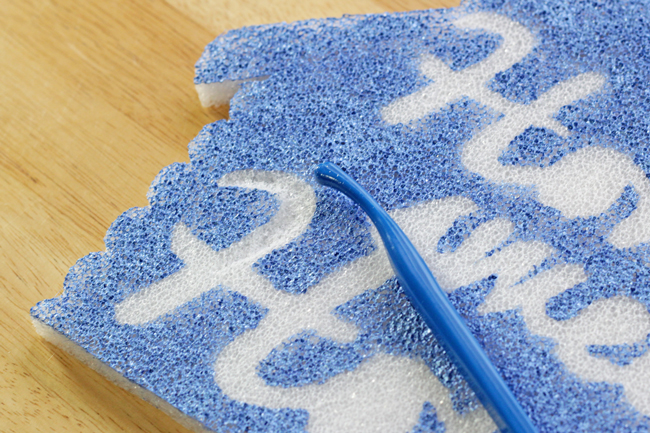
When you’ve finished squishing down all the letters, paint the un-squished middles and let dry. You can do this word by word or all at once, it’s up to you.
The styrofoam and styrofoam tools used in this tutorial were provided by FloraCraft.



 & shop new patterns


Leave a Reply