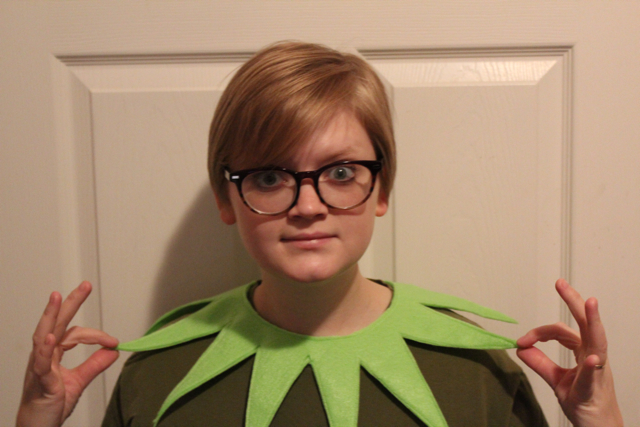
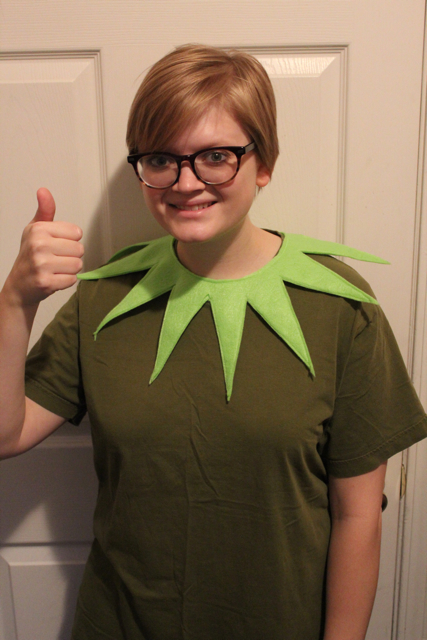
The new Muppet movie comes out Wednesday, and in that spirit, I decided to make a little accessory to wear to the theater. If you haven’t noticed, I really like making media-inspired costumes. This collar can be knocked out in about an hour if you use my pattern.
Supplies
This pattern (it fits a neck up to 18 inches around)
a printer
iron
very sharp fabric scissors
1/2 yd. eco or wool felt in lime green
coordinating thread
freezer paper
needle
sewing machine
snap closure
Directions
Download the pattern, print it and cut it out. Trace the pattern on to a piece of freezer paper. I did half of the collar at a time, but you can do it in quarters, or quadruple the pattern and make one large pattern piece using freezer paper.
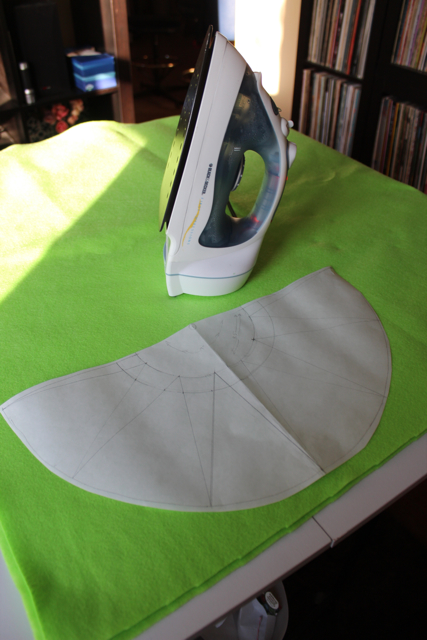
Iron your freezer paper, wax side down, on to your felt.
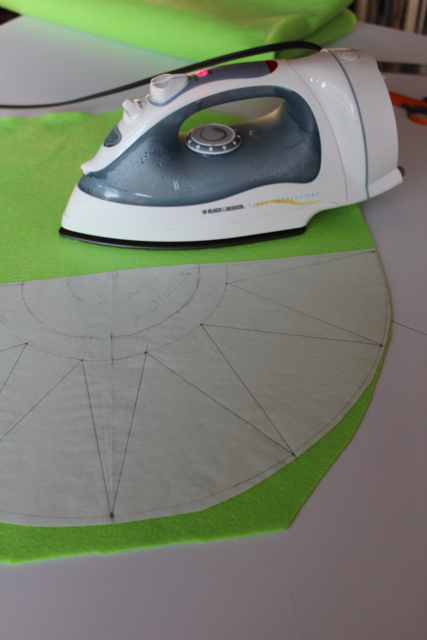
Use your sharp scissors to cut the felt, right through the freezer paper. Cut directly along the pattern lines. There is no seam allowance needed for this project.
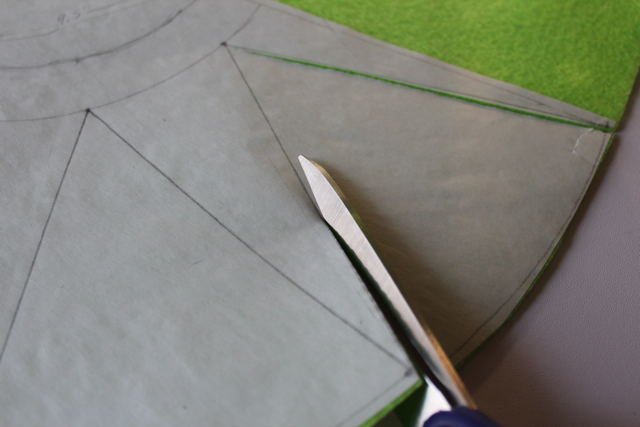
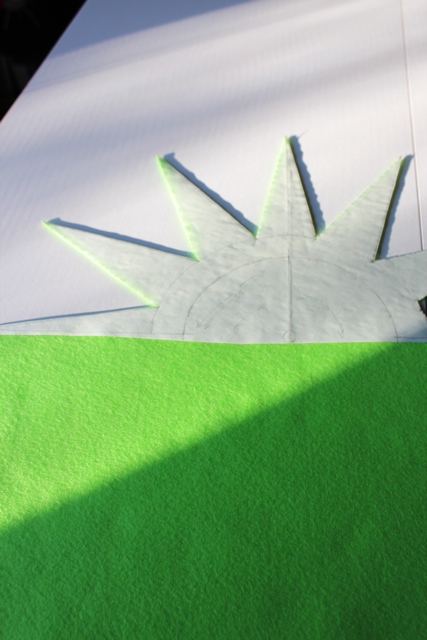
If you’re cutting out the felt in quarters or halves, like I did, you next need to gently remove the freezer paper pattern from your felt. Iron it to your felt, lining it up as carefully as possible. Cut the rest of the felt piece out. I think the finished shape can be best described as a “starburst.”
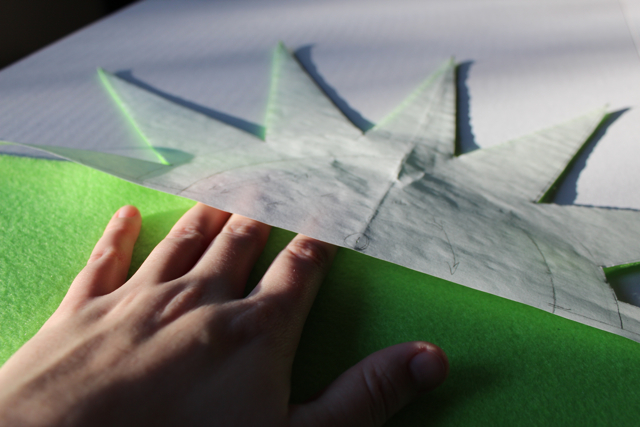
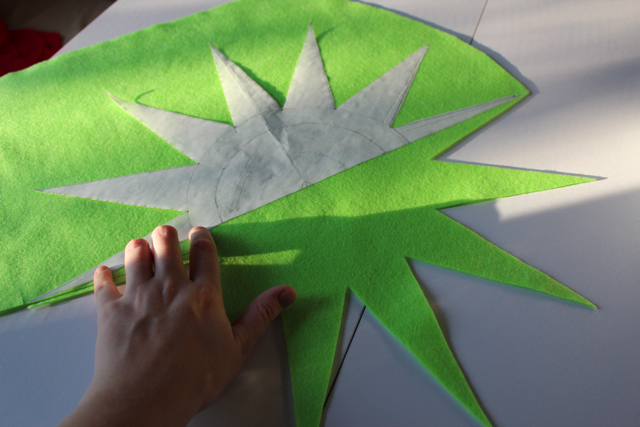
Repeat the whole process to create a second starburst.
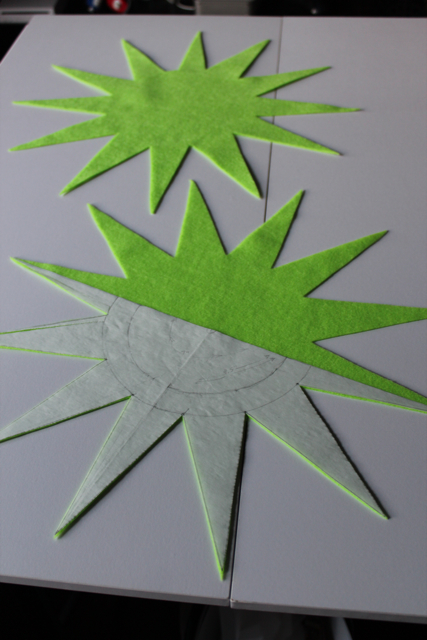
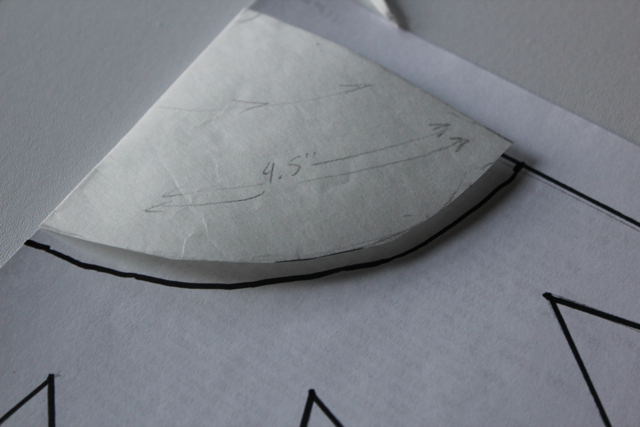
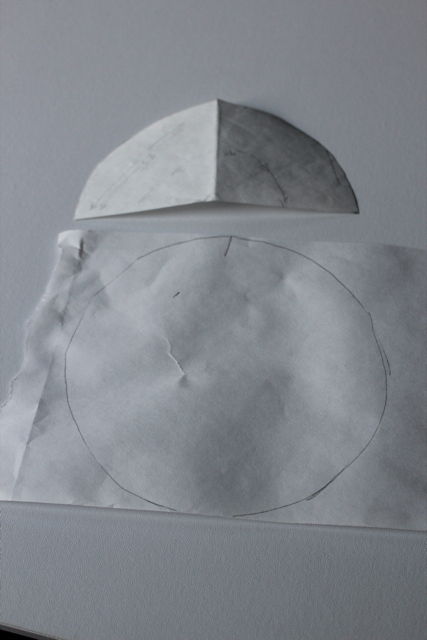
Grab your pattern. Use the quarter of a circle shape in the upper left to create a neck hole. Quadruple the quarter circle on some freezer paper, iron it to the exact center of one of the starbursts. Cut out your head hole. The pattern’s head hole fits a neck up to 18 inches around.
Next, line up your two starbursts. Use a basting stitch to tack the two pieces together. To make sure the pieces stay lined up, baste all the way around the starbursts, all the way to the tip of each point.
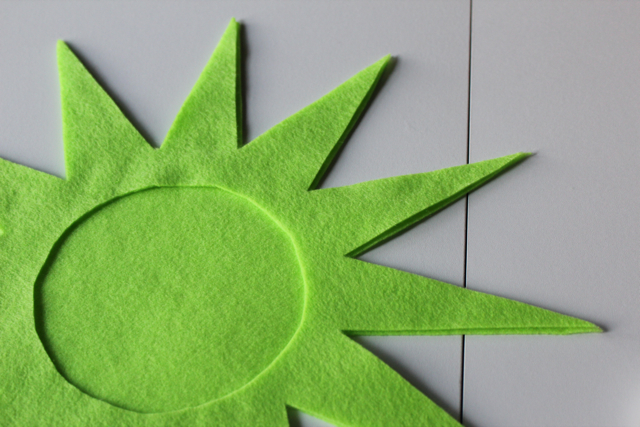
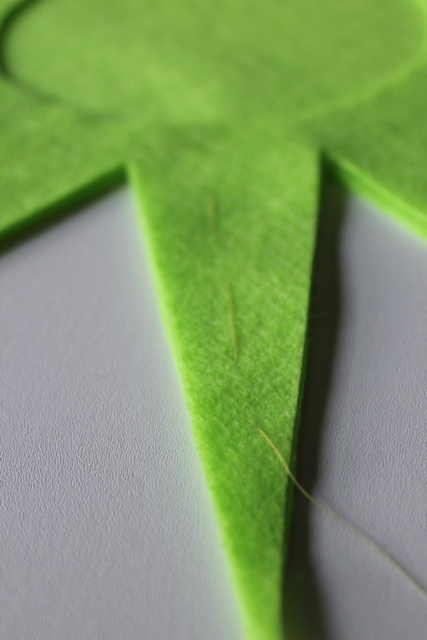
Sew along the edge of the whole garment using a sewing machine.
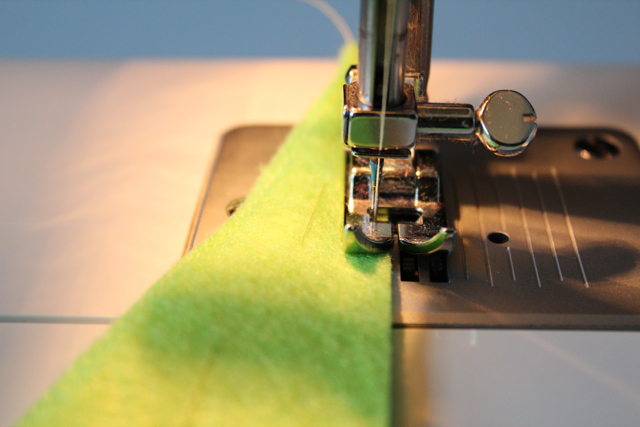
Sew around the neck hole, near the edge as shown.
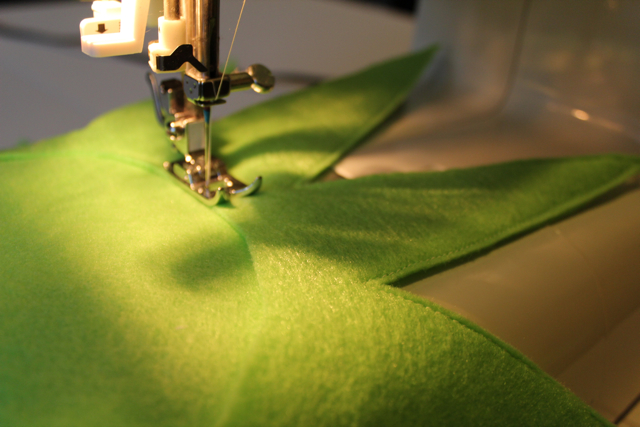
Pick a point to cut an opening in your collar. Cut the opening as shown, and then cut the head hole out of the second piece of felt.
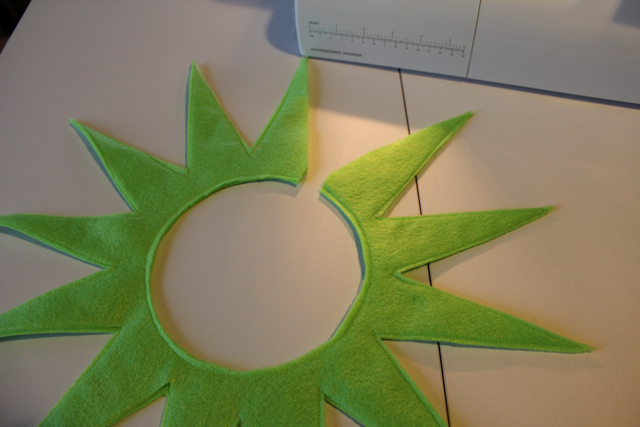
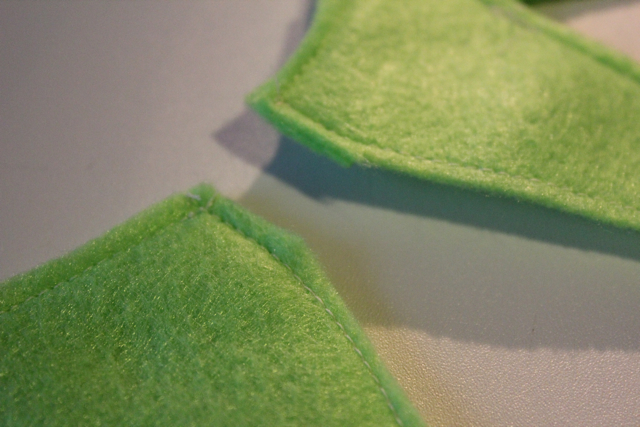
Sew remaining seams. Attach the snap closure with hand stitching.
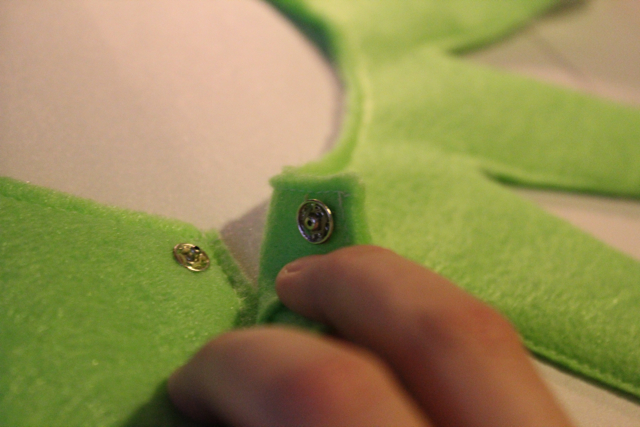
Finally throw on a green t-shirt and your collar, and you’re set to see the Muppets in style.



 & shop new patterns


thank you so much! I googled searched this and didn’t really think I would find something. You have saved my Halloween! You are very talented. Thanks again!
Aww, thanks, Amber! I’m glad to have been your Halloween fairy ;) -Heidi
LOOKS JUST WHAT I AM LOOKING FOR CAN YOU BUY IT ALREADY MADE SURE HOPE SO I NEED ONE FOR A ADULT COSTUME
I SURE HOPE SOME ONE CAN GET BACK TO ME ON THIS WILLING TO PAY FOR ONE ALREADY MADE IF NOT TO EXPENSIVE WAYNESBADKITTY-KIT
Hi Pamelia!! I’m so glad you like the collar, but unfortunately I don’t have any for sale. A quick option for you might be to download the template from the post and use it as a stencil to just cut out one layer of felt. No sewing would be required in that case. Best of luck! -Heidi
Just what I needed to turn my little boy into Kermit for Halloween this year. Thank you so much for sharing this pattern!
Great!
I am about to make mine; I will add tabs to put the snap onto, so it doesn’t have to overlap. I may have to adjust the patterns to be 90 degrees — I note that it will form more than a full circle; I’m guessing this is to accommodate the snap?
Yep! You’ve got it.
Hello!
I love you idea for Kermit’s collar!!! I can’t download the patter for some reason. Would you please email it to me? I would greatly appreciate it. My BF is going to be Kermit and I will be Miss Piggy for Halloween this coming Saturday. Thank you so much!!!