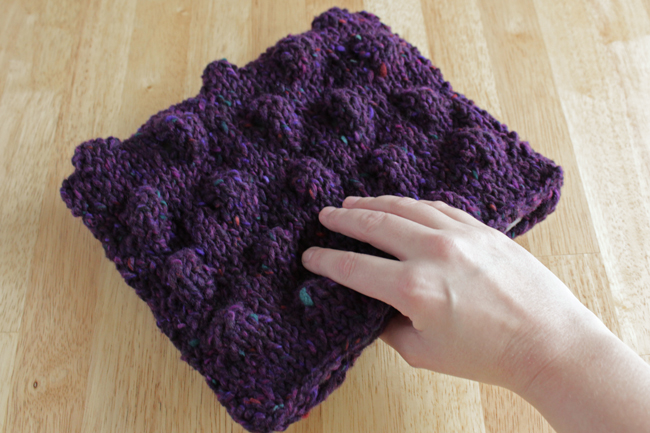
The holidays are upon us, and it’s officially handmade gift crunch time. If you want a super cute and relatively easy gift for a friend, I’ve got a knitting project for you. This clutch is going to be my new go-to accessory for wintry outings, and it dresses up or down with a lot of my wardrobe staples like a little black dress or a cute outfit with jeans and boots. Read on, even if you don’t knit, because I’ve also got a non-knitting variation on this project for those who aren’t confident knitters!
Supplies
1 skein 100% wool yarn
small amount of felt
yarn needle
knitting needles
scissors
fabric punch (I used a crop-a-dile.)
Directions
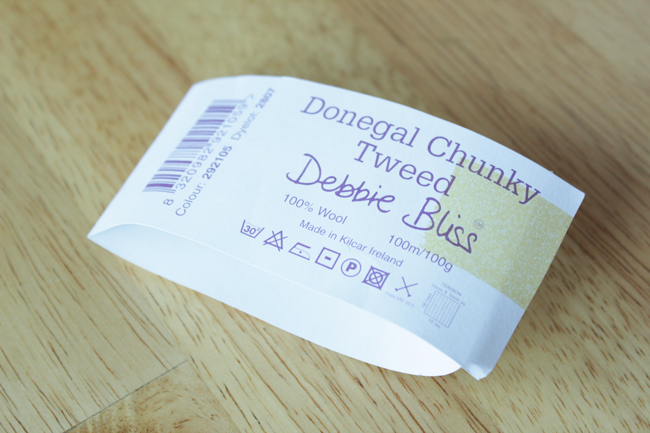
I used some yarn from my stash at home called Debbie Bliss Donegal Chunky Tweed for this project. I used the recommended size needles, US 10.5.
Knitting Pattern
Cast on 32 sts
Rows 1, 3, 5, 7: P across
Rows 2 & 6: K across
Row 4: K2, (K4, turn, P4, turn) twice, K12, (K4, turn, P4, turn) twice, K12, (K4, turn, P4, turn) twice, K6
Row 8: K8, (K4, turn, P4, turn) twice, K12, (K4, turn, P4, turn) twice, K12
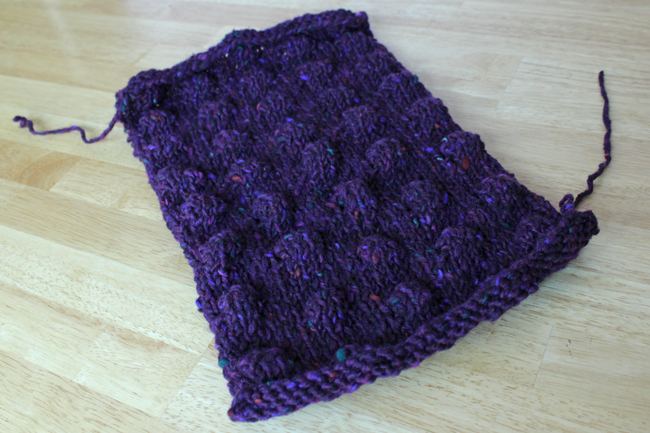
Repeat the above pattern until your work is 16 inches long. Cast off. My finished rectangle measured 9 inches wide by 16 inches long. Set aside at least two yards of extra yarn for sewing later on.
This pattern was inspired by the Puffball Pattern found in The Step-by-Step Needlecraft Encyclopedia by Judy Brittain. You can also do a simple stockinette stitch (knit one row, purl one row, etc.) if you’re not comfortable with knitting the puffballs or don’t like the look.Â
Non-knitting alternative
Hit up the thrift store. Buy a chunky dude sweater, shrink it in the washer, and cut out a rectangle that’s 9×16 inches. Ta da! (But really, remember to shrink it. Otherwise it will unravel everywhere.)
Moving on…
Once your hand knit or faux knit piece is ready, cut a rectangle of felt that’s 1/4 inch shorter on all sides than the knit piece. Mine was 8.75 x 15.75 inches.
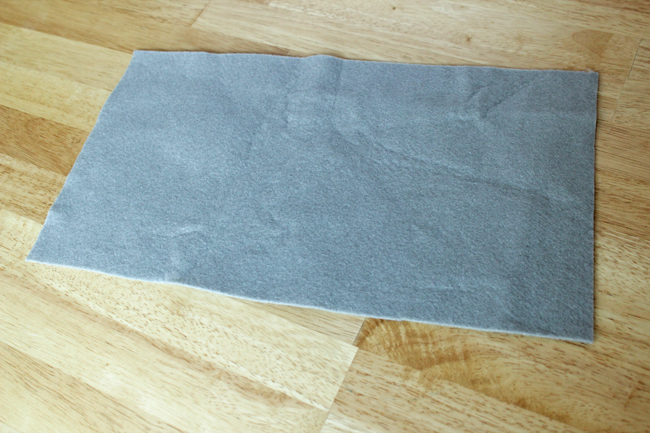
Using a fabric punch or very fine scissors, punch holes all the way around your piece of felt.
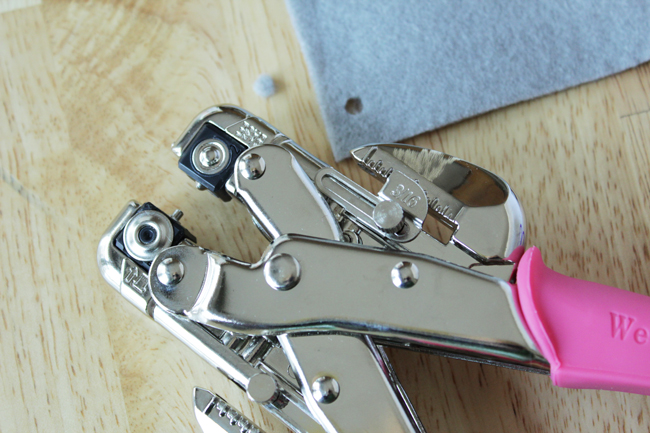
If you’re using the same kind of magnetic purse closure as I did, you’ll want to use your fabric punch one more time to punch holes where you’d like your closure to be on the felt. Attach closure as shown.
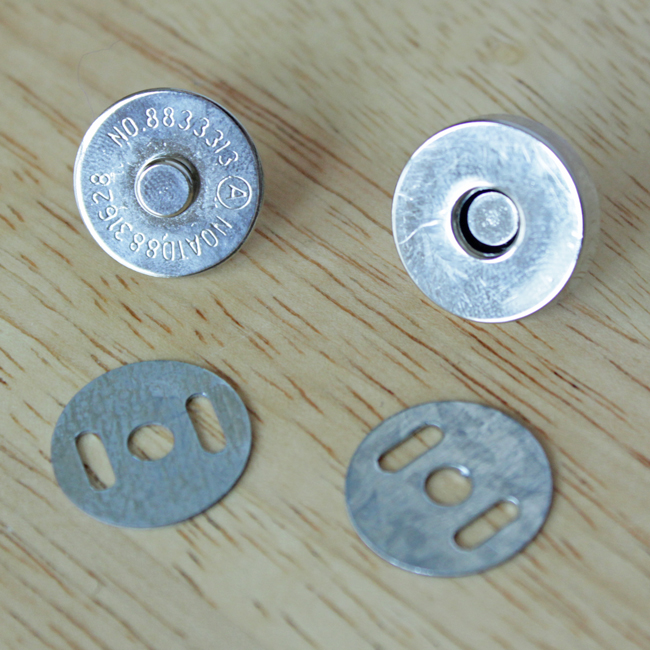
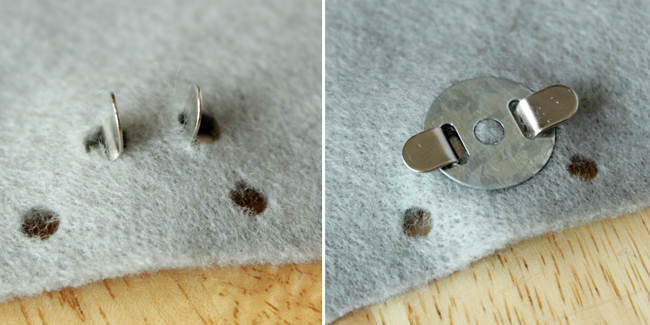
Thread some of your extra yarn onto your yarn needle. Align your felt over the wrong side/back of your knit piece. Sew the felt to your knit piece using the punched holes and natural gaps in your yarn, all the way around the whole rectangle. Since the yarn you’re sewing with is the same color as the knit piece, the sewing doesn’t have to be seamstress quality.
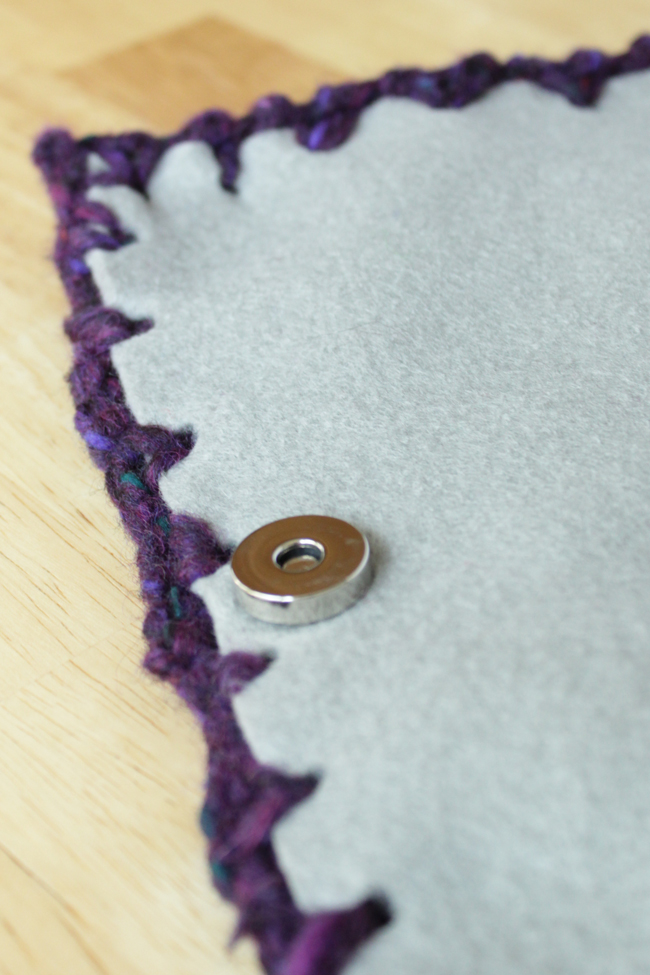
When you’ve finished sewing and woven in all of your yarn ends, fold your clutch in half, letting the magnetic closure click into place. If you’re using some other kind of closure, now is the time to button it, snap it, etc.
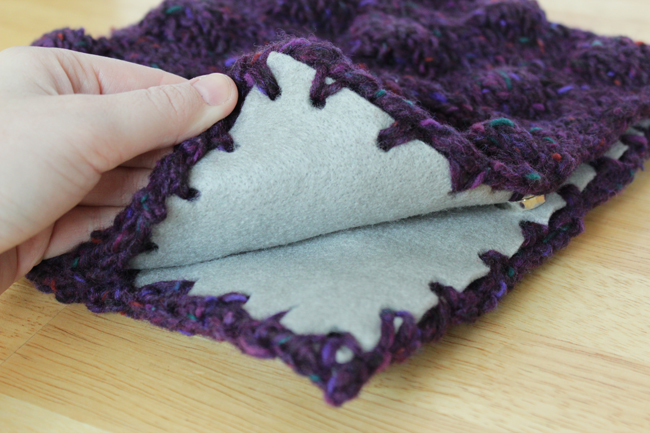
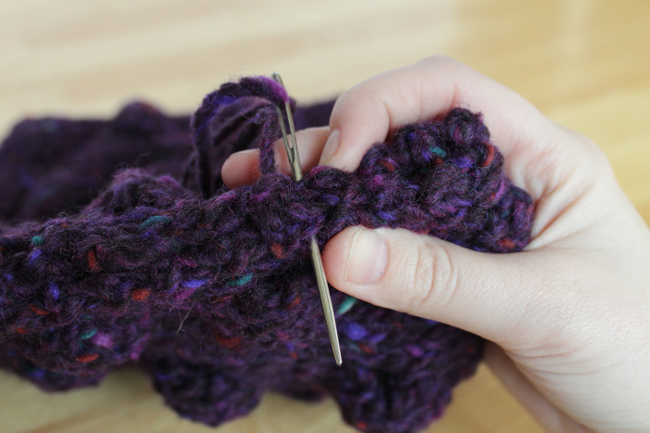
Sew straight down the left and right sides of the clutch to complete it.
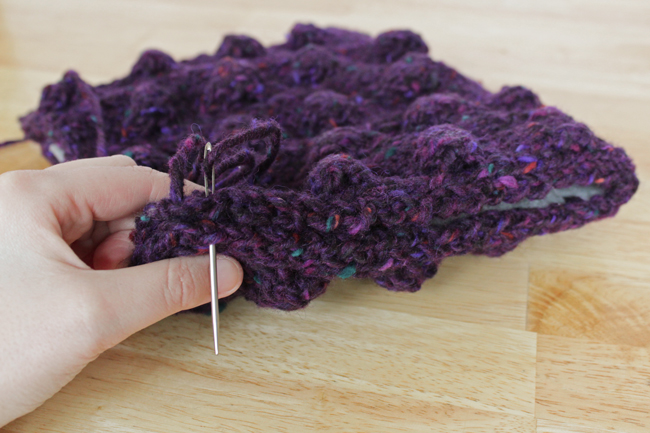
Sew over the last inch a couple times before tying off to reinforce near the folded end. This is a good idea since most of your bag’s contents will find its way to the bottom as you use it.
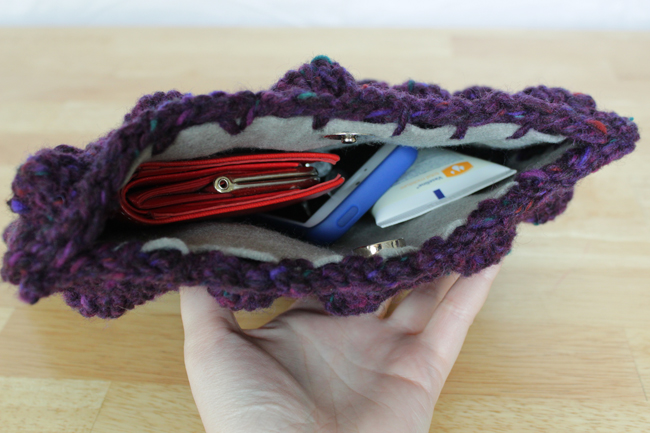
I love my knit clutch so far – it’s cute and it holds a ton despite its compact size. I’m also working on a cowl that uses a variation on this puffball knitting pattern that I’ll share with you soon.
PS: You can easily add a handle or strap to this bag if clutches aren’t your thing.


Leave a Reply