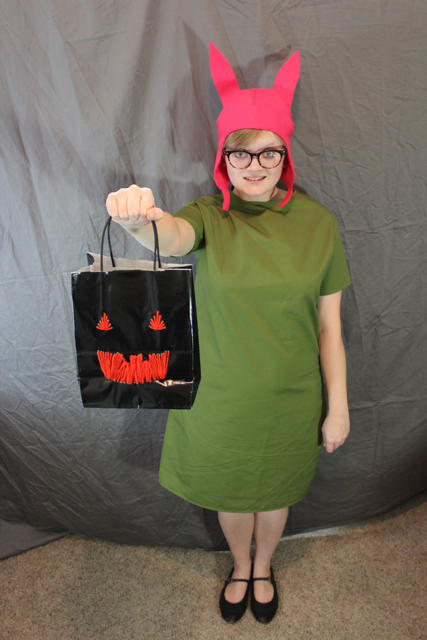
Last spring, I made myself a Louise hat from Bob’s Burgers when I was home sick. I figured that Halloween was the perfect excuse to tackle Louise’s dress. It was much easier than the hat! Not familiar with Bob’s Burgers or the character Louise? Check out her bio.
Supplies
enough green fabric to make a dress that will fit you. I needed about 3 yds.
coordinating thread
sewing machine
newspaper or tissue paper
scissors
a basic dress that fits you loosely
plain white t-shirt
Directions
I created the pattern for this using the same technique as I did for the Pawnee Goddess vest I shared the other day.
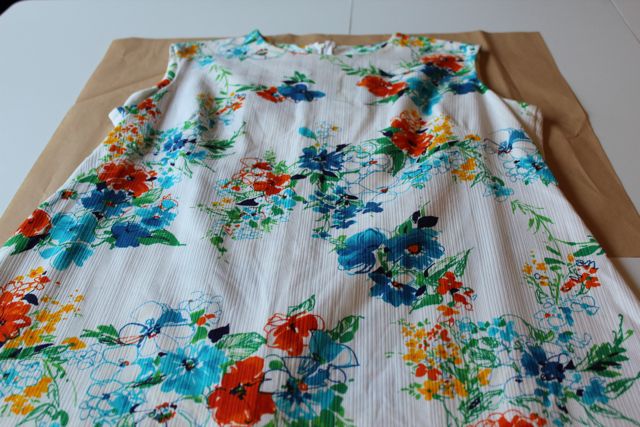
Lay your dress on some news- or tissue paper. If the paper isn’t long enough, tape a few pieces together. Trace the shape of your dress on to the paper.
Then, I added a second line to the pattern for the neck opening on the front of the dress. For the dress I used as a template, I opened the zipper, marked where the front side of the dress’s neckline lands.
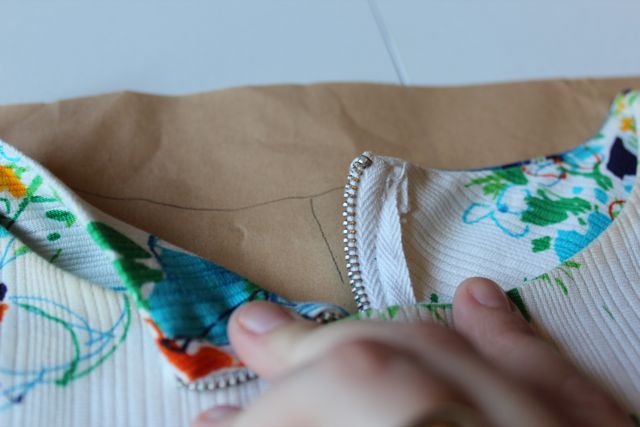
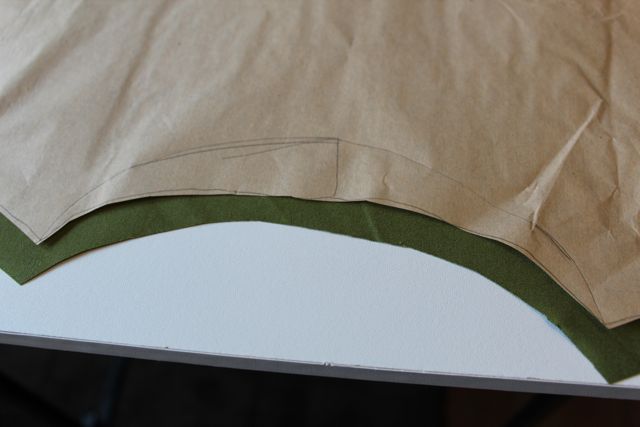
Cut out the pattern, leaving the higher neckline for the back panel of the dress intact.
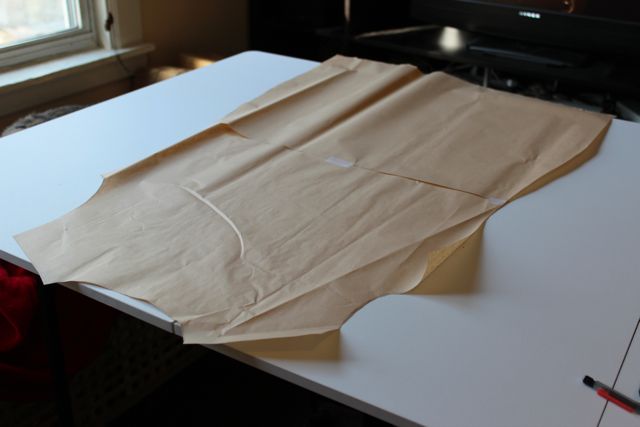
Pin your pattern to your fabric and cut out the back panel, leaving 1/2″ of seam allowance. Remove your pattern from the fabric and cut the neckline down to the lower mark you added. Pin the pattern to your fabric and cut out the front panel of your dress, leaving 1/2″ of seam allowance.
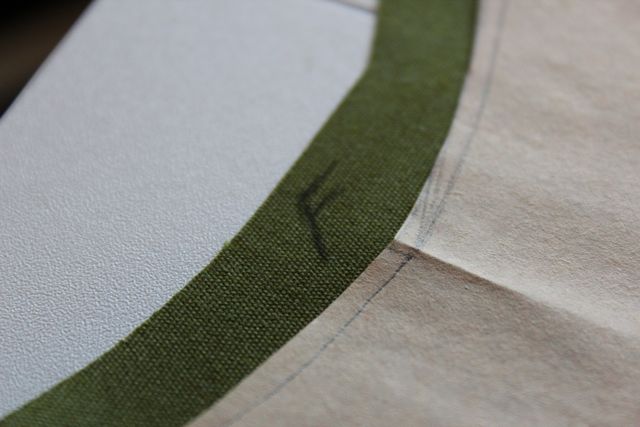
I found it helpful to mark the wrong side of each dress panel with “B” for back, “F” for front.
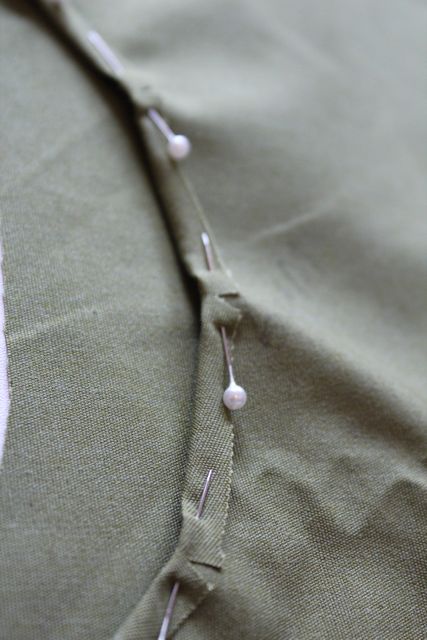
Pin down the neckline, clipping a few notches to help it lay flat. Sew the necklines of both panels of the dress.
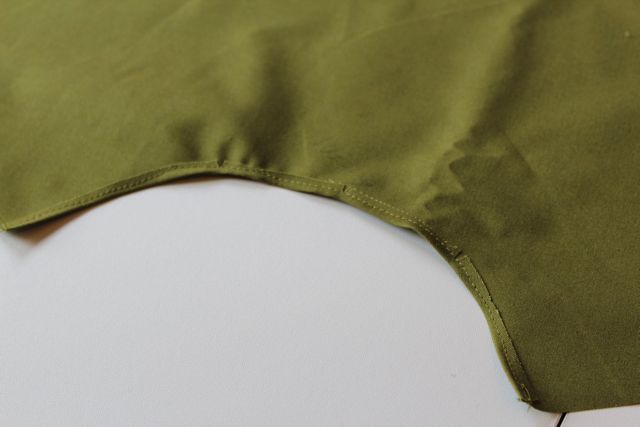
Hem both panels of the dress, making sure they’re both the same length after sewing. Then, pin both pieces together. Sew the shoulder and side seams. At this point, I tried the whole thing on for size and had to take it in a bit in the hips. To do that, I just sewed another side seam from the waist down to the bottom of the dress. It was about 3/4″ from the first seam I sewed.
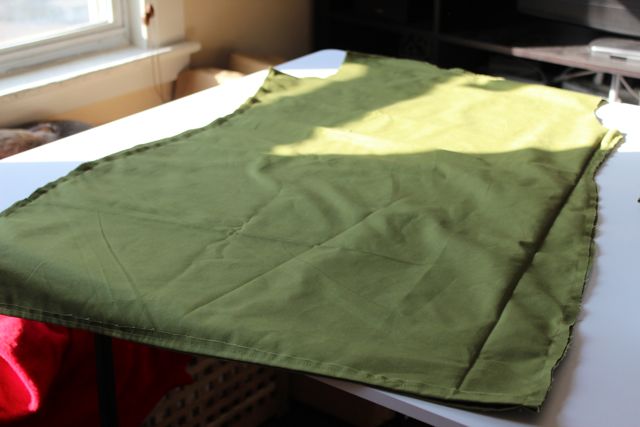
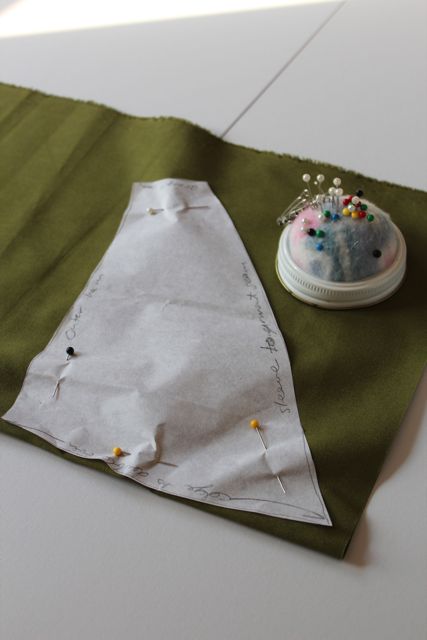
Now it’s time to add the sleeves. I grabbed one of my husband’s undershirts and traced one of the sleeves on a bit of tissue paper, kind of like tracing the dress for the pattern.
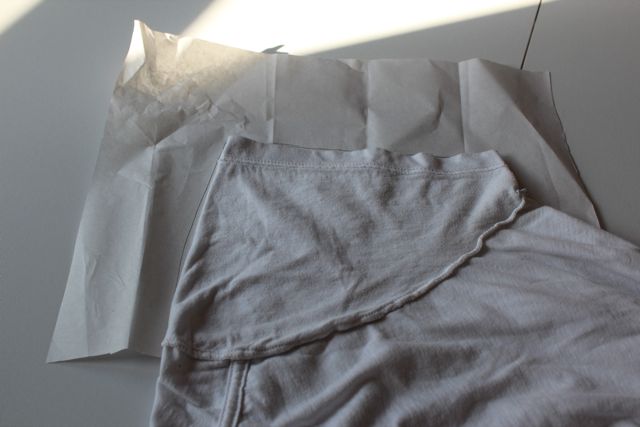
Then, I folded the sleeve over and traced the line of the armpit on to the paper to complete the pattern.
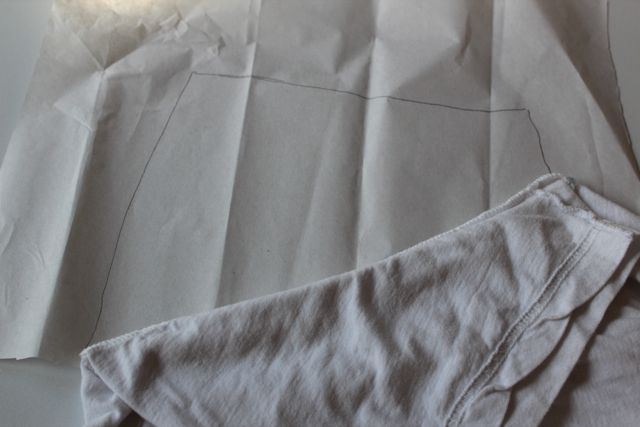
I cut out the pattern and labeled which side was which. Remember, this is only the shape of half of one sleeve.
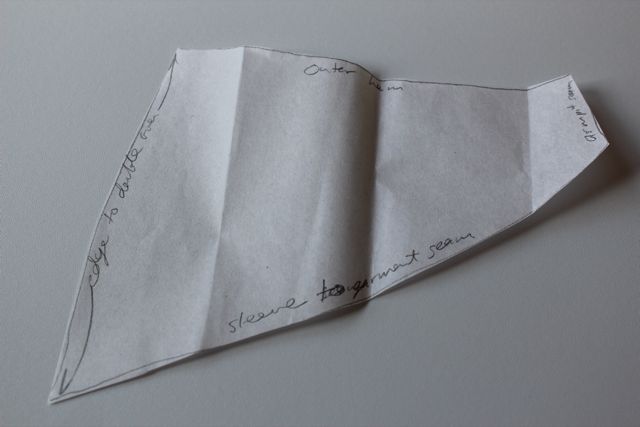
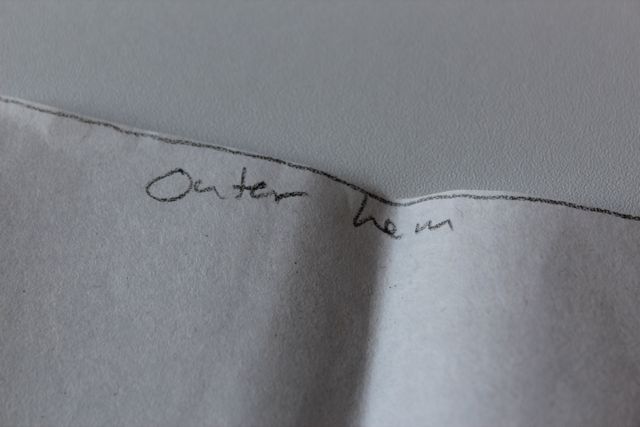
Pin this pattern to a folded over piece of fabric. Make sure to place the right part of the pattern on the fold.
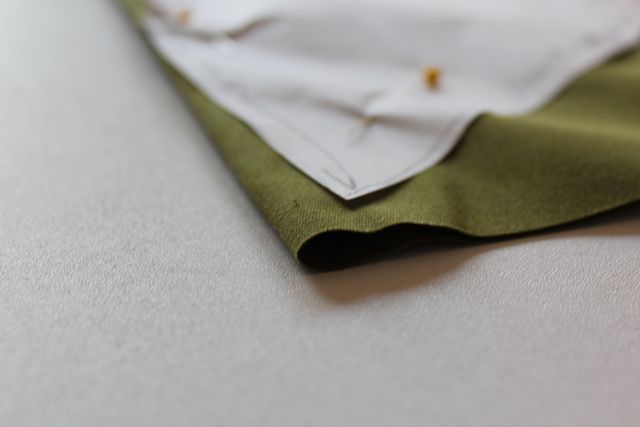
Cut a second sleeve out using your pattern or the first sleeve you cut out. I opted for the latter method.
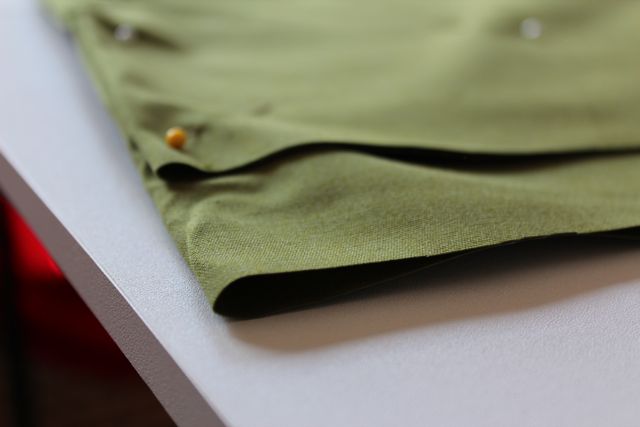
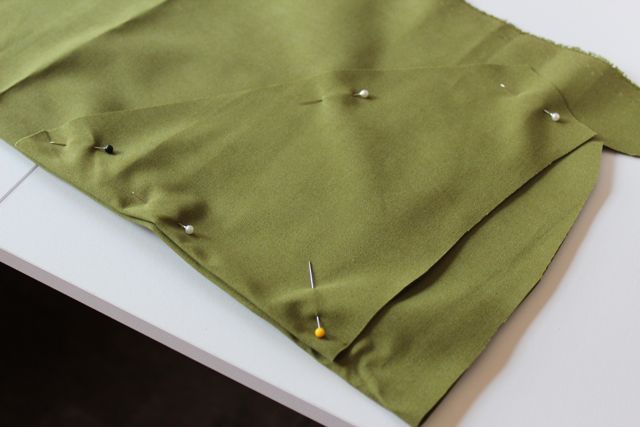
Lay one sleeve piece on your table next to the dress. My sleeves were from a men’s size large undershirt, so my sleeves were too tall for my dress’s armpit openings. Trim excess length from both sleeve pieces.
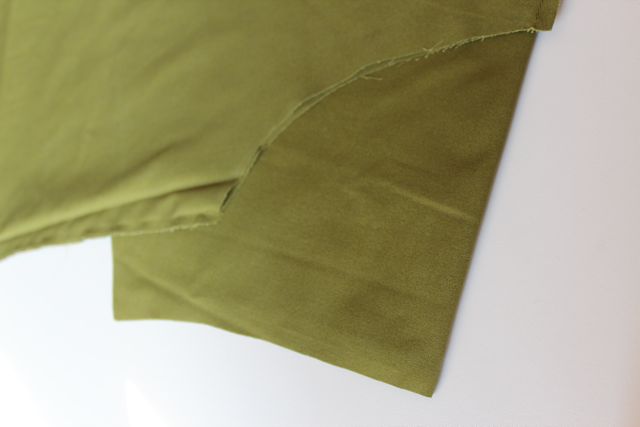
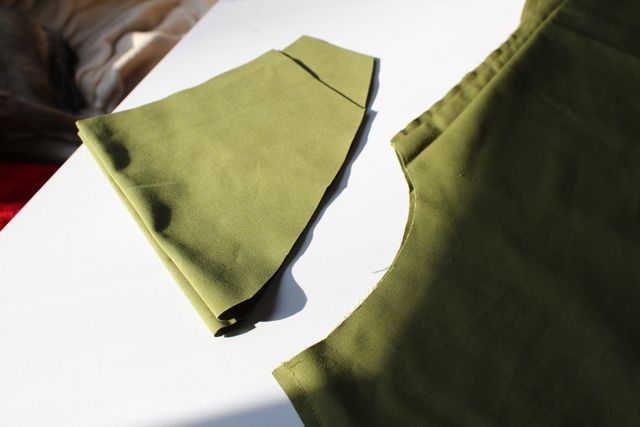
Hem the outer part of each sleeve. I opened up the armpit end of the side seams with a seam ripper to help with placement of the sleeves. With the right side of the fabric facing out, pin one sleeve in place.
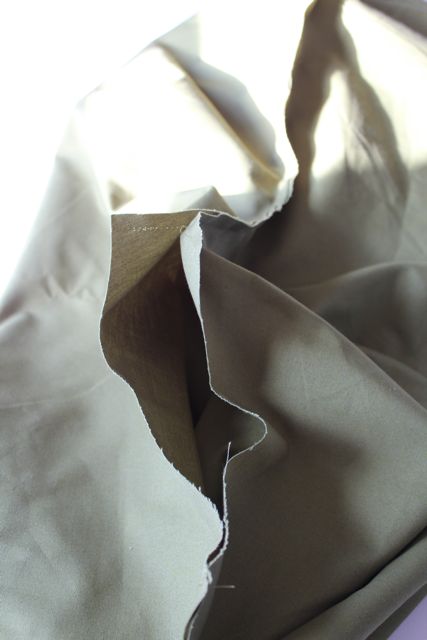
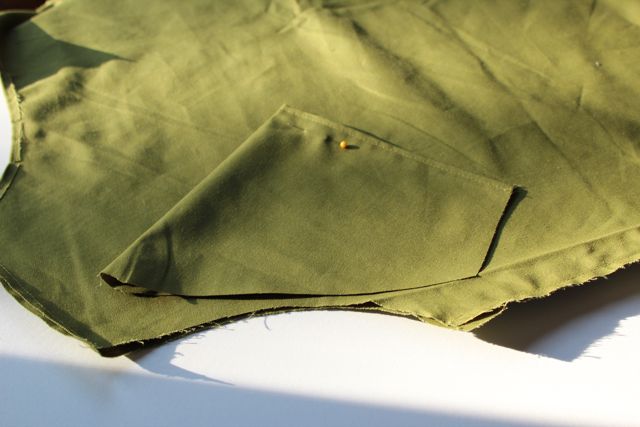
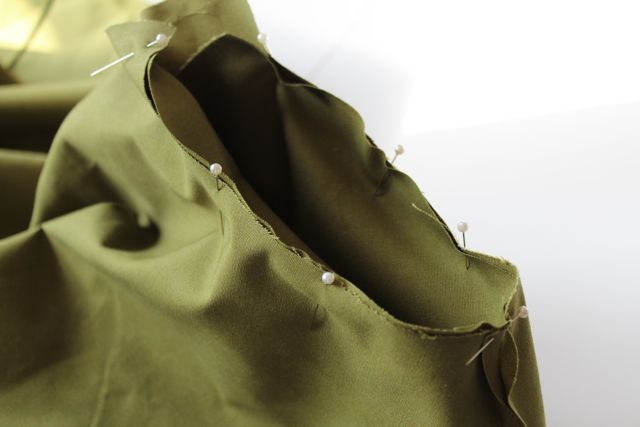
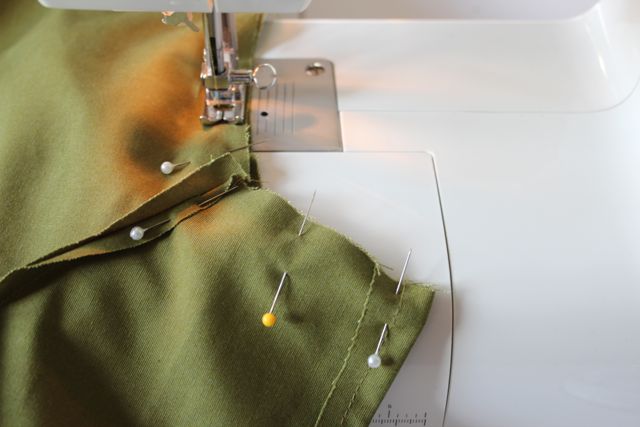
Sew around to attach sleeves. Turn the sewn sleeves out. Pin the opening of the top of the side seam and the underside of the sleeve, as shown. Sew in place. Repeat this whole process for the second sleeve.
Turn your whole dress right side out and try it on! I’m pretty excited about how this turned out. The finishing touch is a pair of black mary jane flats, btw. Lucky for me, I had a pair laying around.
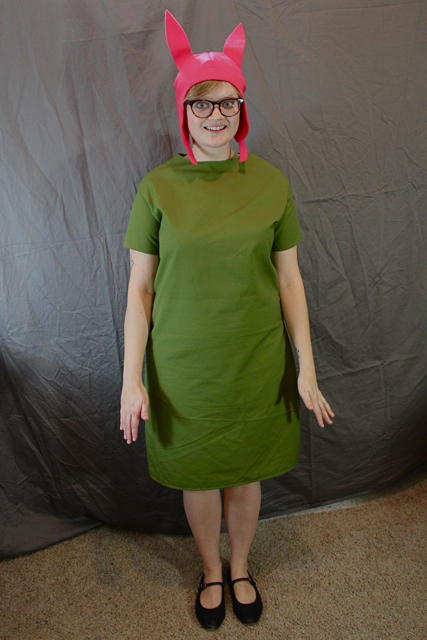
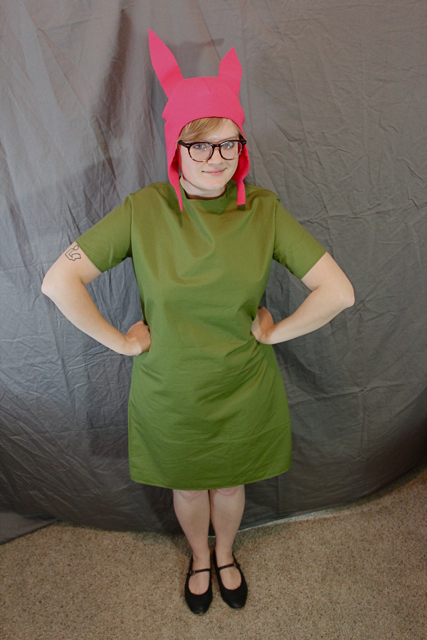
A huge thank you goes to my friend The Candy Fan for taking the pictures of me in costume. She blogs about candy and is awesome. Do yourself a Halloween favor and subscribe to her posts.



 & shop new patterns


Thanks for the pattern help. My daughter is going to love this!!!!
This is magnificent! Thank you!