Disclaimer 1: I did not steal the railroad ties used in this project. For one thing, I needed help lifting most of those giant suckers (thanks, husband!). The ties were in my yard when we moved in last spring. It wasn’t until I set up the garden that I realized where this heretofore mysterious wood came from – the Chicago Transit Authority (CTA)! I was taking the train one day and noticed something familiar… my garden!
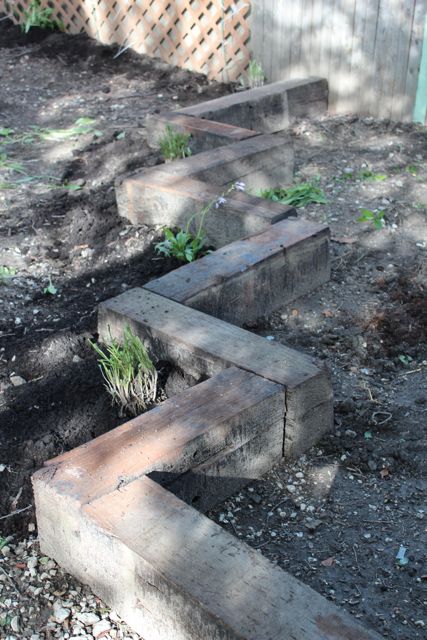
Disclaimer 2: This isn’t an epic tutorial. As I’ve said before in gardening posts, I’m a newbie gardener and welcome any notes you might have. The long and short of this phase of creating the raised bed was locating wood, and setting it up in the best place for success. I kept notes all summer at our new place about what parts of our yard flood and where the good light is.
Disclaimer 3: Don’t grow edible plants in a railroad tie garden – the ties are treated with toxic chemicals. Only use railroad ties to make a plant garden!
The awesome thing about using railroad ties is that they’re so weighty that you don’t really need to drill them together to make them stay in place. My old garden was built with landscaping lumber and required long screws to stay together. I wonder if any residual train oils or coal or whatnot will affect my garden next year. Hmm…
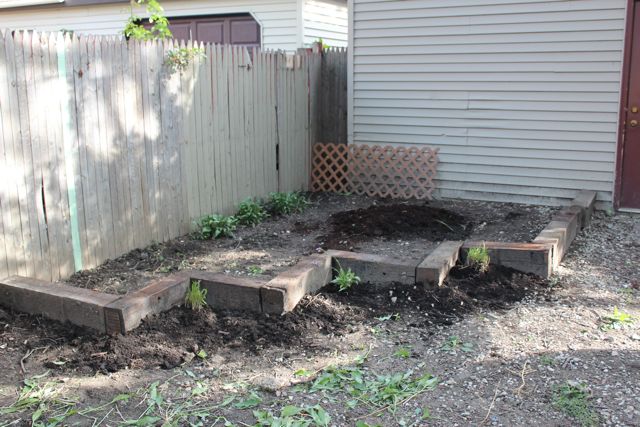
At any rate, I obviously have yet to fill in the dirt for my garden, so I’ll have to ask you to use your imagination. Just hang on, as I will, until the spring. I’ll put a reminder in my calendar to ask y’all who read this to recommend vegetables for me to plant.
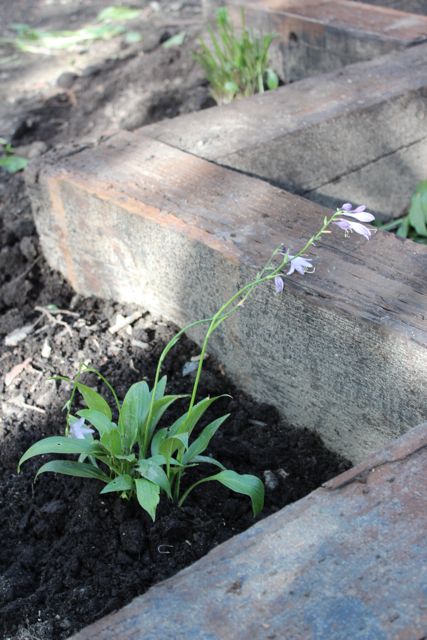
For now, check out the pictures and imagine the bulbs I planted today coming up in the spring.
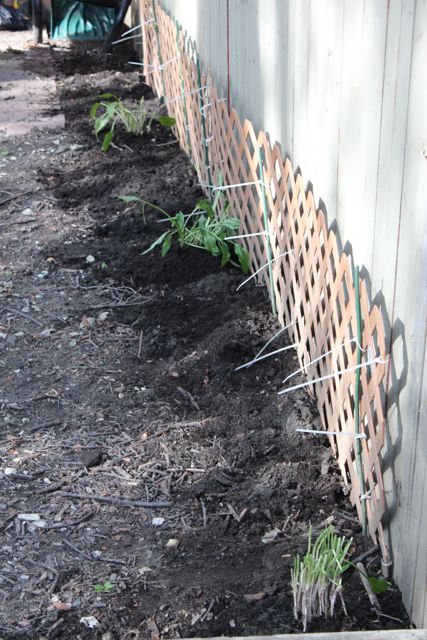
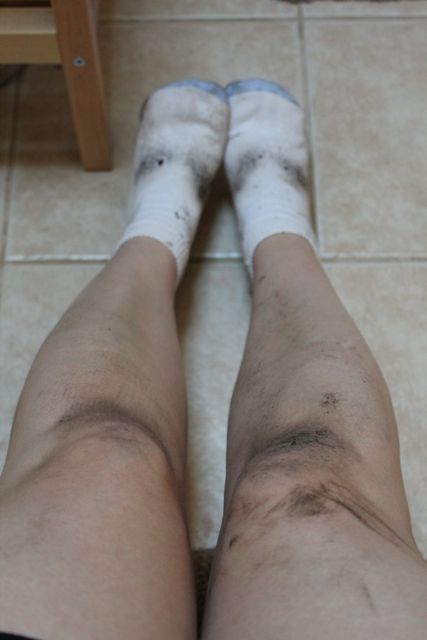
Also, take a moment to laugh at how incredibly dirty I got planting my bulbs. I put in allium flowers, two kinds of tulips, and I transplanted some leafy perennials that were already in my yard.


 & shop new patterns


Leave a Reply