In recent weeks, I’ve been mentioning how much I have wanted to improve the photography on this blog. Â If you follow me on Facebook, you already know that I’ve purchased a new camera recently. My new Canon t3i works really well on its fully automatic modes (it’s just a much better tool than an iPhone 4 for photography). Despite that, I did some research on how to really make good photos and had a good friend of mine hook me up with some photo tips. One of the first things I did after buying my camera was make my very own light box, a.k.a a mini photo studio.
From what I have learned, light boxes essentially help you to mimic natural light, which is the best light to capture photos in. Here’s how to make a quick and fairly cheap light box to help take better photos.
Supplies
3 cheap utility lamps
3 100-watt daylight bulbs
1 grounded extension cord with three outlets
1 large cardboard box (at least 12 or 18 inches on all sides – I realized after making mine that it’s easier to work with a light box that is a perfect cube)
tissue paper
box cutter
duct tape
scissors
fabric for a backdrop for your photos
Directions
Tape the bottom of your box shut. Cut “windows” in to three sides of your box and cut the flaps off of one end. The end will be the opening through which you take your photos when your light box is complete. Remember to leave two inches of cardboard on all sides of your windows for structural support for your box. I made mine slightly differently and, as you’ll notice from the pictures, had to cut four sides of my box since it wasn’t cube-shaped.
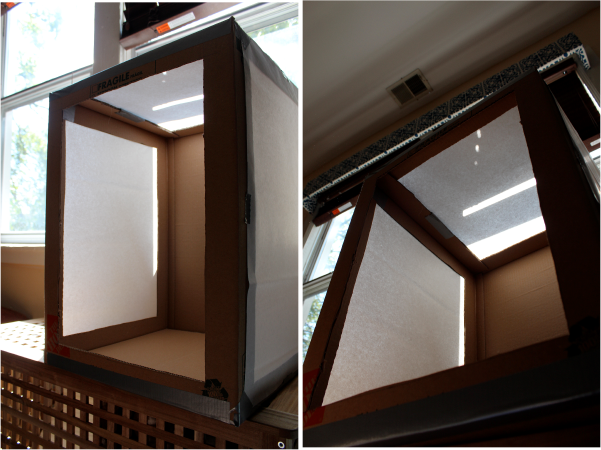
Next, cut tissue paper in pieces large enough to cover each opening. Tape a piece of tissue paper over each of your three windows. Create a backdrop inside your box using the fabric of your choice. I experimented with a couple backdrop options, but my favorite is ultimately an old, shrunken sweater mounted to cardboard with straight pins.
Once you’ve done this, all that’s left is to light the box by aiming your lamps at the top, right and left sides of the box. What I learned was not to place my lamps too close to my box and to tape a layer of tissue paper over each of my lamps to help diffuse the light a little more.
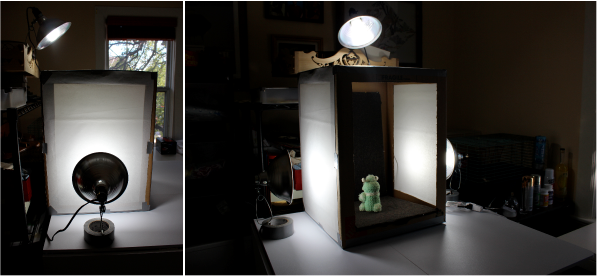
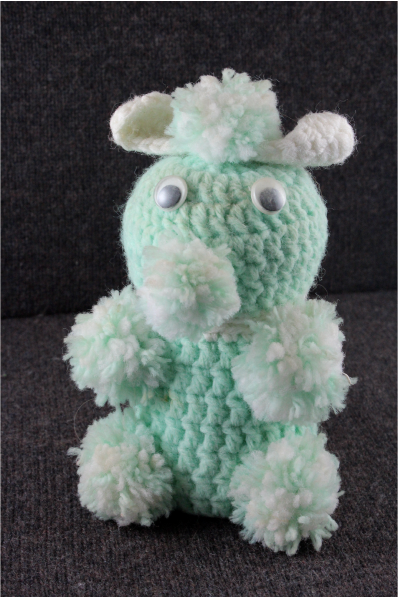
Easy peasy! Now on to the hard part – learning how to take better, consistent photos. One of my early, over-exposed attempts:
Related Information:
How to Build a Light Box at (never home)maker
How To: DIY $10 Macro Photo Studio at Strobist


 & shop new patterns


Leave a Reply