There was a flash flood in my building last summer that destroyed a bunch of my husband’s and my Christmas decorations, including our fake tree, wreath, all of our lights, and even a few ornaments. Maybe it was a sign telling us to try something new with our holiday decor. We’re new Chicagoans, in a new apartment. Why not try something new? Our apartment has great high ceilings, but sometimes it’s a challenge to find stuff for the walls that doesn’t cost a zillion dollars.
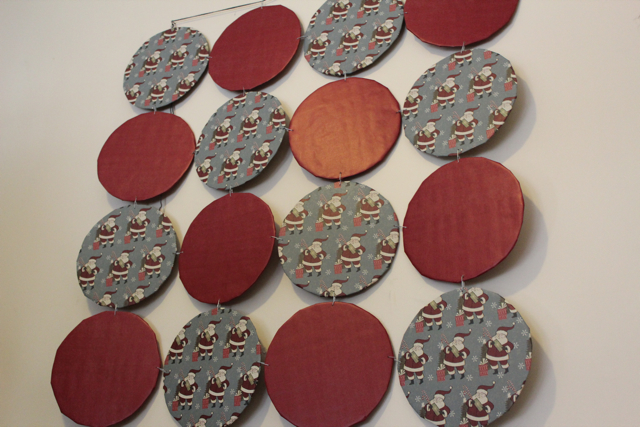
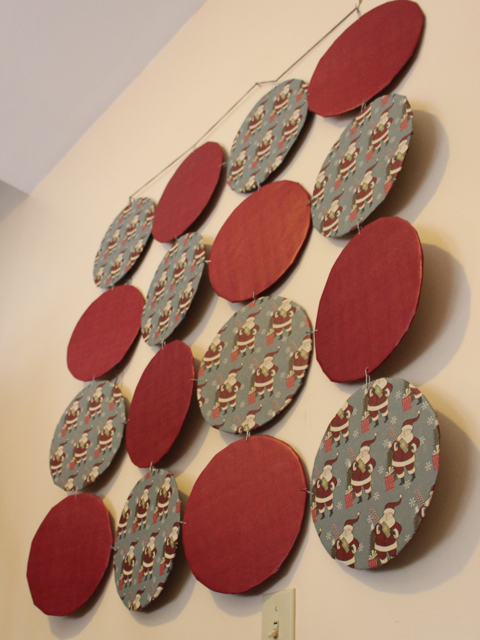 The really cool thing about this relatively easy project (which costs just $10-15 to make) is that if you swap out the wrapping paper with some season-neutral paper, this wall hanging can work year-round.
SuppliesÂ
cardboard
wrapping paper
tape (packing tape works best)
scissors
dinner plate
paper clips
x-acto knife
pencil
nail
mallet/hammer
string
Directions
Lay out your cardboard on your work surface. Trace a dinner plate onto it, creating as many circles as your wall hanging calls for. My wall hanging is 4 circles by 4 circles, so I needed a total of 16.
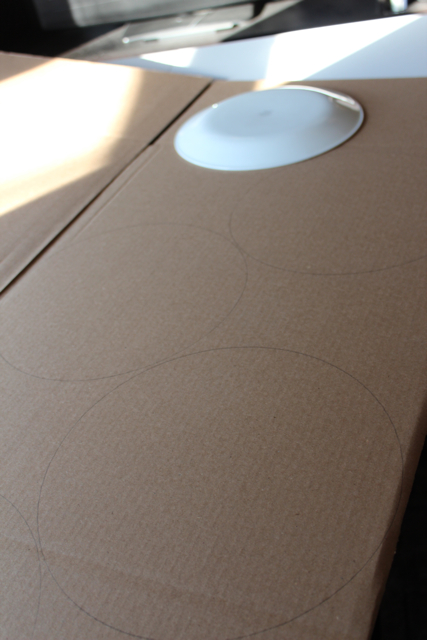
Cut the outline of each circle using an x-acto knife. I recommend not cutting all the way through your cardboard as it takes forEVER. Instead, cut through just half of your cardboard with the x-acto knife. Then cut the circles out completely using a regular scissors. The x-acto knife step makes cutting cardboard with a scissors a lot easier.
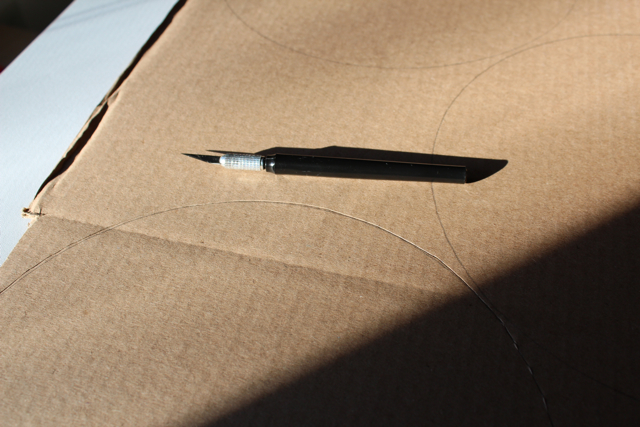
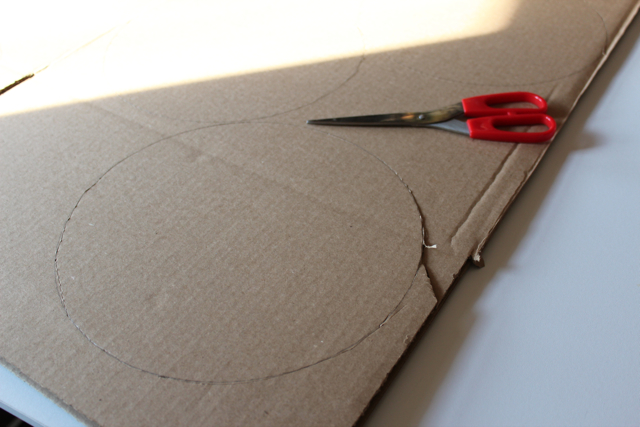
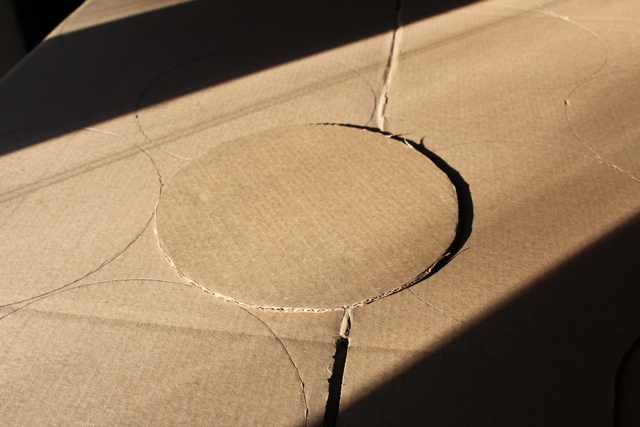
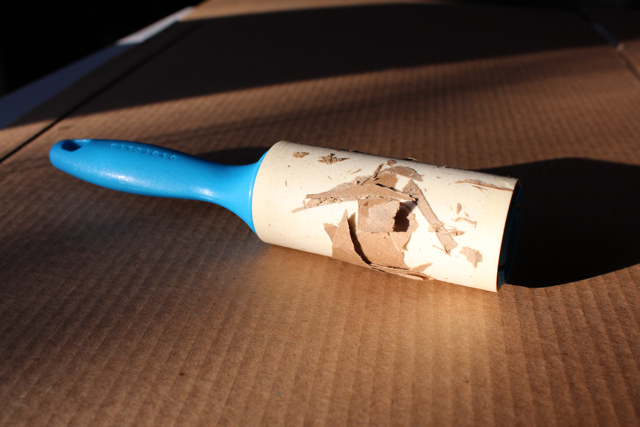
Repeat the x-acto knife/scissors cutting process until all of your circles are cut out. Cutting the cardboard circles is the most time-consuming step in this whole project. Cutting cardboard can get really, really messy. I keep a lint roller on hand to help clean up my work space – it’s a big time-saver.
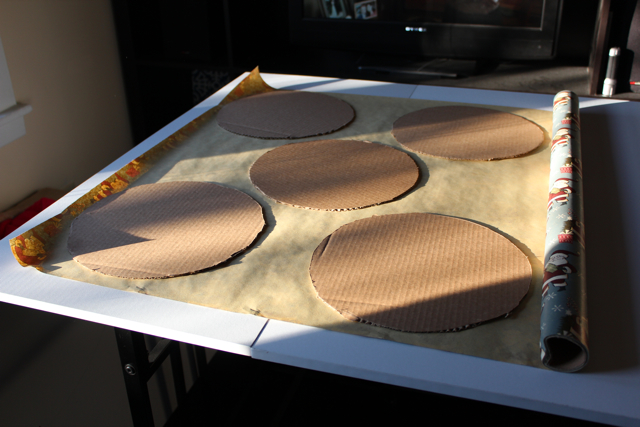
Next, lay your circles out on the wrong side of some wrapping paper. Cut the wrapping paper into circles about an inch wider than your cardboard.
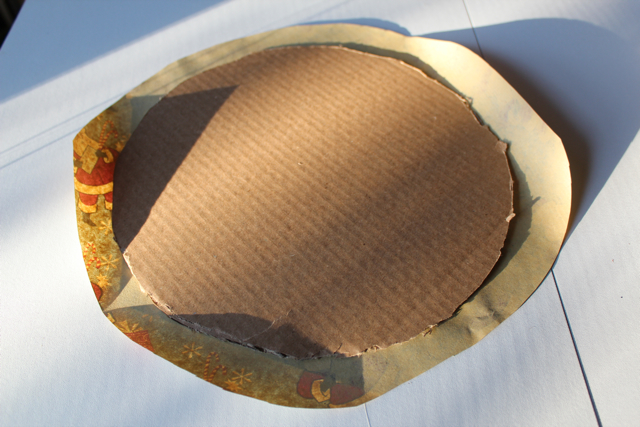
Tape the wrapping paper to the cardboard. To get the roundest result, I secured my paper in eight evenly-spaced spots around the circle, as shown.
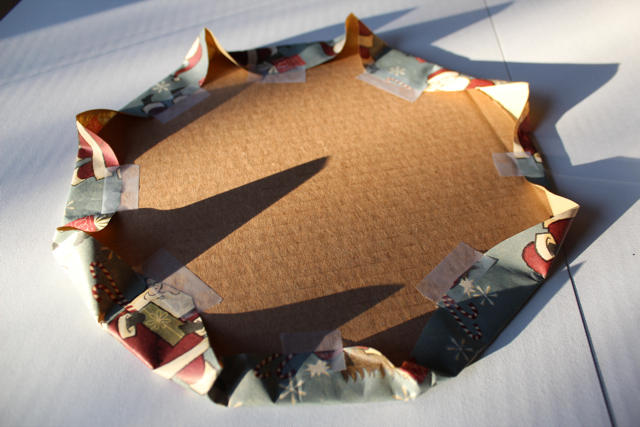
Cut each point that you see sticking up with a scissors, being careful not to cut too far onto the front of the circle or tear the wrapping paper.
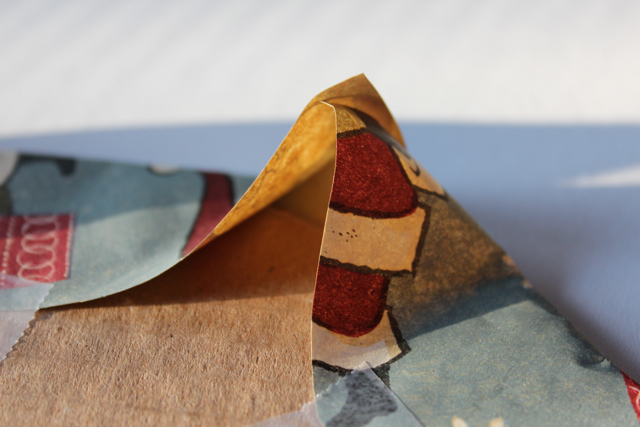
Fold the two pieces down and tape them in place.

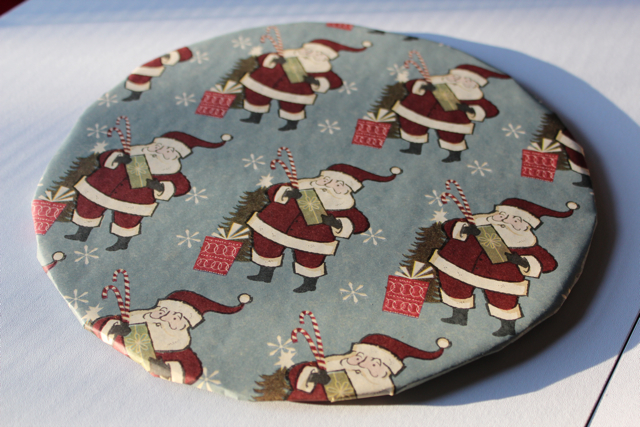
Repeat this process to cover each circle. I covered half of mine in one type of paper, and the rest in another. I wanted the finished product to have an alternating color pattern.
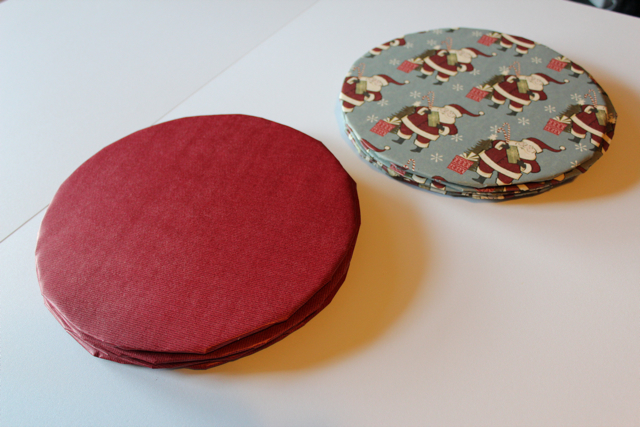
Lay a scrap of cardboard on your work surface to protect it. Lay one of your circles on it and punch four evenly-spaced holes using a nail and hammer. You won’t have to hit very hard to punch through the cardboard! I also recommend punching the holes from front to back since there will be a little blow out in the direction in which the hole is punched on your circles. I often punched two circles’ worth of holes at once by layering two circles on top of one another to save time.
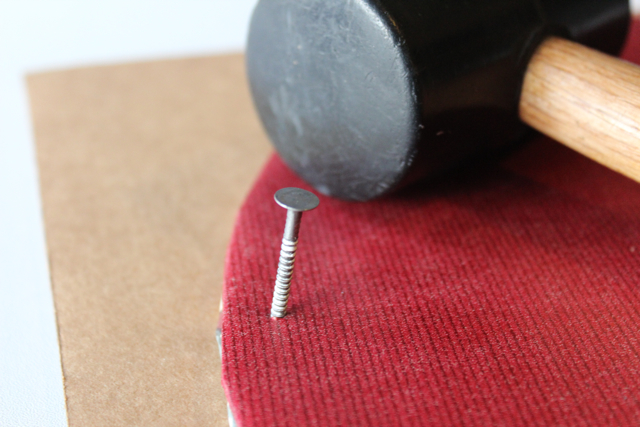
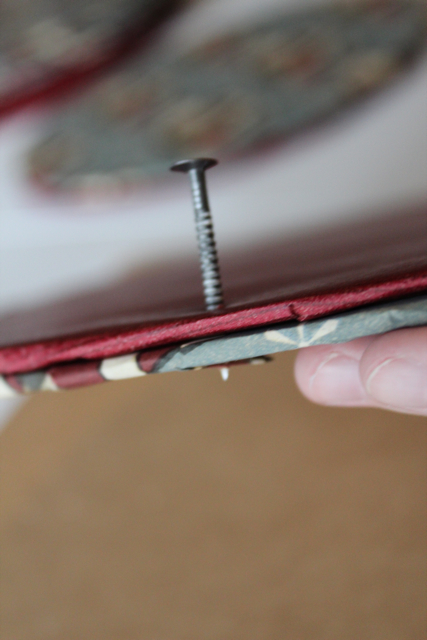
Once holes have been punched in each of your circles, grab a paper clip and unbend it.
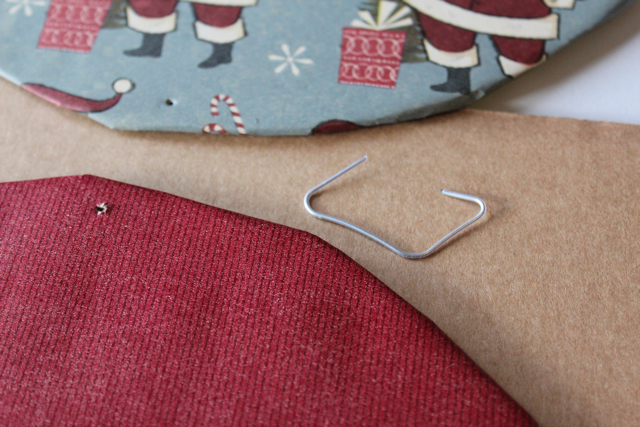
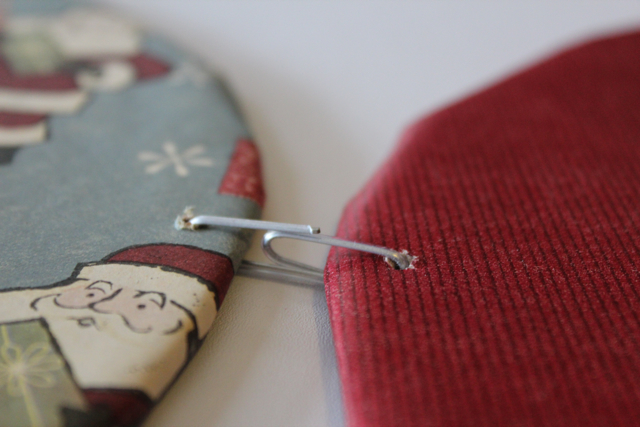
Thread the paper clip through the hole of once circle and then another, connecting them like chain links.
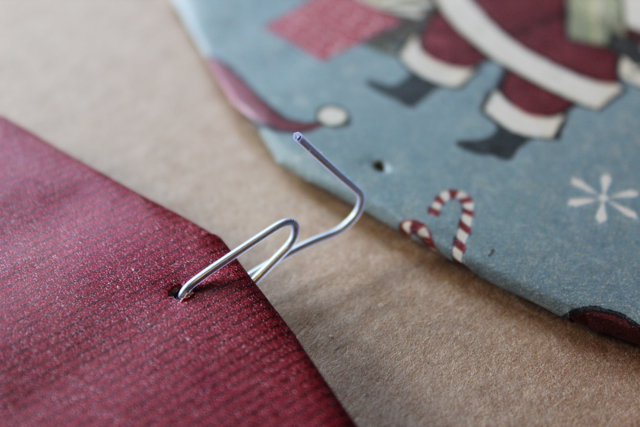
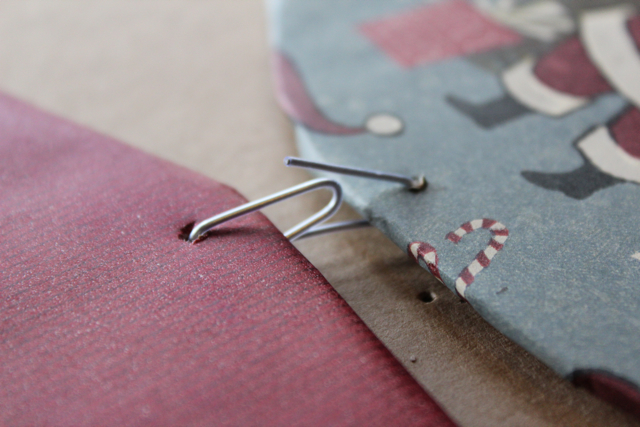
Continue linking all of the circles with paper clips to create your wall hanging. If you’re hoping to create a pattern like I did, be careful about which circles you clip to each other. I made four one-by-four strips of circles first, before linking each strip to each other.
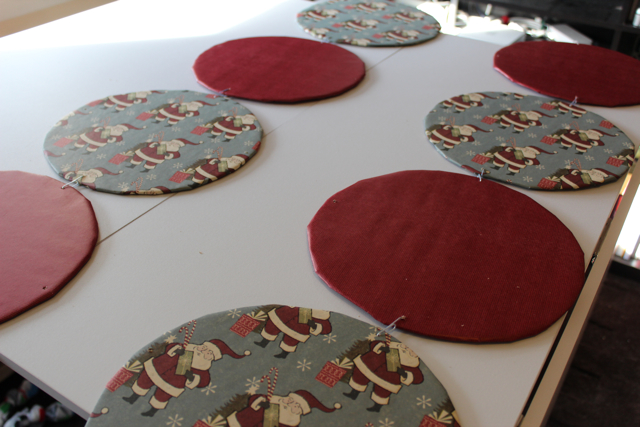
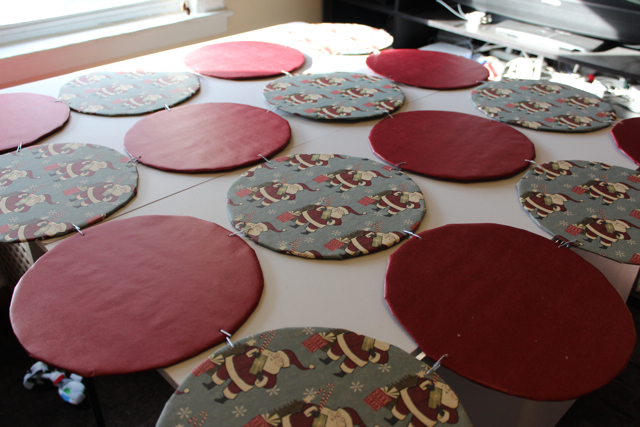
To make your hanging wall-mountable, add a row of paper clips to the top of the top row of circles. Then, thread some string through each of them. Mounting this is as easy as hammering two nails into a wall and hanging the string on them.


 & shop new patterns


Leave a Reply