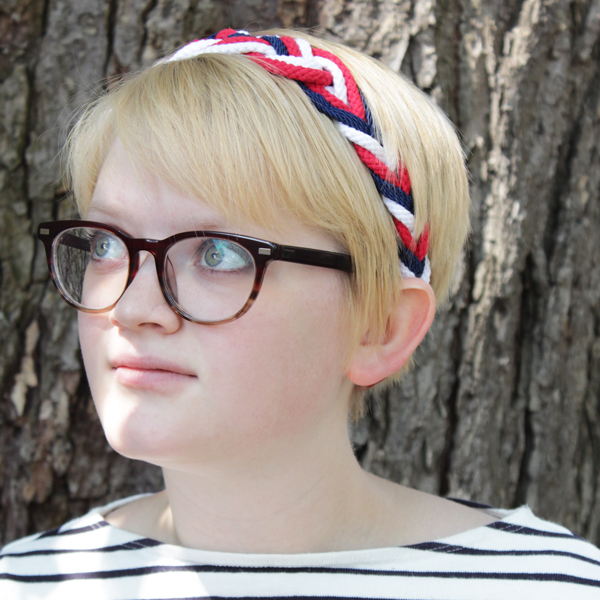
I’ve had short hair for a longish time now, so I tend to miss out on trying cute braiding or updo ideas I see on Pinterest or other blogs. Lately, I have been getting more and more into headbands, like my bronze laurel headband, when I want to get creative with my hair. Today, I wanted to share how I made my new favorite hair accessory, a nautically-appropriate cord headband. If you enjoy macramé, knot-tying or the metallic belt I shared a couple weeks ago, you’ll be all over this project.
Supplies
1 yd navy cord
2 yds each of white and red cord
liquid stitch
ribbon
a few inches of elastic
straight pins
scissors
waxed paper
needle & thread
Directions
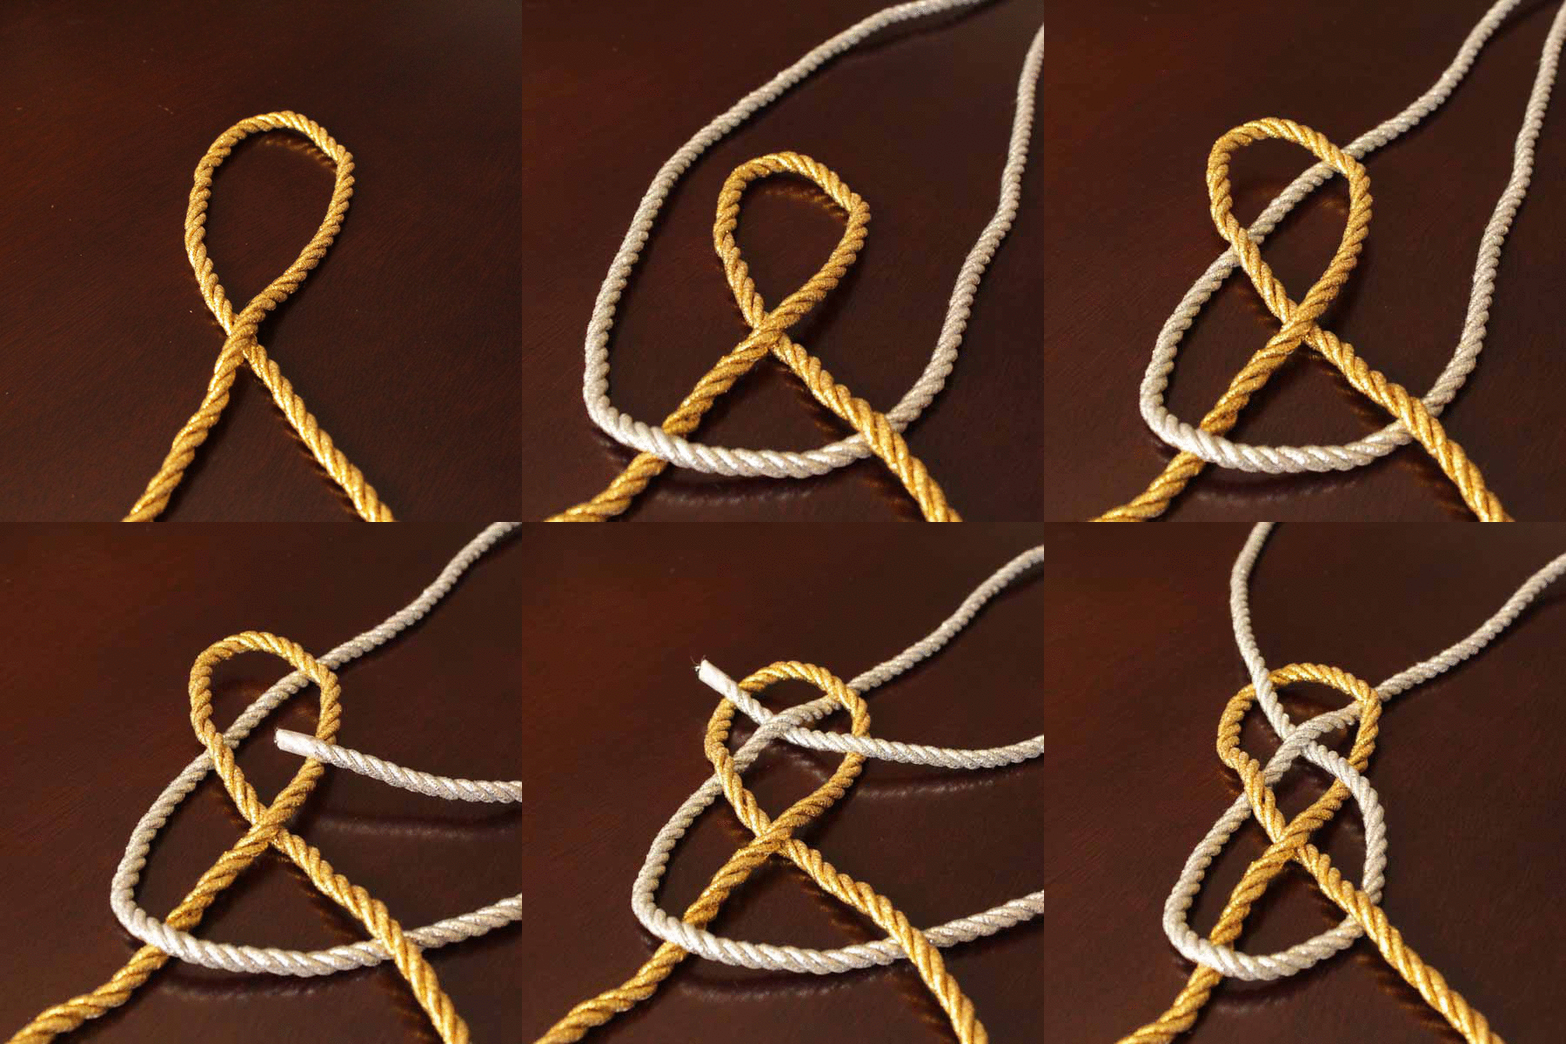
Cut your red and white cord into 2, 1-yard pieces each. You’ll have one 1-yard piece of navy cord, 2 1-yard red cord pieces, and 2 1-yard white cord pieces. Line up one red and white piece together, and one red, white and the navy piece together. Fold each set in half. Weave each set as one, following the animation below. If you remember my Olympic belt tutorial from a couple weeks ago, it’s the same basic sailor’s knot, also known as a Carrick Bend, that I used in that project.
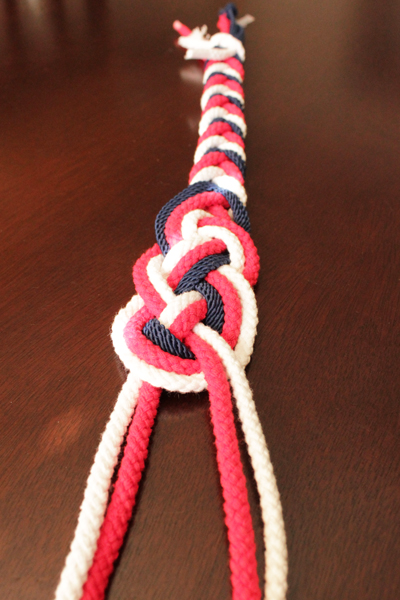
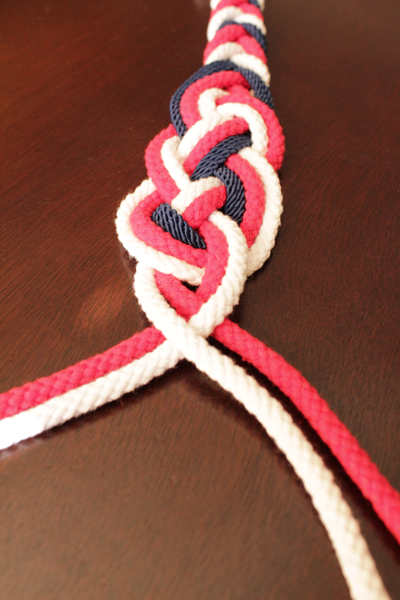
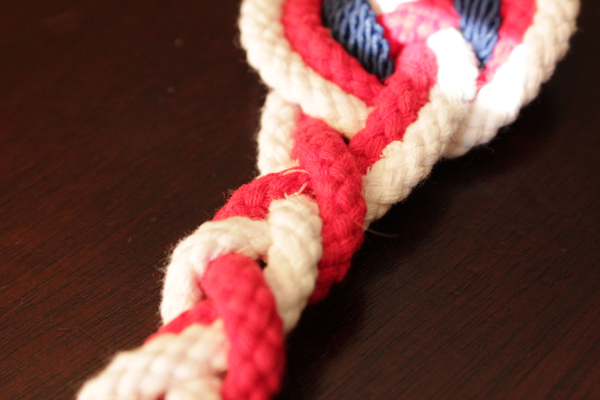
After your knot is tied, carefully tighten it until it lays evenly. Since one end of the knot has 3 pieces of cord instead of two, this step is important to make it lay just right. Then, braid the strings on each side of the knot. Since there are an even number of strings to braid with, you end up with a nice symmetrical braid with alternating V’s in each color of cord.
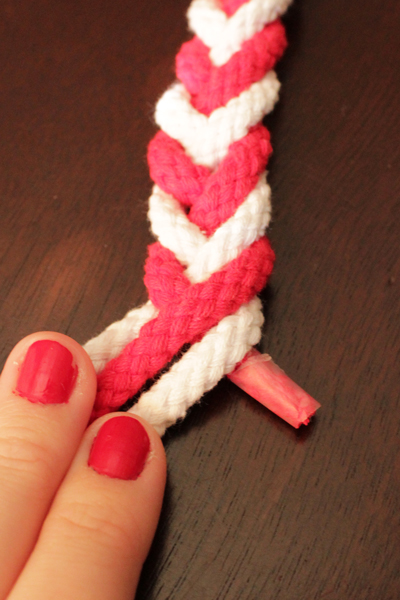
At the end of each braid, secure the ends in place by hand sewing. Since cord is a little different than fabric, it’s hard to make a knot that doesn’t pull through the cord. You’ll want to use a looped/doubled over piece of thread like this:
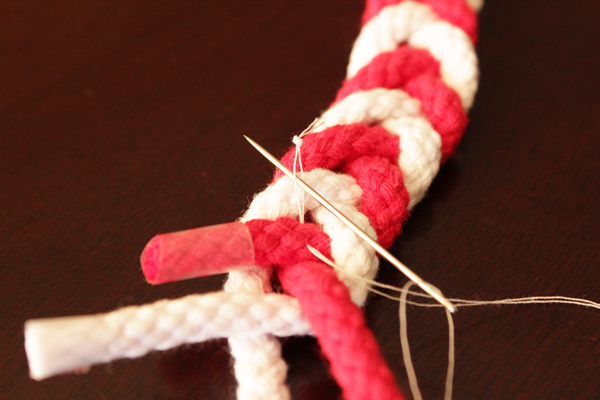
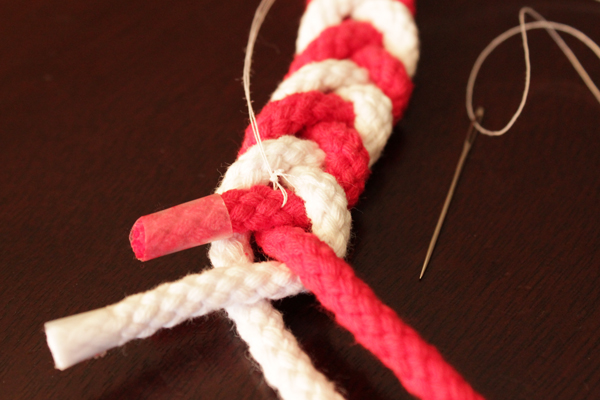
Here’s what the finished end with the navy cord looks like.
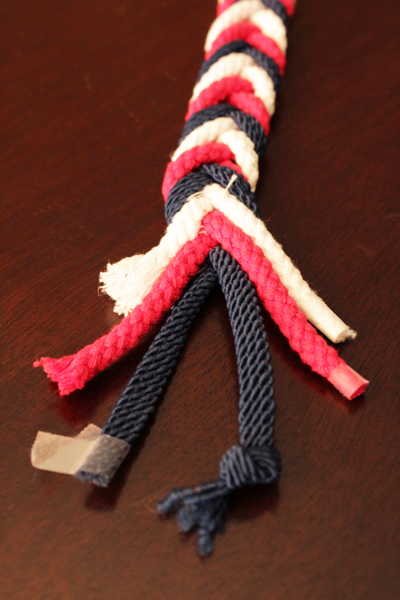
To secure the knot and keep it flat, secure each end of the knot similarly to the braid ends. Make sure that any exposed stitching is on the back side of the headband, the same side your braid sewing is on.
Adding the elastic
Measure your head circumference and cut an appropriately sized piece of elastic for connecting the ends of the cords together into a headband. Sew the cord to the elastic and trim excess cord length.
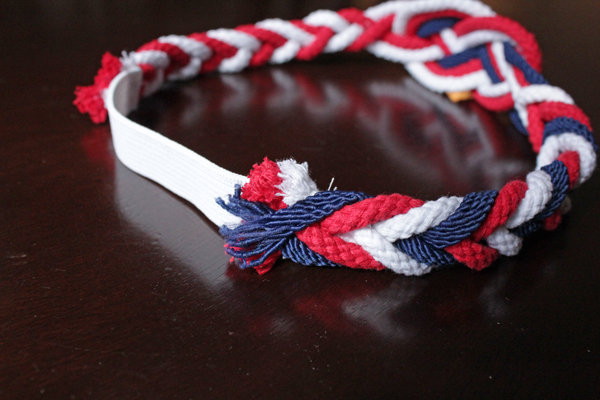
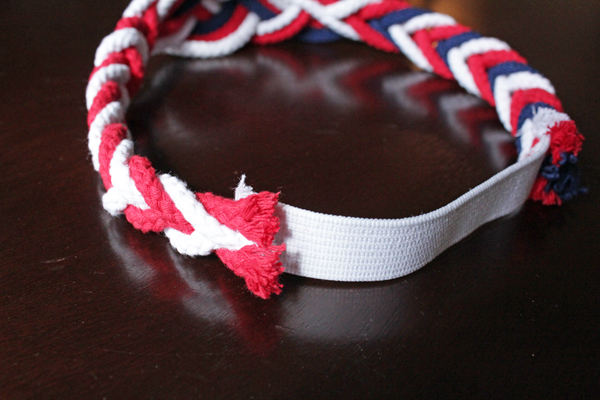
Cut enough ribbon to wrap around the ends of the cord and cover the end of the elastic. Use Liquid Stitch to glue the ribbon in place, and use straight pins to keep the ribbon and glue lined up as it dries. Set the headband on waxed paper to dry safely.
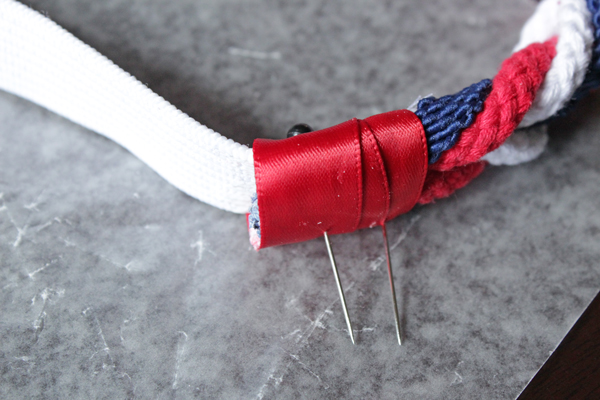
You can add even more Liquid Stitch all over the ends of the cord to keep them from fraying or sticking out of the ribbon.
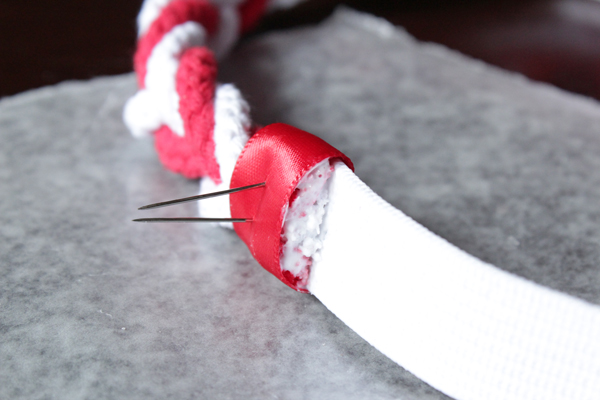
When it’s dry, carefully remove the straight pins, and you’re all set to rock this cute and comfy headband. I’ve worn this thing 2 or 3 times a week since I made it. A great way to add some variety to my limited repertoire of short hairstyles!






Leave a Reply