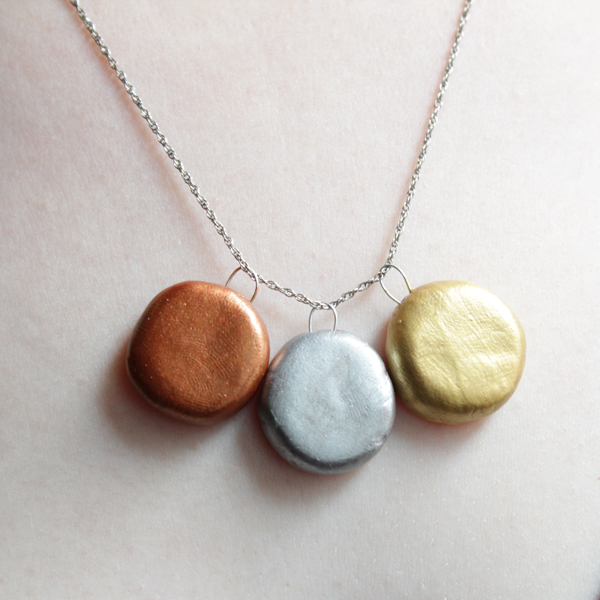
It’s true. I’ve got Olympics crafting fever real bad. Last week, I made a bronze laurel headband inspired by the olympics, and this week, I’ve got a sweet little Olympic medals necklace for you guys. This project started out as a necklace made to look like the medals being awarded at the London games this year, but I kept feeling like the result was going to be too clunky and costumey. Instead, I made a necklace elegant enough to wear whether or not it’s Olympics season! I’m super excited to wear this necklace for the duration of the 2012 Olympics!
Supplies
jewelry clay (I used metallic clay I had left over from last week’s project.)
1 dime
3 small pieces of flexible wire
necklace chain
oven
worn out baking pan (You’re not going to want to cook food with the pan you bake your clay on again…)
gold, silver & bronze acrylic craft paint
Directions
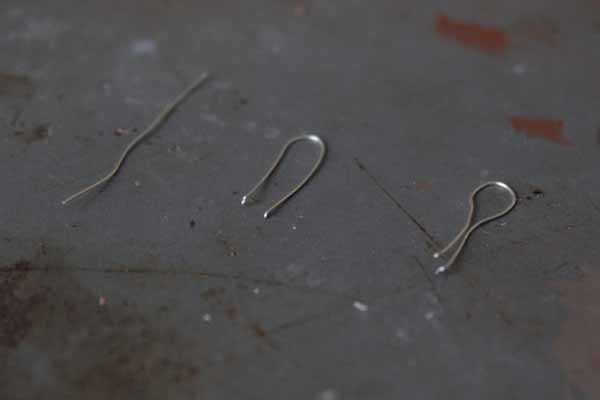
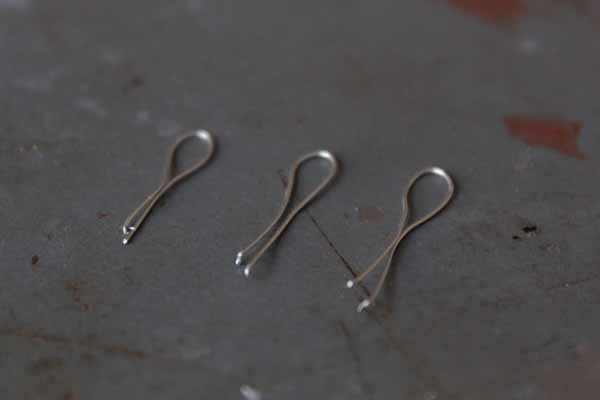
Bend your wire into three horseshoe shapes and set aside. I bent mine in half and then squeezed the tips of the wire together, like this:
Divide your clay into three small, equal pieces. Preheat your oven to the proper baking temperature (check the container your clay came in for what’s best).
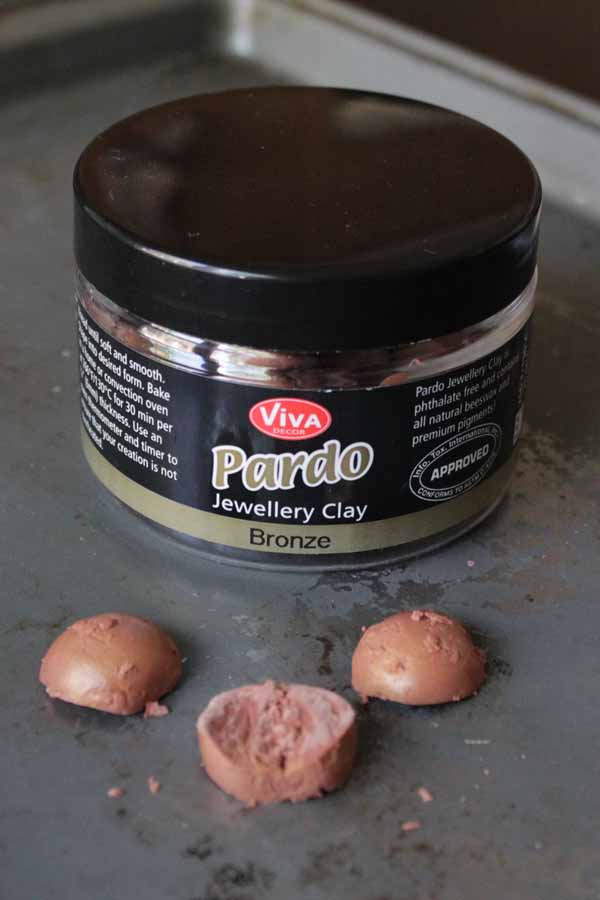
Work the clay into three dime-sized circles, using an actual dime as a pattern. I also made a second set of ‘medals’ since I thought the dime size looked a little bigger than what I’d envisioned. My oven was already going to be hot, so I thought I’d try a couple versions of this project at once.
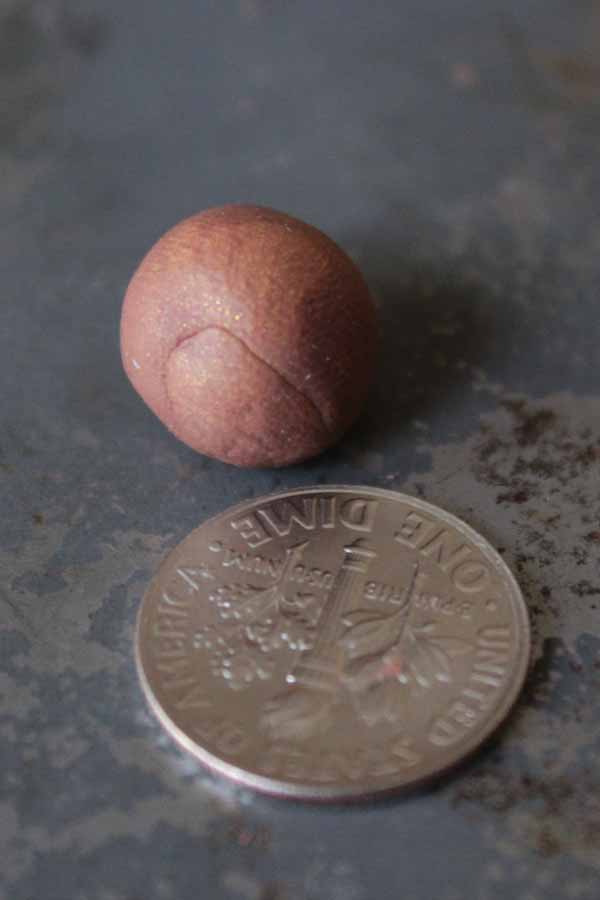
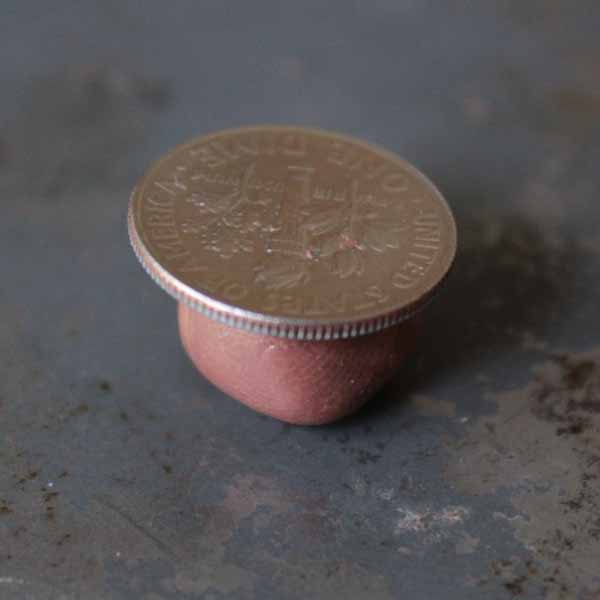
Insert a piece of your bent wire into each medal. Smooth out any cracks that result from the insertion process. I found that using the dime itself to press the medal into the smooth surface of my baking sheet worked great. It also showed me if my medals were getting too big, and it helped hide finger prints that showed up in my clay. Bonus: the torch design on the back of an American dime looks kind of like an Olympic torch. You could create a variation on this idea and use coins as a way to imprint your medals.
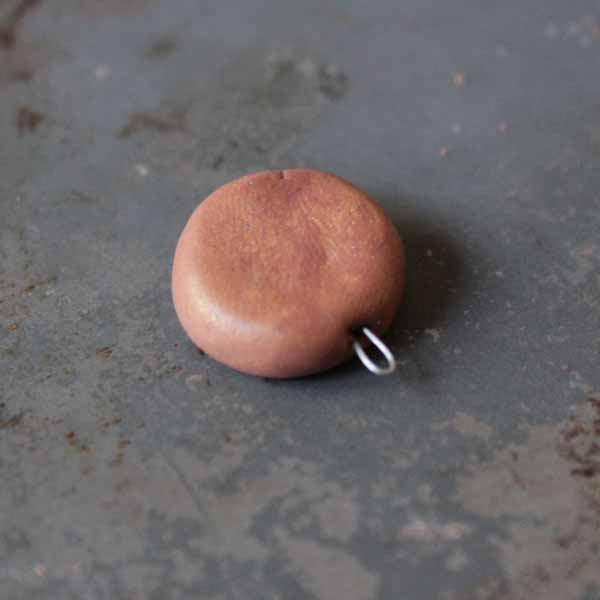
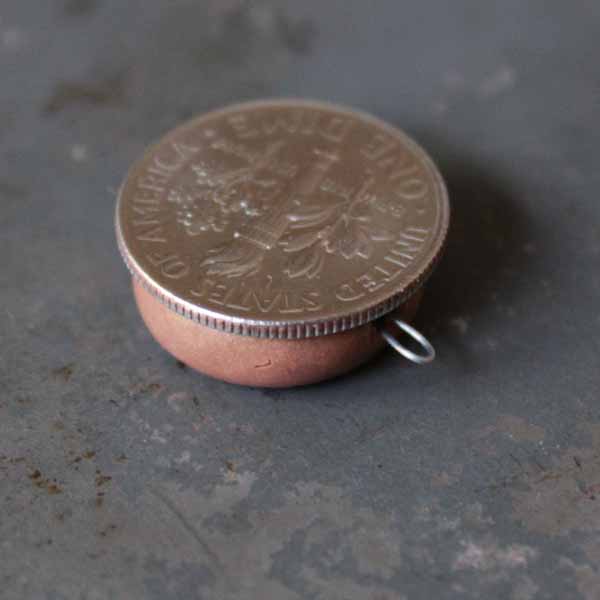
Gently peel the medal from the baking sheet and dime and set in a good position to bake. The second, smaller set of medals I made simply used half the amount of clay as the first, larger batch. I still used the dime to aid in construction, but I eyeballed the size of the smaller ones to ensure all three were approximately the same.
When they were all to my satisfaction, I baked them in the oven according to my clay’s package directions (in my case, 265 F for 30 minutes). Remember not to bake your dime – I almost did!
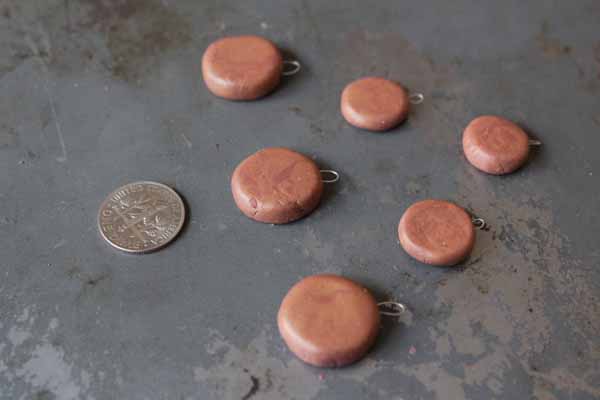
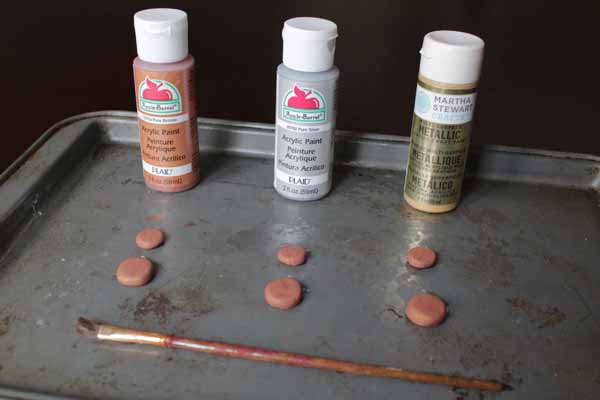
When the medals have finished baking and have cooled, you can paint them with gold, silver and bronze paint. I obviously painted one large and one small medal in each color. The bronze paint covered my medals completely in just one coat of paint (duh, the metallic clay I used was bronze-colored), but the silver took three coats and the gold took two.
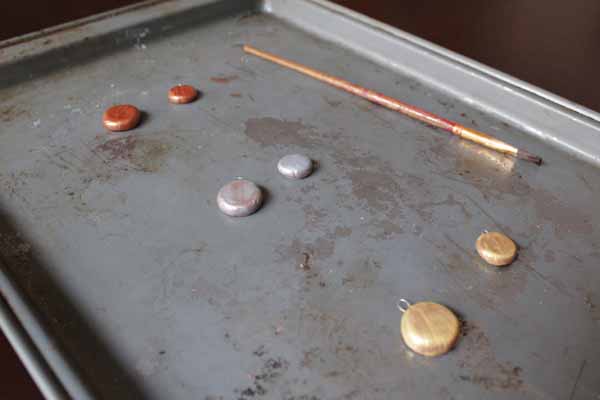
Here’s how both versions looked when they were totally dried and strung on a necklace. I think the smaller one is my favorite, even though they kinda look the same in these photos. This project requires so few supplies and is so simple – try making both for yourself and then choose your favorite to wear!
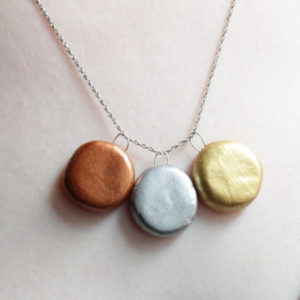
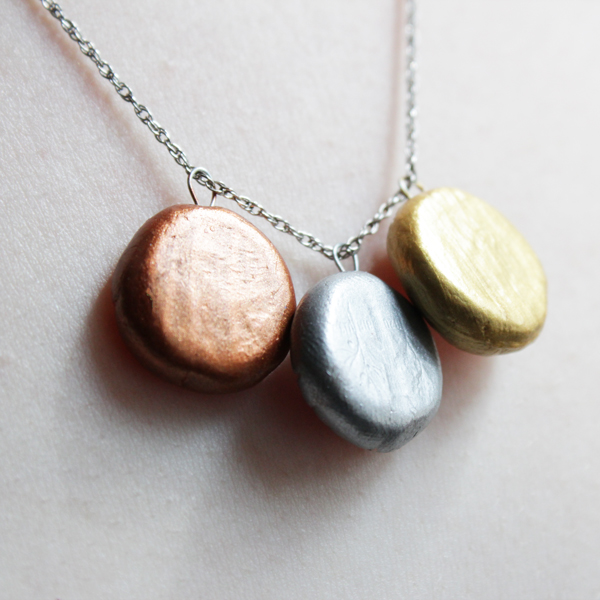
left: dime-sized medals, right: half dime-sized medals




 & shop new patterns


Leave a Reply