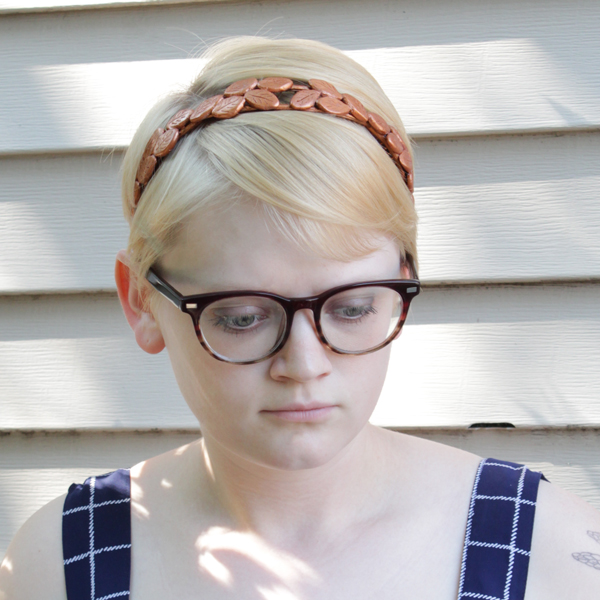
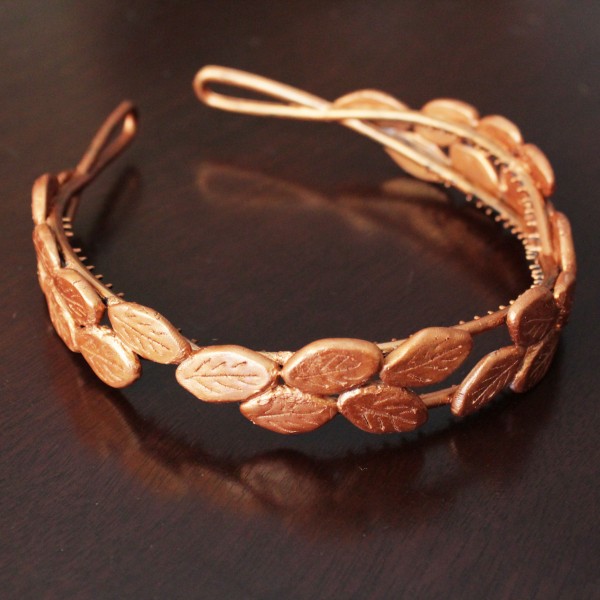
The Olympics start on Friday, and I’m so excited! My tutorials for the next few weeks will all be Olympics-themed in honor of the occasion. The tutorial today is probably one of my favorites of this year so far. It’s cute, came together really nicely and looks expensive for a craft project. I love it!
Supplies
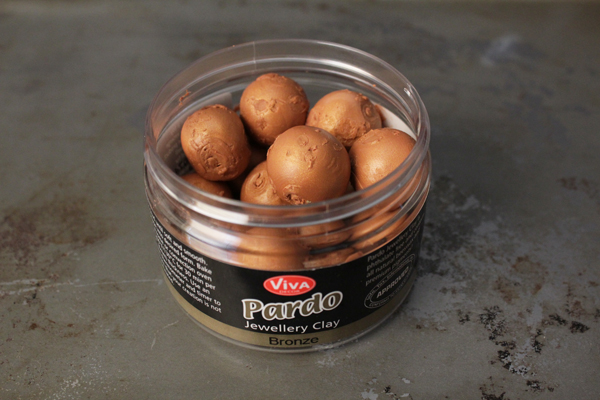
metallic colored jewelry clay (I chose bronze!)
Old baking sheet
X-acto knife
Bronze acrylic paint
Headband
Super glue (~2 tubes)
Directions
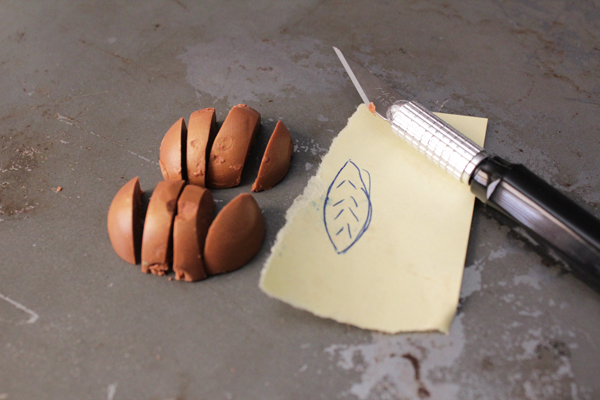
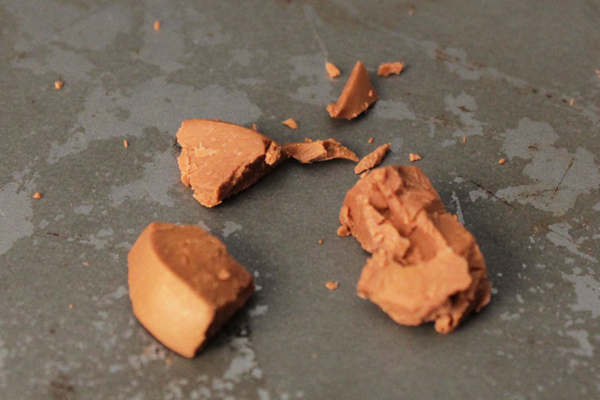
Separate your clay into a bunch of evenly-sized pieces. Mine came in balls, which I cut into eight even pieces each. Then mold them into a leaf shape. I sketched a template to help ensure each of my leaves were similar.
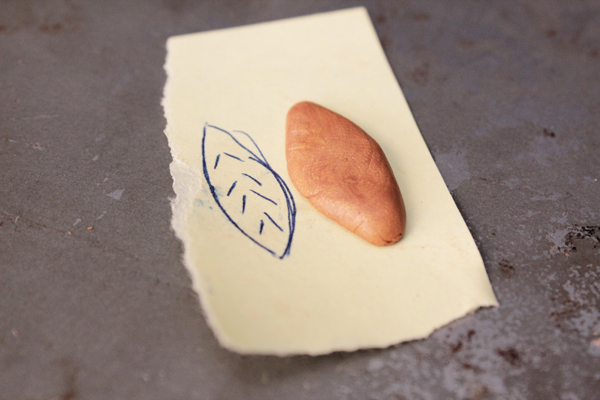
Once you’ve crafted about 2 dozen leaves, bake them according to the clay’s package directions. The clay I used needed to be baked for 30 minutes at 266 degrees F.
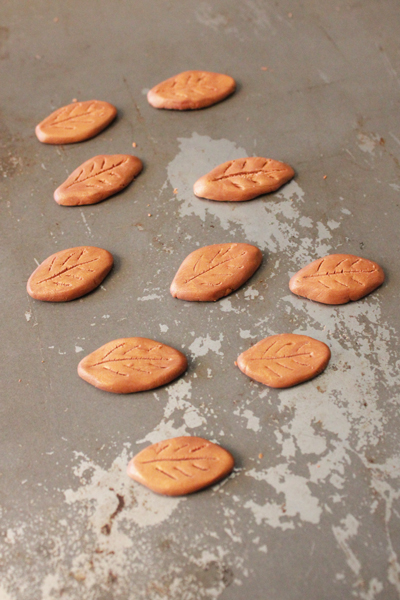
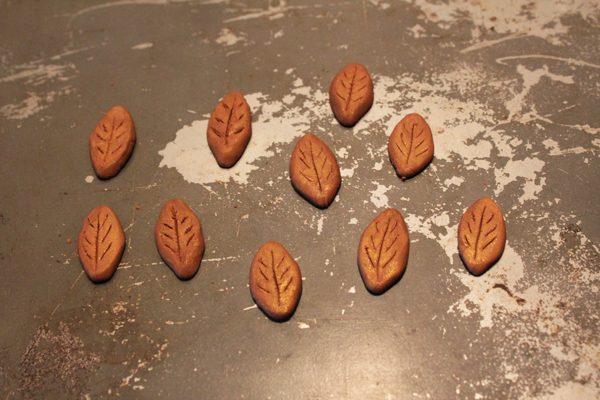
When pardo clay is baked, it becomes very hard. Here’s how my leaves looked as they cooled:
A couple caveats about working with this clay is that it can crumble. Also, toxic fumes can result during the baking process. Because of this, I made sure to use an old baking sheet I don’t intend to use for baking again.
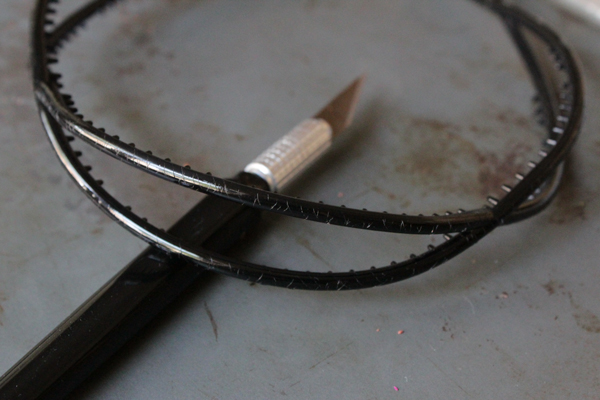
Next, score your headband with an x-acto knife to give something for the glue you’re about to use to stick to. Begin super gluing your cooled leaves to the headband in a laurel vine-esque pattern. This takes a while and is rather messy. I used my craft-exclusive baking sheet to protect my work table in this step.
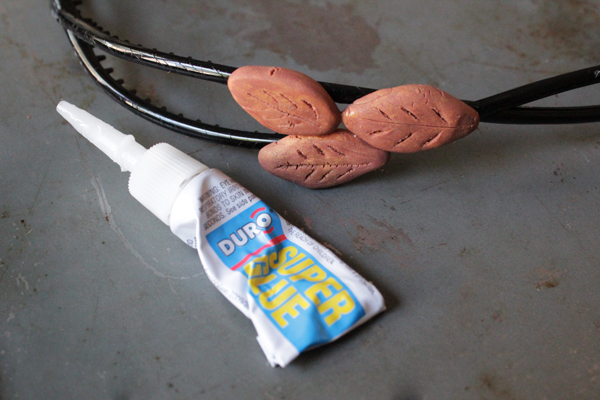
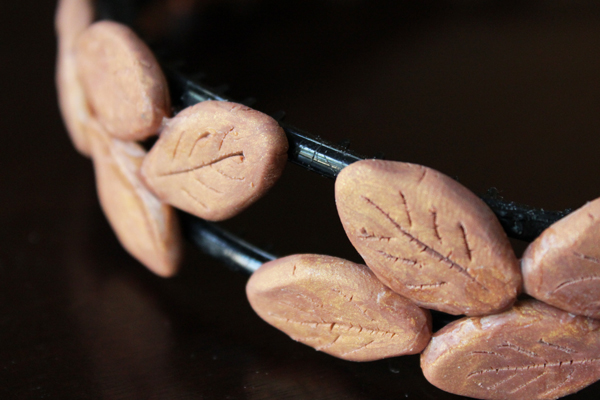
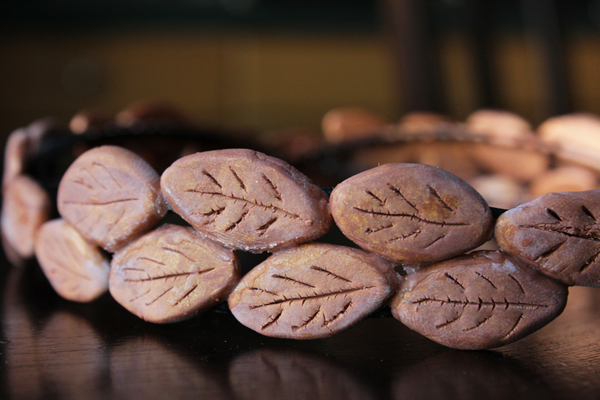
When my super glue dried, it made my leaves look anything but shinily metallic, which was a huge bummer. Between that and the fact that my headband base was black, I wasn’t satisfied with how it looked. Luckily, there’s acrylic craft paint!
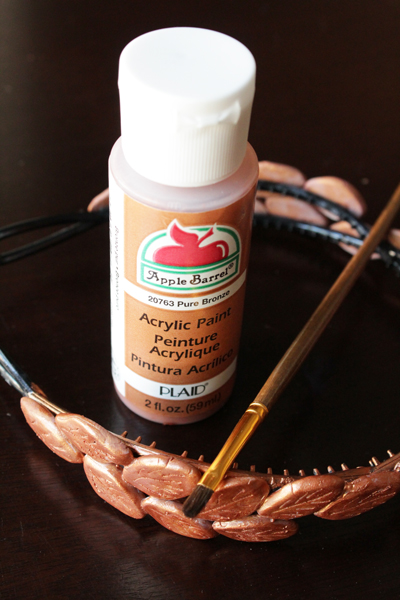
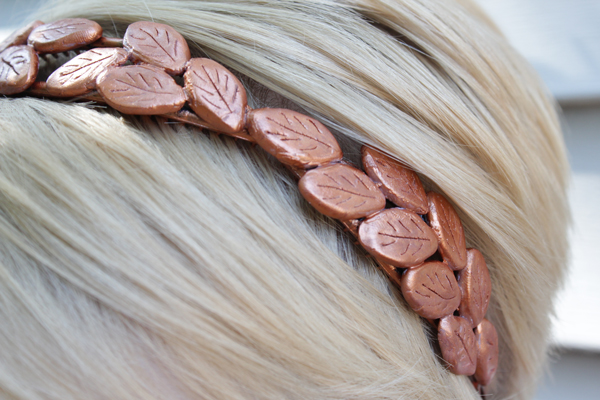
Paint over the whole headband with as many coats as it takes to look good. Let it dry completely, and you’ve got yourself a totally cute headband.




 & shop new patterns


Where did you find metal clay that you just bake like you would polymer clay? I use ArtClay copper metal clay and you have to use a torch to actually make it into metal, and the bronze metal clay I know of needs to be fired in a kiln. The picture before the headband was painted still looks like clay. I think what you have is a metallic polymer clay if it is the pardo clay that is in the picture, and not actual metal clay made with actual metal particles and a clay binder that burns away. What you did is perfectly fine, and much less expensive than actual metal clay, but there is a difference between metallic clay and metal clay. Metal clay just needs to be burnished to bring out the shine, just in case what you have is actually true metal.
Aha! That makes its color after being baked make sense – thanks so much for the info! I’ll have to try ArtClay next time I want to do a metal (not metallic) clay project. :)