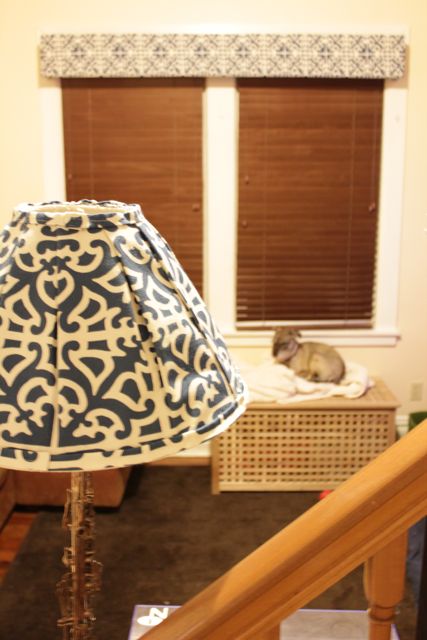
Supplies
a conically-shaped lampshade
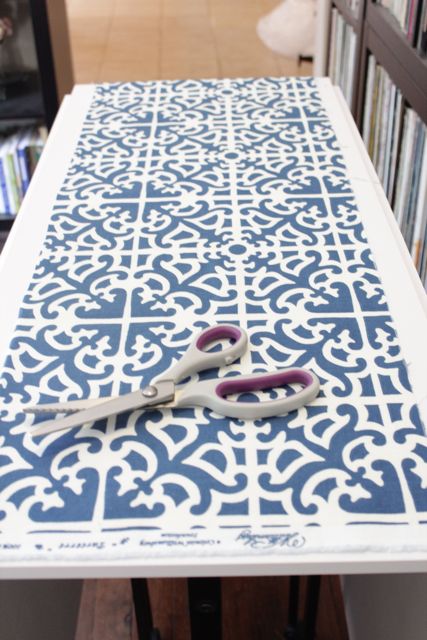
upholstery fabric
scissors
(optional) pinking shears
hot glue gun
sewing machine
straight pins
iron
tape measure
Directions
Carefully remove the cover from your old lampshade. This process will vary depending on the cover used, or if there’s a cover at all.
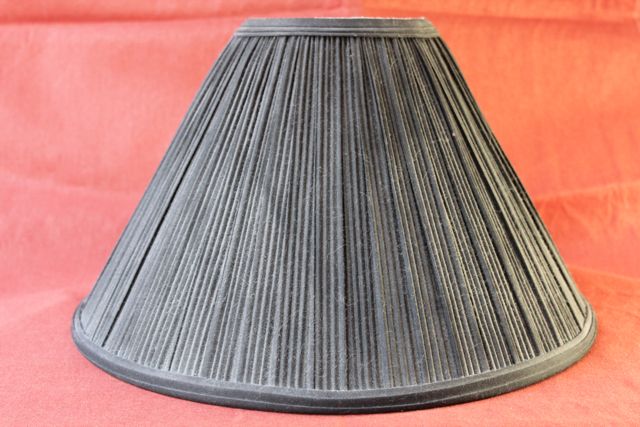
Cut your upholstery fabric. Measure around the bottom (wider end) of your lampshade using a tape measure. Measure the height of your lampshade from top to bottom. Your fabric should be the length of the circumference of the bottom of the lampshade plus an inch or so for seam allowance. The fabric’s width should be the height of the lampshade.
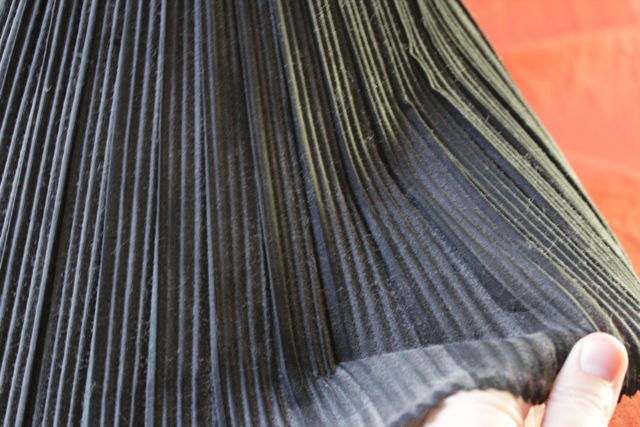
Begin pinning your fabric to the lampshade using one pin at the top and bottom. Pin fabric all the way around, pinning it every few inches on the bottom and every inch or so on the top, depending on how wide you want your pleats to be.
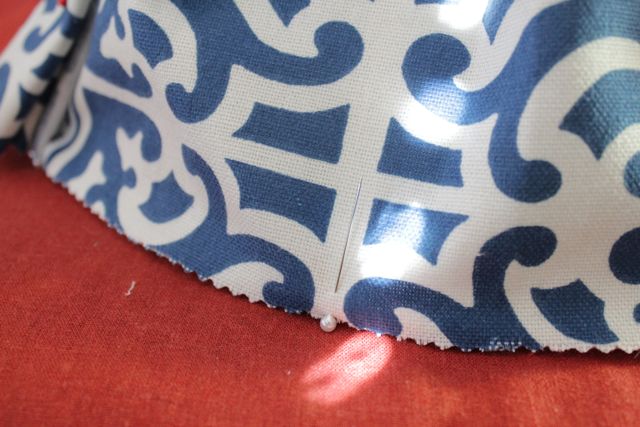
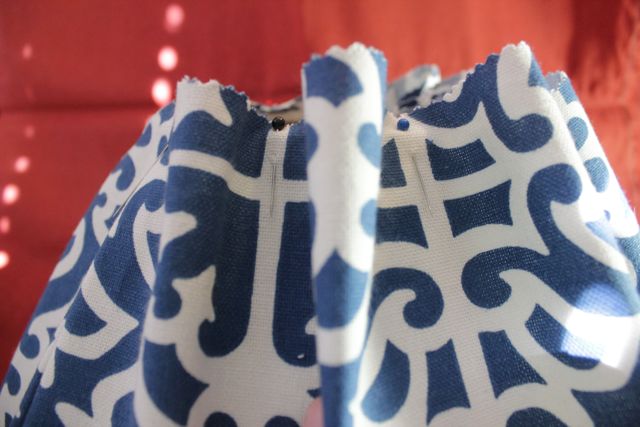
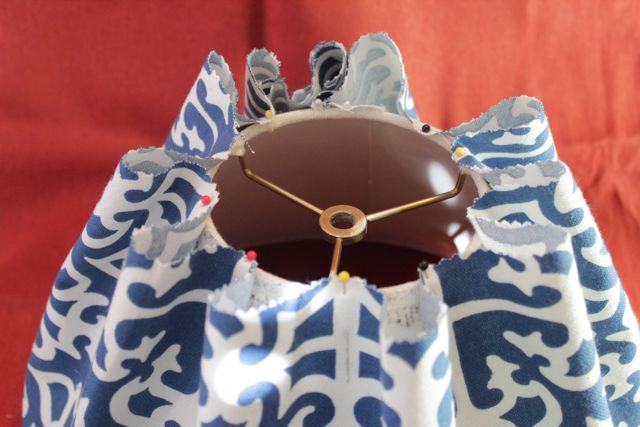
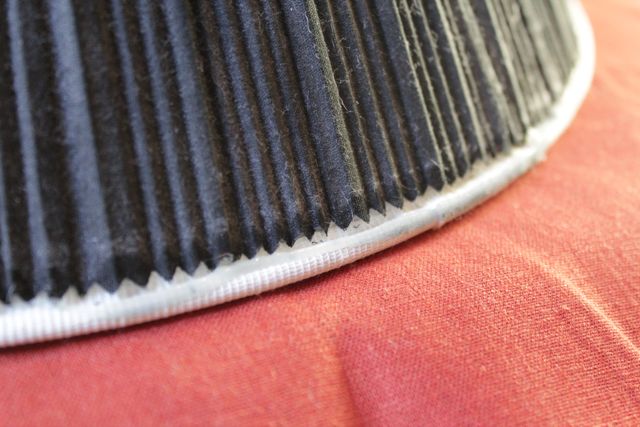
Using your fingers, flatten each wave in your fabric at the top (as shown) and pin it down. Lucky for me, my lampshade’s adhesive stayed every so slightly sticky despite removing the old cover. I still pinned each pleat, but they kind of stayed in place on their own. I think you could recreate this effect if you experimented with an adhesive spray before pinning on your fabric. Just a thought.
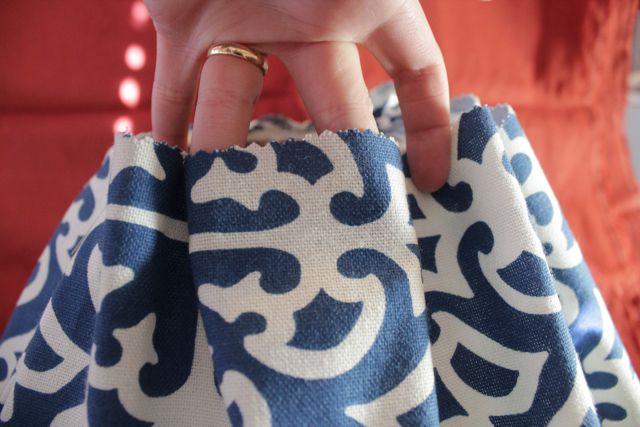
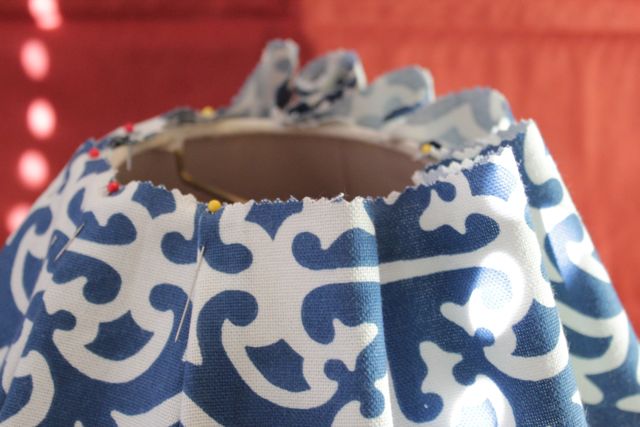
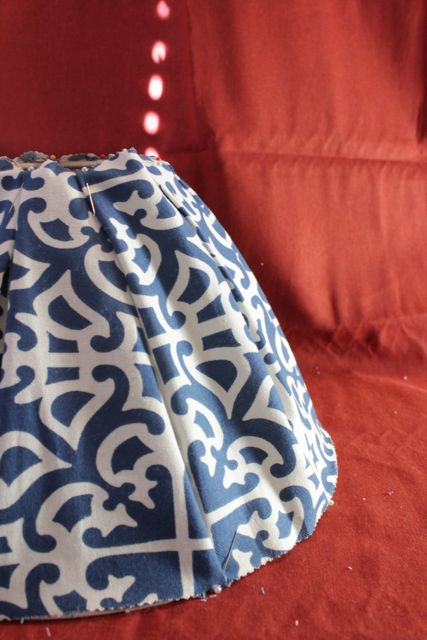
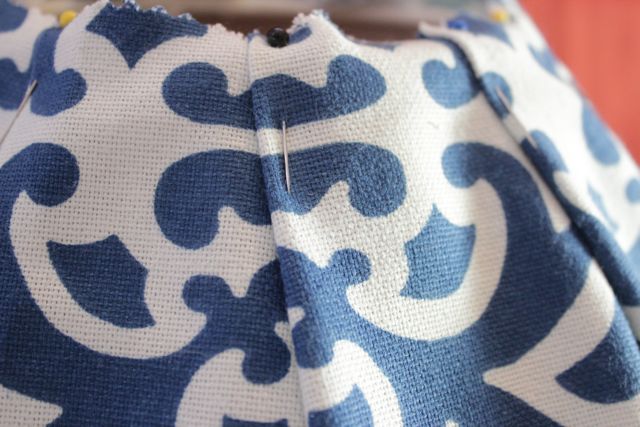
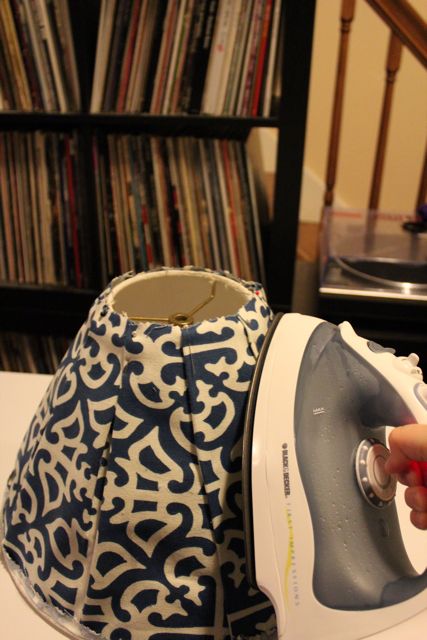
Using an iron on a low setting, iron directly on your lampshade to secure your pleats. At this point, I set aside my project for a few days, pins and all. When I set out to finish the lampshade, my pleats were set even more.
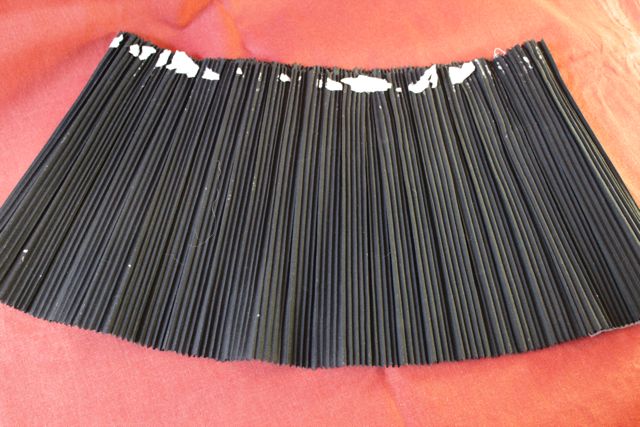
Next, remove the fabric from your lampshade, pinning your fabric to itself as you go. The fabric will look like a C or a half-moon when it lays flat.
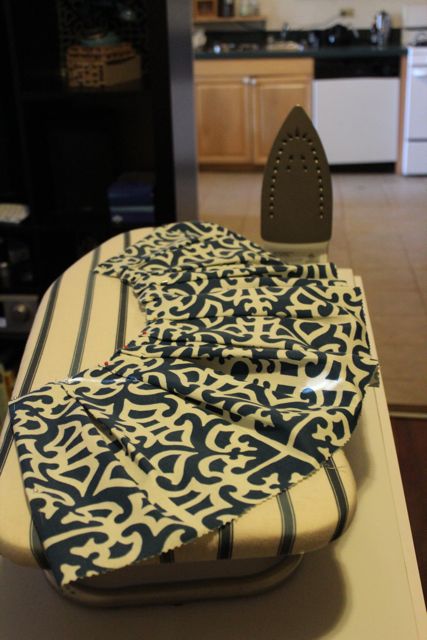
Iron the fabric on a high setting. This will reduce the bulkiness of your lampshade once you’re ready to reattach the fabric cover.
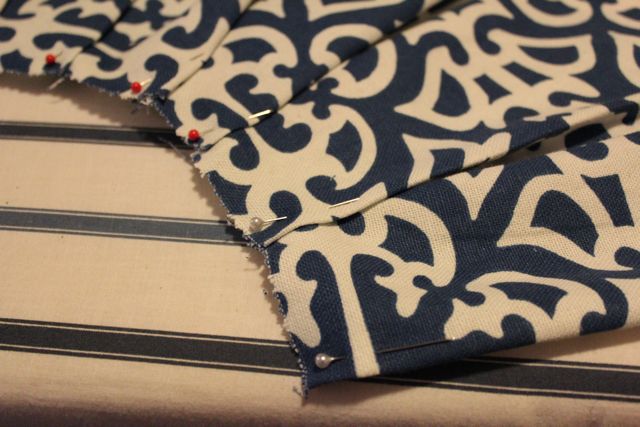
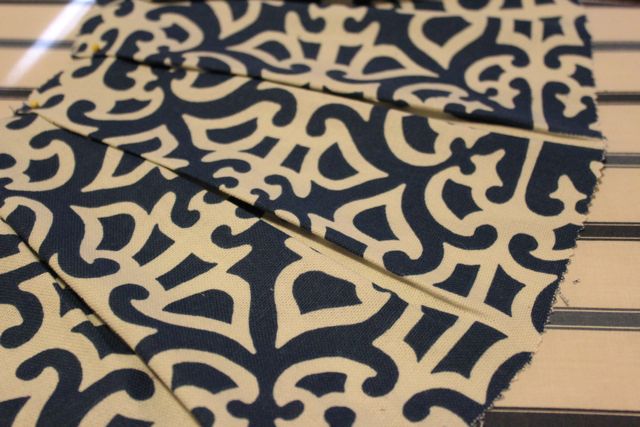
Reattach your fabric to the lampshade using hot glue or a spray adhesive, being careful to keep it straight. I’d cut my fabric a little long, so I folded the end over and glued a little lip down to make the cover extra snug.
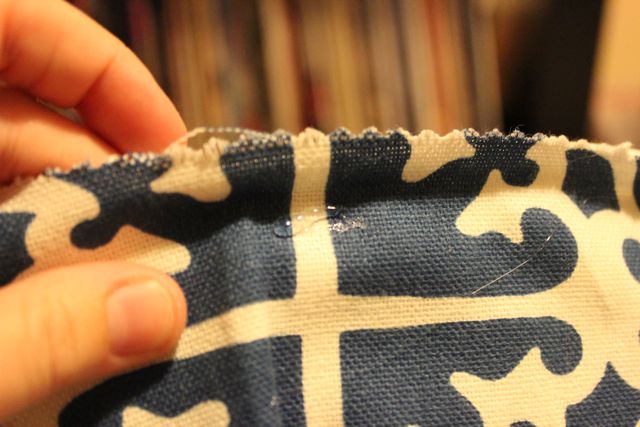
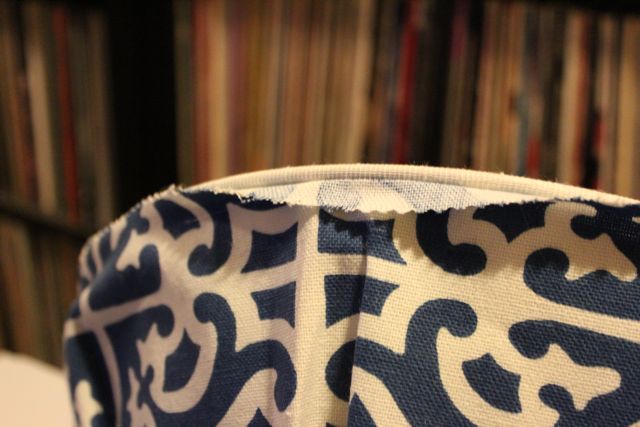
I used a little dab of hot glue at the top of each pleat as I removed the straight pins to lock them down.
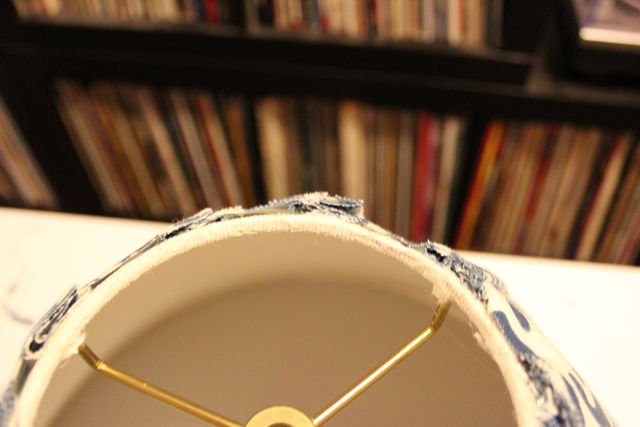
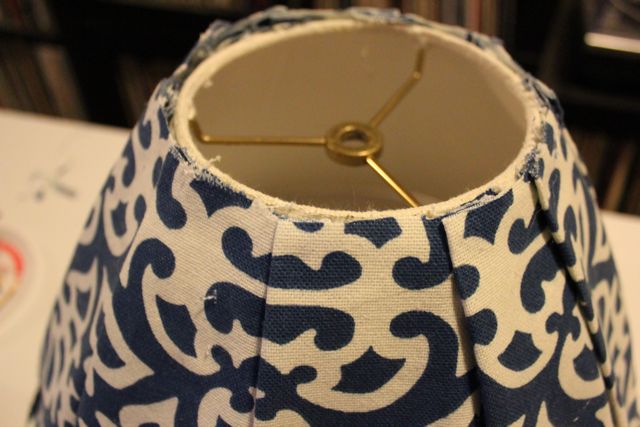
I also gave the lampshade a once over with an iron on low to make sure everything stuck.
Cut two strips of your fabric, an inch-and-a-half wide. One strip should be the circumference of the top of your lampshade plus one inch, and the other should be the circumference of the bottom of your lampshade plus one inch.
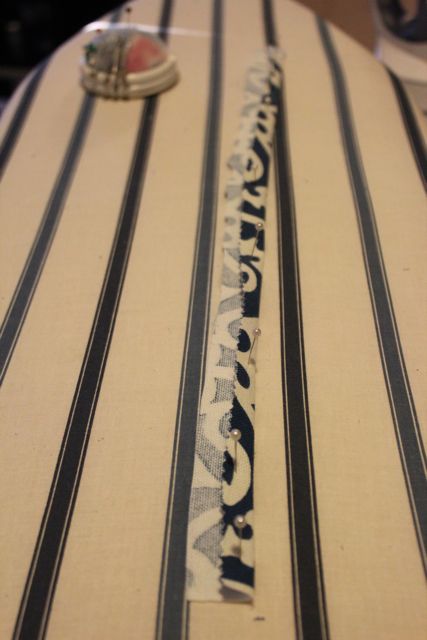
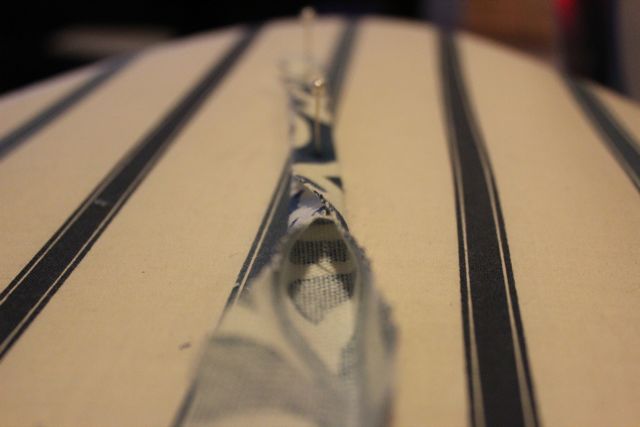
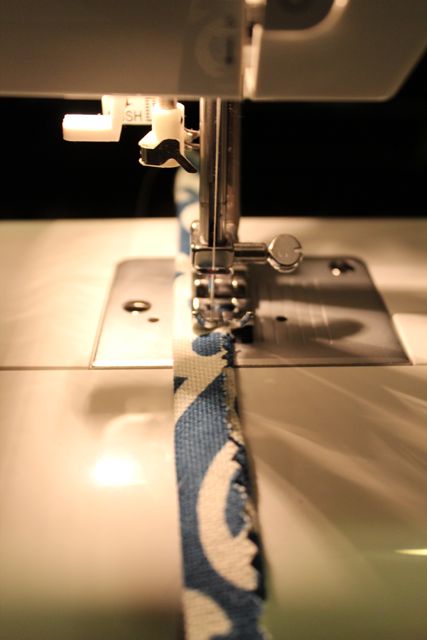
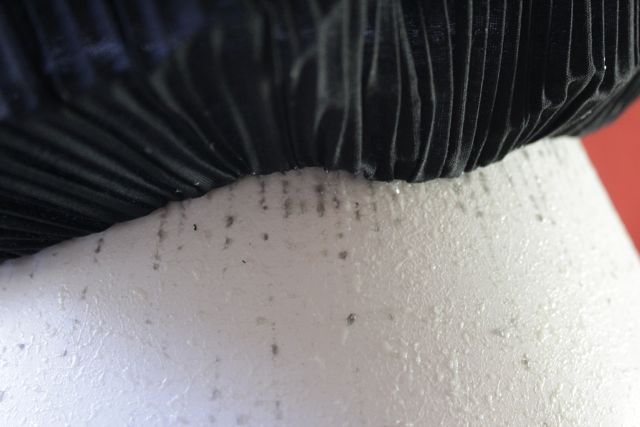
Fold one half inch of your fabric and pin it to your ironing board, as shown. Iron it down. Then, fold in the other side, pin it to your ironing board, and iron that down as well. Sew the strip using a sewing machine. Repeat this process for the other strip of fabric.
Now, all you’ve got left to do is glue each strip to the top or bottom of your lampshade using hot glue. Tuck in and glue down the end to prevent fraying.
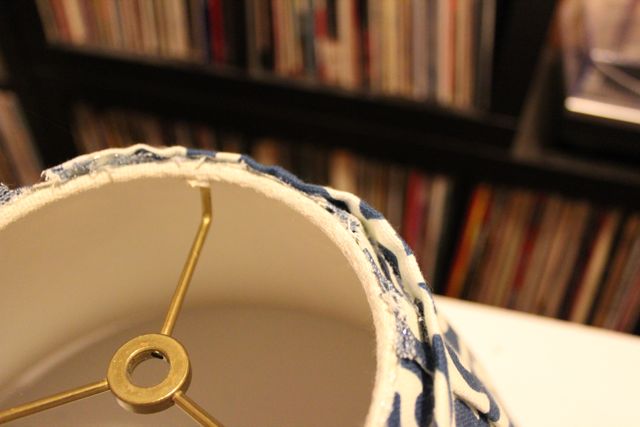
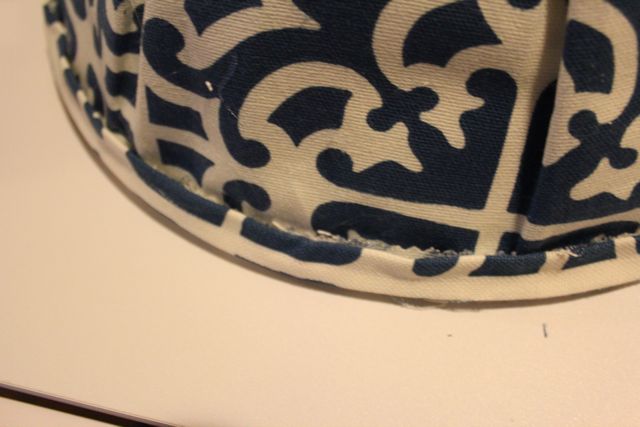
I love how this turned out. I was worried it was going to look too much like a cheerleading skirt, but I think it turned out all right!
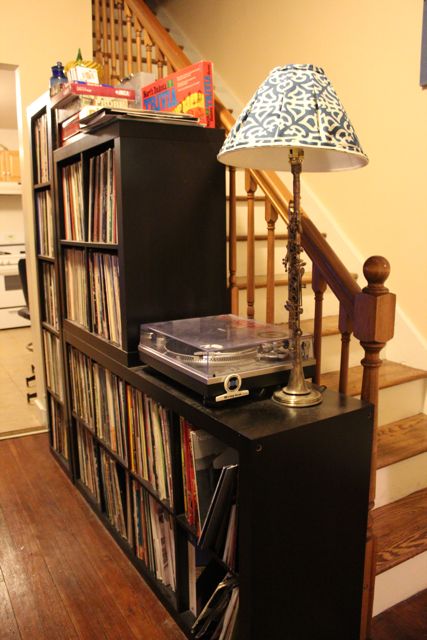
Yes, my husband has a huge record collection (I buy craft supplies, he buys LPs. That’s the deal. ;)). And yes, the lamp pictured is a very old silver clarinet. It’s been in my family for years, and one of my grandparents made it for me. Stay tuned for more on the lamp in an upcoming edition of My Family’s Crafts. For now, check out how cool the lampshade looks with my no-sew valance at the top of this post.



 & shop new patterns


You did a really nice job. Thank you for the detailed pictures. :)
I am trying to do the same thing to a lamp that I have. Unfortunately I am having a very difficult finding material to co-ordinate with the colors in my living room. I didn’t realize that the old plated cover was glued to another lamp shade underneath. I purchased some ribbon to go around the end of the old pleated shade but it requires more ribbon that I have on hand. Now if I could find some upholstery coordinating fabric I would be ready to complete the project….
I just wanted to thank you for your tutorial on lampshades. I have searched and searched for a lampshade replacement and oh my goodness the prices. I have brought home two different shades only to return them. I came across your blog and thought Id give it a try. What did I have to lose?? Well I love it! Its in the pinned stages but I can’t wait to press it and glue it on in a few days!
Wonderful! Glad you found this useful. :)
I really wanted to view this post, but the pictures quickly turned to ads before I was able to view them. This was very annoying.
Oof, that’s a new ad type, and I agree it’s not ideal. I’ll email the robots at my ad network to get that kind of ad disabled. Thanks for the heads up.