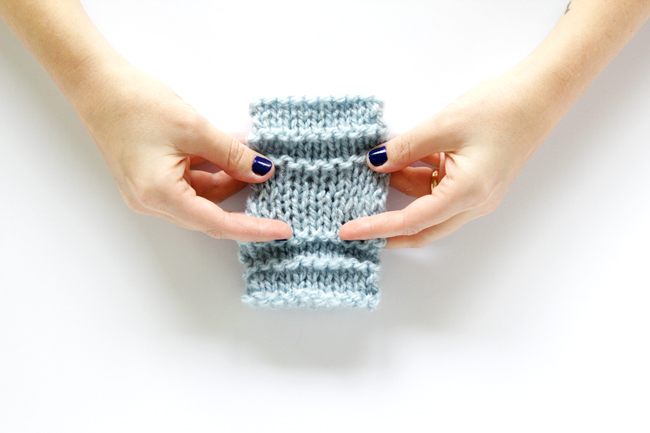
Sometimes a knitting project requires sewing. If you’ve been knitting for any amount of time, you’ve probably noticed that you have to weave in ends. I prefer to weave in my knit ends with a tapestry (yarn) needle since I feel like it goes a little faster. This is probably the most common form sewing takes in my knitting. The second most common sewing action that happens in my knitting is the kitchener stitch. Also known as grafting your knitting, the kitchener stitch lets you join two ends of knitting, and if done right, it looks seamless.
I’m all about cowls, and the kitchener stitch is a cowl knitting lover’s BFF, especially if that cowl knitter hates knitting in the round. Knitting in the round is fine with me, but sometimes as I imagine a cowl pattern I want the stitches to lay in such a way that knitting in the round won’t work. That is when I know I’ve got some kitchener in my future. And if you are newer to knitting or, like I said, simply hate knitting in the round, grafting is the way to make infinity scarves that will, due to their lack of seams, have a true infinity effect.
All of that said, I’ve done a photo-based tutorial on the kitchener stitch in the past (you can see it at the bottom of this post), but I had a request for it also in video form, which totally makes sense. Kitchener stitch is really useful, but kind of awkward to learn at first. For today, I’ve only done a right handed kitchener stitch tutorial because even when I knit left handed, I fiddle around with the loops and use a right handed kitchener stitch to graft my ends. If someone would like me to make a proper left-handed tutorial for this, just holler and I’ll make it happen. ;)
Hands Occupied Patterns Featuring Grafting
If you want to see the kitchener stitch in action, here are two cowls I’ve designed that use it. They both knit up pretty quick and have video tutorials for how to knit the stitches featured in each if you’re looking to try a new stitch in addition to the kitchener. Happy knitting!
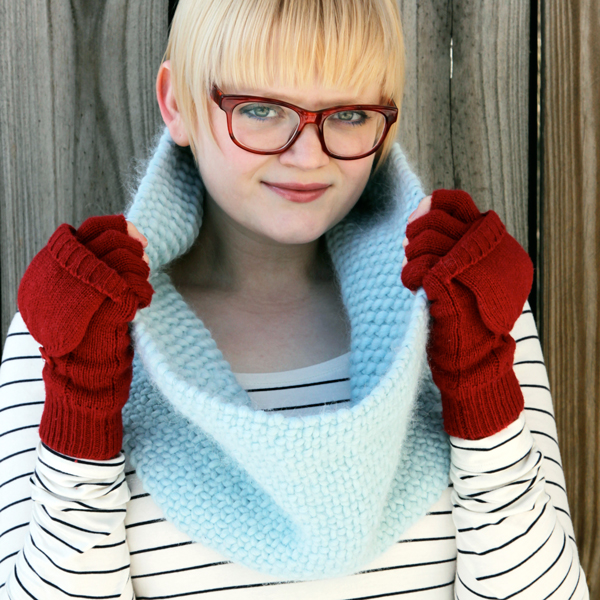
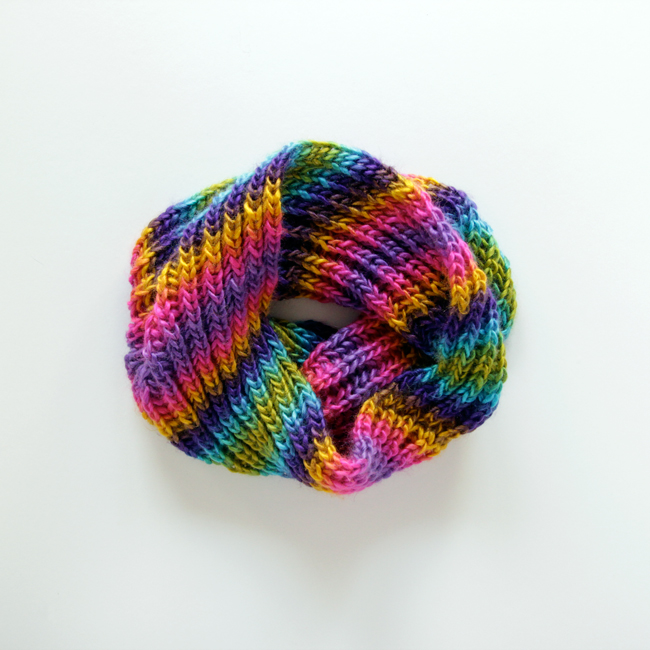
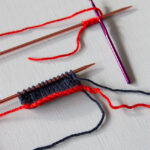
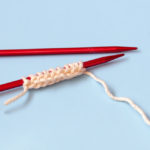
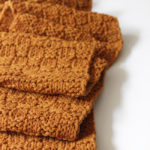


 & shop new patterns


I love your videos! They are easy to understand and fun. I especially like the music in this Kitchener stitch video.
I made a Brioche cowl, using the provisional cast-on you suggest. So the beginning number of stitches and ending number of stitches are different, but I thought I could count the ‘x’ stitches at the ending as 1 stitch, as in the Brioche stitch, and end up with the same number of stitches as the beginning of the cowl. In joining them with the Kitchener stitch, something went wrong, even though I was trying to be careful. I noticed some big, gaping holes, so I un-knitted back to the start (or tried to, I need to read your instructions on fixing mistakes in Brioche!). By the way, this is a möbius cowl, so maybe that screws up the orientation of the stitches too much to do this?
My question is, what is the trick for joining the 2 ends with the Kitchener stitch? Do I need to add a row of Brioche at the beginning? Do I decrease the Brioche row at the end to be the smaller number of stitches like at the beginning?
Should I just join the ends with a mattress stitch or something?
Thanks in advance for your help.
Good question, Marayla! Yes, for the kitchener stitch to work, there needs to be the same number of stitches on both ends of the piece. If you want to get creative, you could work two of the stitches on the longer edge into one stitch on the shorter end, but that could get tricky. For a more seamless look, I’d recommend decreasing the end with the larger stitch count to match the shorter end, which will taper the longer end more gradually into the shorter for that close-to-seamless look. Let me know if I can explain this better!
Thanks for reaching out,
Heidi :)