In my last post, I announced that I’m planning my husband’s 30th birthday party, themed: what whiskey will not cure, there is no cure for. The first project for his party I’d like to share with you is a stenciled tablecloth. Last Halloween, I showed you guys how to do basic screen printing, using screen filler and printing screens. That method takes a lot longer, but is worth it if you’re producing multiple shirts featuring an original design. The method I’m sharing today is great for one-offs like the stenciled tablecloth I made for our party.
We’ll be serving a variety of whiskeys at his party, so I thought it would be nice to have a vintage end table covered in a printed tablecloth that reads NAME YER POISON. At our wedding, we had a lot of subtle little signs explaining details about this or that, but I decided against it. One lesson I’ve learned and completely accepted in my life as a marketer (by day, I work in marketing) is the fact that no one ever reads anything ever. By now, 50+% of y’all have skipped to the list of supplies and are going to glance over the photos, skipping all the text. Tra la la. Tra la la. Kudos to you who are reading this. ;)
I wanted to make my message short and sweet, welcoming guests to try whatever they like. “Name yer poison” is also a phrase my dad used a lot when my brother and I were kids, so I thought it would be nice to incorporate in the party.
Supplies
enough fabric for your tablecloth
freezer paper
pencil
x-acto knife
tweezers
iron
fabric paint
sponge brush
cardboard
Directions
Draw your design directly on the unwaxed side of some freezer paper. I designed mine on the computer using some software, so I printed mine first and traced it onto my freezer paper.
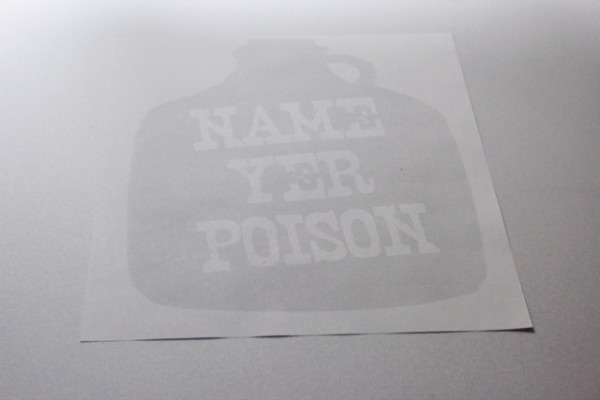
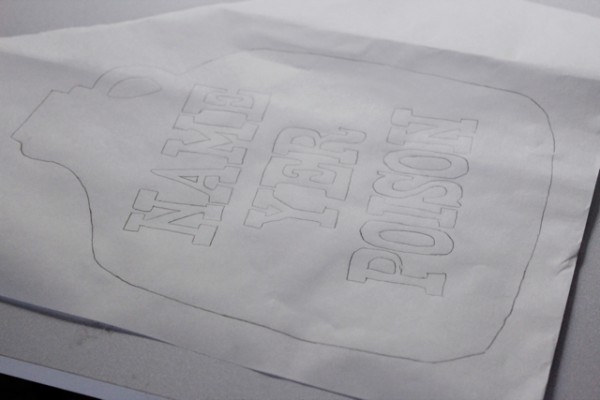
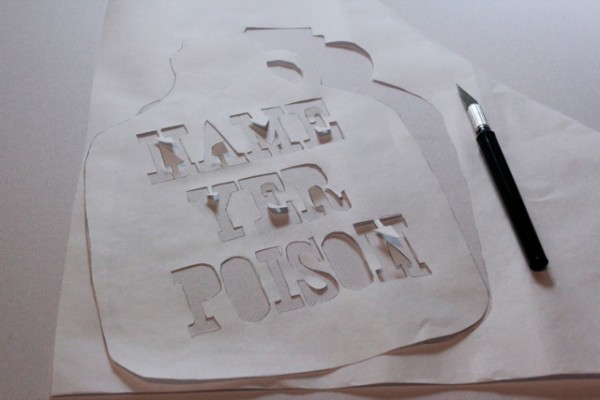
Lay your design on top of some cardboard to protect your work surface. Cut your design from the freezer paper, starting with the insides of letters like A, E, I, P and O. Keep everything you cut out! Then, cut the rest of the letters out, being careful to stay on the lines avoid tearing the paper. Keep everything you cut out! Finally, cut out the rest.
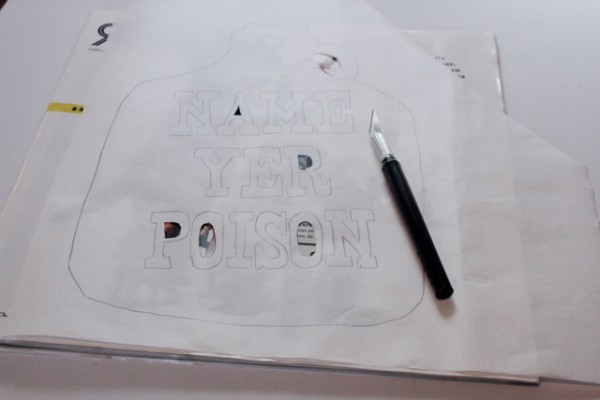
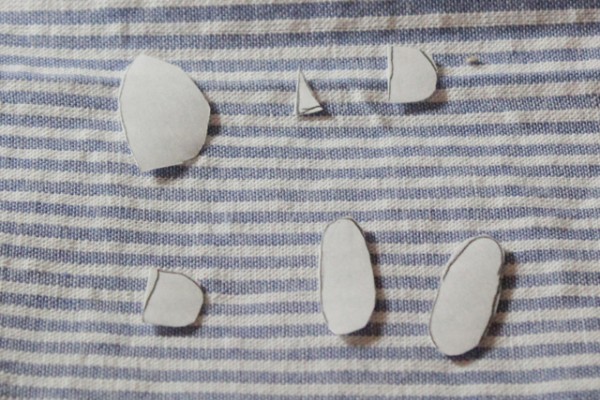
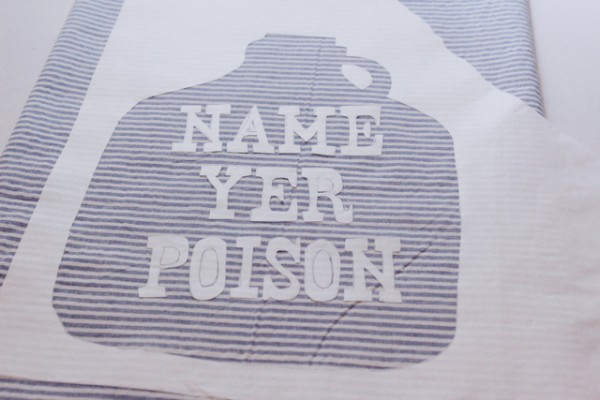
Heat up your iron and iron the design onto your fabric, reversing the order in which you cut the pieces from the design. In the case of my design, I started with the outside of my whiskey jug silhouette, added the inside, then the lettering, and ended with the inside of the A, P, etc.
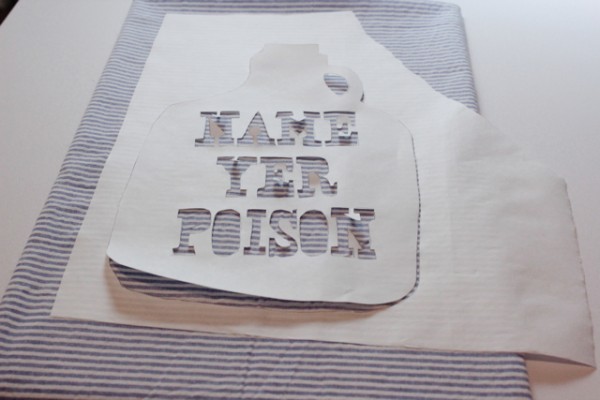
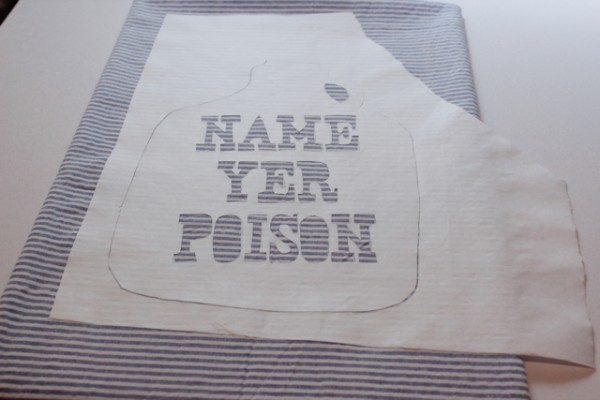
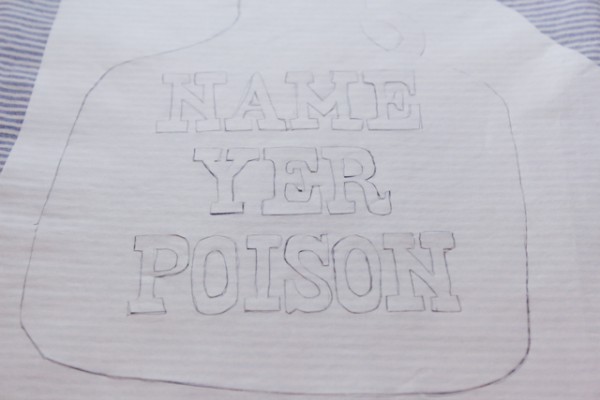
Peel away the freezer paper over the parts of the fabric you want painted. I carefully removed the jug shape and the insides of my letters to accomplish my design.
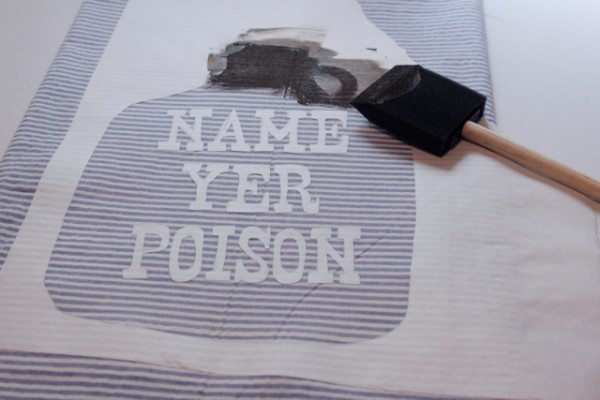
Put a piece of cardboard behind the fabric you’re stenciling to keep the paint from seeping onto fabric on the other side or your work surface. Wet your sponge brush, but not too thickly, and paint your fabric, getting paint right along the edges of the freezer paper. I haven’t had issues with the paint bleeding under the stencils, but being judicious with your paint is always a good insurance policy when crafting, in my experience.
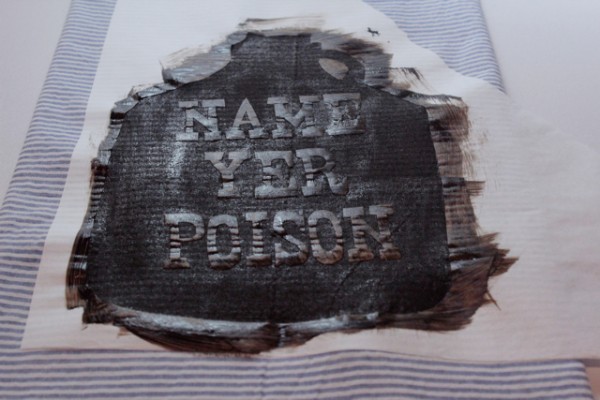
Let the paint dry completely. Using a tweezer, peel the freezer paper from the fabric to reveal your design!
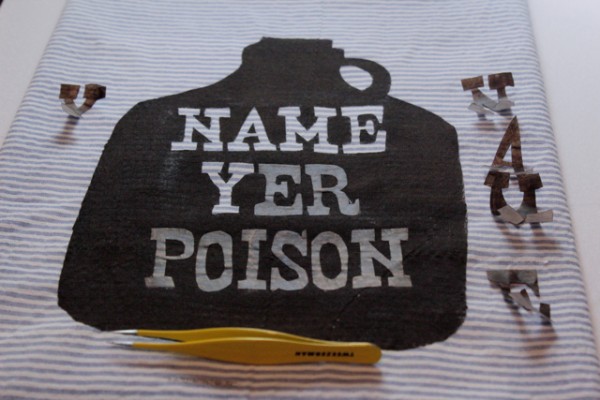
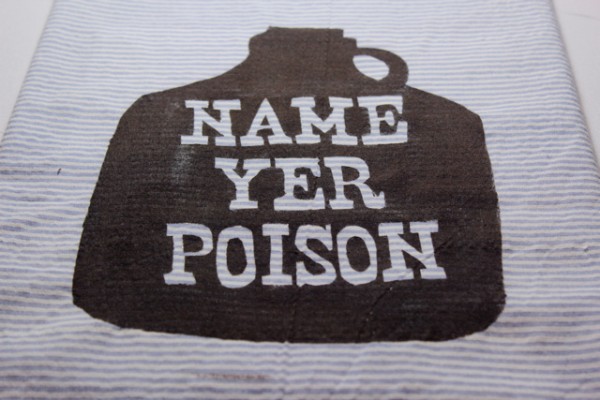
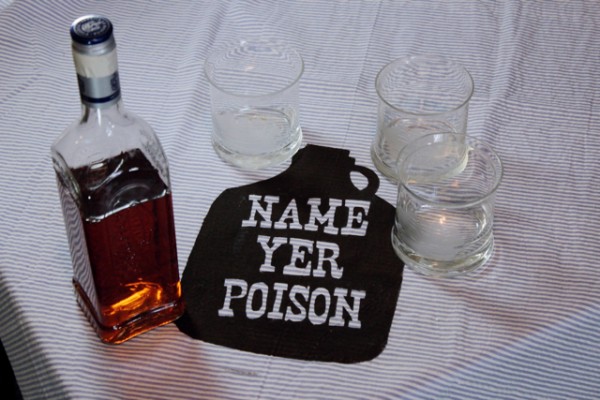
Here’s a taste (pun not intended) of what our whiskey bar will look like. I’m getting really excited!


 & shop new patterns


Leave a Reply