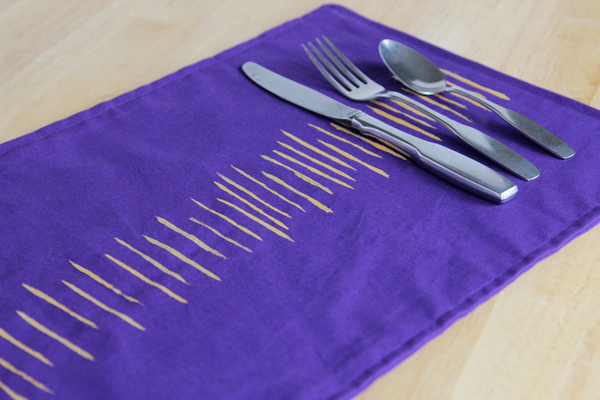
Thanksgiving can be a hard holiday to craft for. I’m always finding myself inspired by great vegetarian recipes or autumn leaves, maybe more than by Thanksgiving itself. Today, though, I was inspired by midcentury glassware designs to create an uber-simple set of stamped place mats. These take about 10 minutes apiece to make, but if you want an added challenge and aren’t afraid to sew, you can try your hand at sewing your own place mats using this tutorial from Centsational Girl.
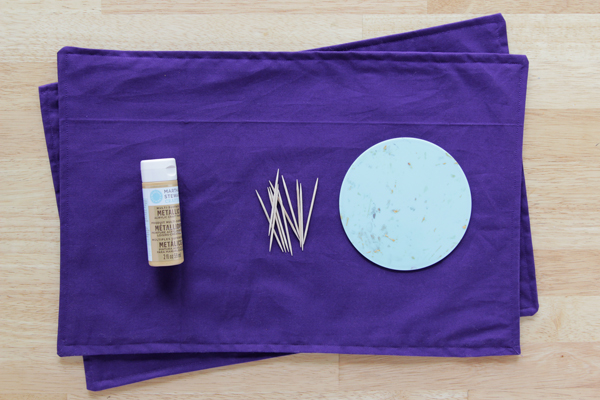
Supplies
acrylic craft paint
toothpicks
fabric place mats
waxed paper or silicon crafting mat
scotch guard (optional)
Directions
Sew up your place mats if you are so inclined. If not, wash some premade fabric place mats before beginning.
Squirt some acrylic paint onto waxed paper or a crafting mat to protect your work surface. Holding a toothpick between two fingers as shown, coat one side of the toothpick in paint. Don’t go crazy – if you use too much paint, your stamps will come out looking less like subtle, tapered lines and more like a Rorschach Test.
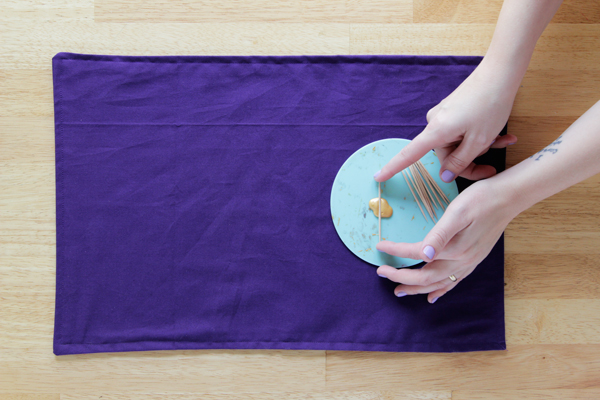
Carefully place your painted toothpick approximately at the center of your cloth place mat.
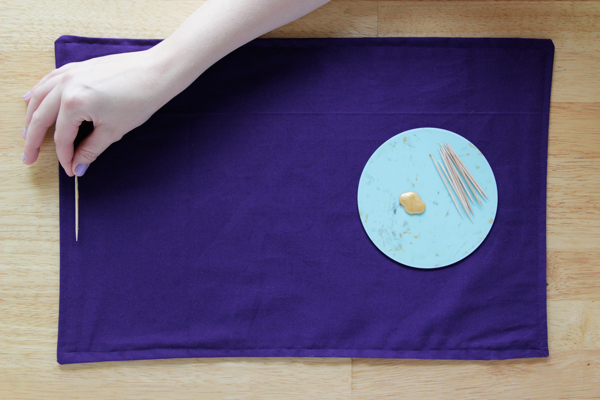
Place 3-5 more, slightly staggering their position up and down from the place mat’s center for a relaxed look.
Remove them in the order applied. My tips for removing these without messing up your work:
- Make sure your hands are clean and dry. You don’t want to transplant some paint into an undesired location on your place mat.
- Press down on one end of the toothpick and lift up the far end with a finger tip. Toothpicks are tapered, so they see-saw nicely off of your place mat when you remove them in this way.
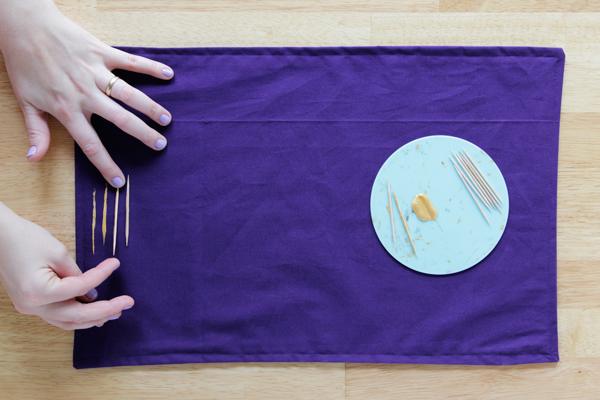
Continue stamping all the way across your place mats and let dry completely. If you’d like to keep your place mats protected from a potentially greasy gravy stain, apply a layer or two of scotch guard to both sides, following the package’s directions. Let dry, set your table, and you’re ready for an ultra-chic Thanksgiving spread!



 & shop new patterns


Great idea!