This post is part of our Read Along Knit Along series & is brought to you by LoveKnitting, Eucalan & Knitter’s Pride. Learn about our sponsors and enter to win the RALKAL prize pack here.
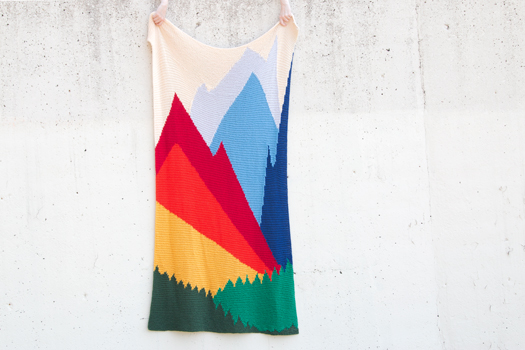
On the very off chance you’re here and haven’t seen Intarsia Mountain yet, here it is!
Inspiration
In the pattern introduction for Intarsia Mountain, I credit the book The Snow Child by Eowyn Ivey (our Read Along Knit Along title) and the weavings of Sarah Warren as two major points of inspiration. Of course, so much more inspires a knitting pattern than just a single image or a single work of fiction. For me this design was a lot about the texture of garter stitch, embracing the simplicity of letting color do the heavy lifting in a design, and fully diving in the deep end of intarsia knitting as a technique. It’s safe to say that Intarsia Mountain marks a pretty serious pivot in my approach to knit design (more on that below), and the first design that I feel like I’ve fully captures my personal design aesthetic.
For a look at my Read Along Knit Along color selection process and more, check out this Instagram highlight.
Working Smarter, Not Harder
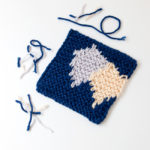
After I’d done some swatching to play with how exactly Intarsia Mountain might work from a technical perspective, I made a final gauge swatch with intarsia colorwork similar to what I was planning to do in Intarsia Mountain. With that large gauge swatch made, wet blocked, and allowed to dry completely, I was able to start running the numbers & designing.
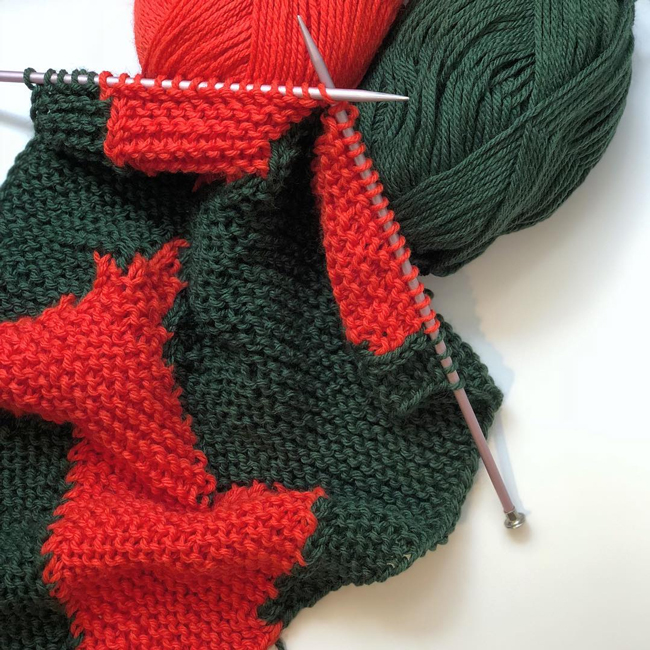
My final swatch for Intarsia Mountain, measuring in at approx. 12″x18″.
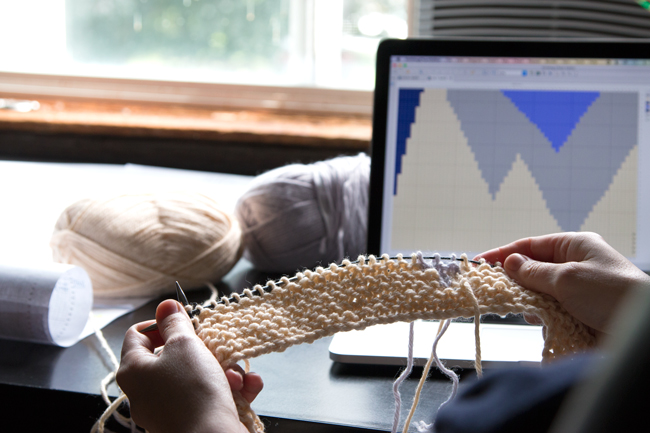
Since I struggle with repetitive strain injuries (RSI) like a lot of professional crafters & artists, a chunk of my design process has necessarily started to involve paper and pencil, plus knit design software called Stitchmastery. Once I have my gauge, I can literally outline my design idea using these tools to save my body some stress. In particular, stress from knitting large chunks of a project only to realize what is & isn’t working, tear it out, and start again. (Really, it’s all about an efficient approach to design – working smarter, not harder.)
Long story short, I make a large piece of custom graph paper designed to match a large gauge swatch, and I do the math on how many grams of yarn I’m using per stitch. From there I can draw out an entire design, convert it to a chart, and know with relative certainty that I won’t be sitting around playing yarn chicken and wrecking my body if I lose. Only when I have my finished chart DONE do I actually cast on and make the full pattern to confirm I didn’t screw up my math during the graph paper and software-based design process.
P.S. If you want to hear a little bit about knitter’s graph paper, how I used it for designing Intarsia Mountain, and what’s so special about knitter’s graph paper, I get into it on episode 7 of the Very Serious Crafts Podcast, which you can listen to here starting at the 22:00 mark:
Knitting a Throw in a Leaky Barn
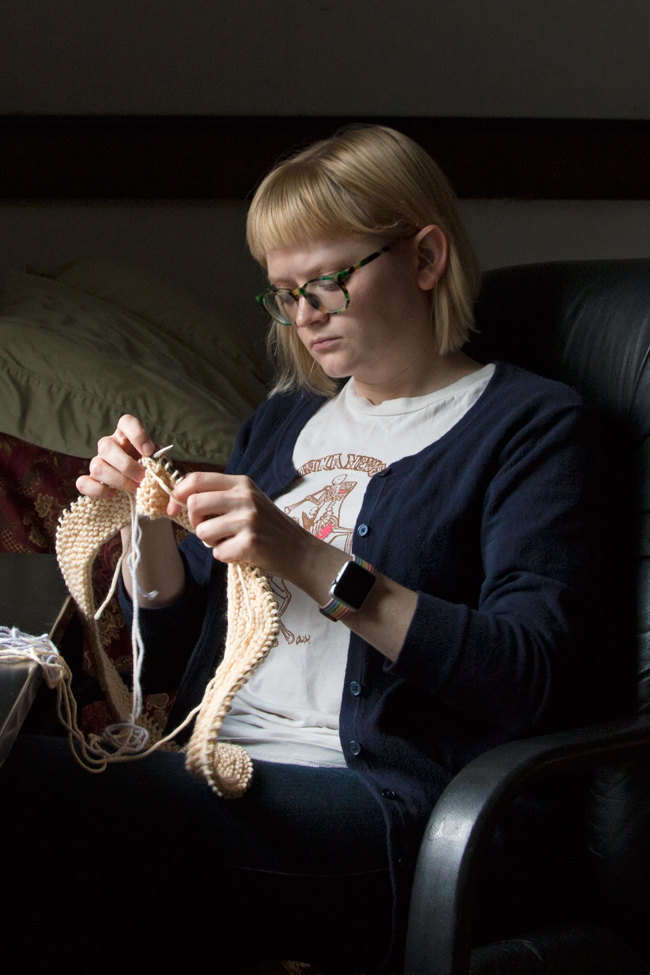
Okay, so that’s the “secret” to how my design process went for Intarsia Mountain. I knew I wanted to have a finished Intarsia Mountain of my own done by July to leave time for everything that goes into making a finished pattern. Specifically, the technical editing, pattern testing, and photography processes needed enough time to happen before I released the pattern on September 1. I finished my giant pencil and paper-based pattern chart, entered it into Stitchmastery stitch by stitch to create an 8-page chart, and I converted the chart to written instructions as well. (In all, this sonofabitch pattern is 20 pages.) Then it was FINALLY time to knit it for myself.
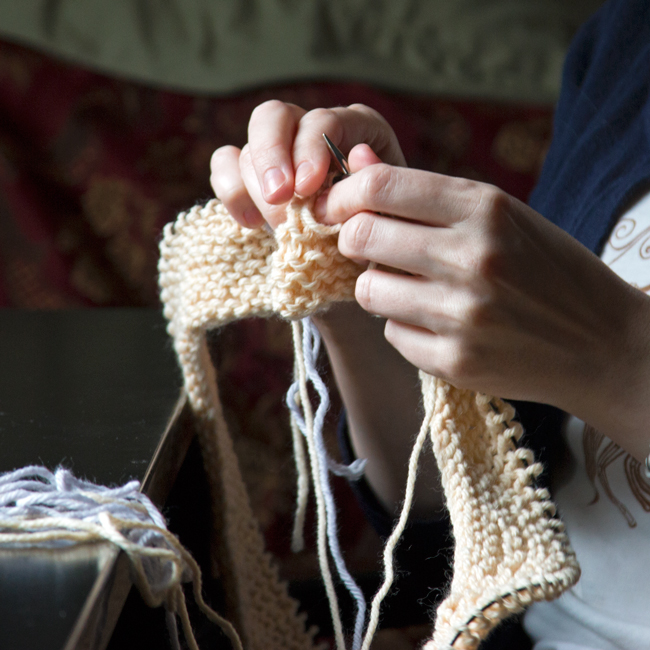
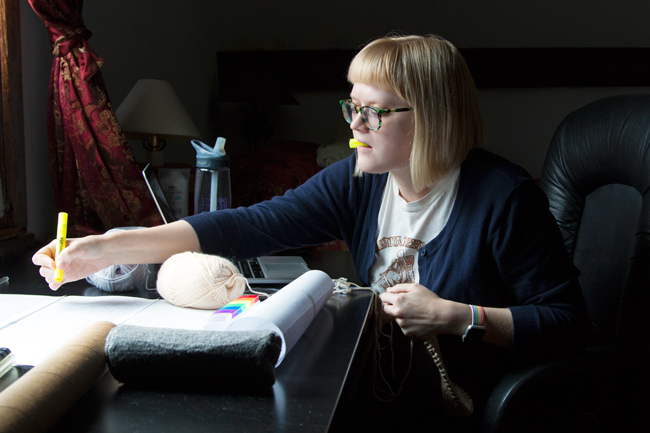
Leakybarncation is what @handsoccupied followers on Instagram & Very Serious Crafts Podcast listeners have come to know as the nickname for that trip, and most of the photos throughout this post were taken in that darn barn. If you’re curious for details, I’ll direct you to the 8th episode of the Very Serious Crafts Podcast (starting around the 4:00 mark) for a quick run-down:
Testing, Finishing & the RALKAL
Once I got out of that leaky barn, the rest of the design process went pretty smoothly. Tech editing was a breeze, and my testers were great. (Shout out to Mariah, Manvitha and Allison!!) The photography process is always a huge point of anxiety since photos genuinely make or break your ability to share a pattern with the world. As always, photos ended up working out in the end, even though it can take a few different days of shoots and getting creative with different setups.
In the end, Intarsia Mountain has resulted in our biggest Read Along Knit Along to date, and I’m really grateful to each and every person who got excited about the pattern, particularly those who decided to give Intarsia Mountain a try despite being new to the technique! You’re all wonderful, brave and lovely. <3 Although the RALKAL officially ends this week, entries for the Read Along Knit Along giveaway will remain open for another week, so don’t forget to enter to win the prize pack (worth over $180!). Even if you haven’t finished your afghan, there are lots of entry options open to you, and this prize pack is excellent.
This post is part of our Read Along Knit Along series & is brought to you by LoveKnitting, Eucalan & Knitter’s Pride. Learn about our sponsors and enter to win the RALKAL prize pack here.


 & shop new patterns


I’m so glad you made this pattern! I’m still on clue 3, but I can’t wait to finish. This will be my first intarsia piece, and the first blanket I’ve ever made (I tend to stick to shawls, hats, gloves, etc.). Loved reading about your design process. The book was great, too.
Thank you! I’m so glad you’re enjoying it! :)
I’m still working through the first clue!! (on attempt #3- hopefully, 3rd time is a charm). You’ve turned me on the intarsia technique, and although I’m a rank beginner at knitting, I actually have some ideas for my own designs using your technique. I’m so glad I joined this RALKAL!
Kelley