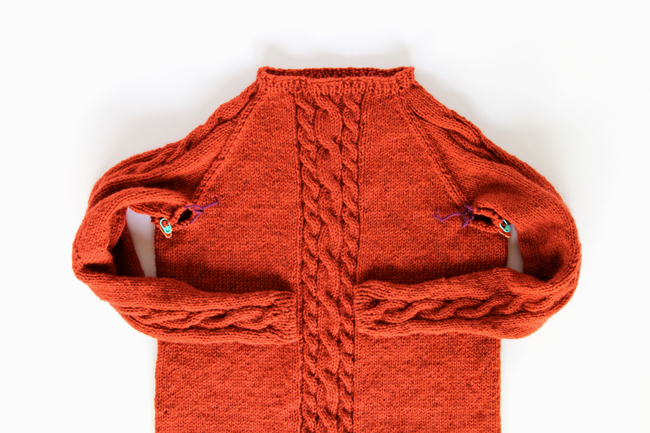
I’ve said it before, but we are so very close to finishing our Remy Pullover sweaters! The last two steps, the first of which I’ll share with you today, are so easy too. You’re basically out of the woods on the Remy if you’ve made it this far! Just remember to enter the giveaway, sponsored by Lion Brand Yarn, at the bottom of this post. Did you know you get an entry for finishing every step of your pullover? The prize is a bunch of amazing yarn, so you should get on it!
The Remy Pullover Collar Pattern
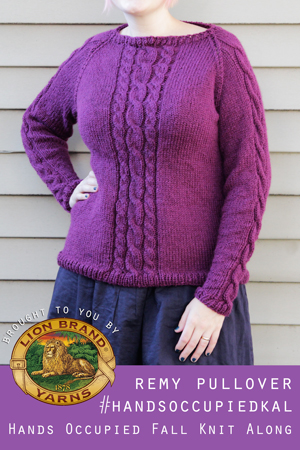
Since the Remy Pullover was designed to be a sweater those new to sweater knitting could knit easily, I went with a really simple ribbed collar. When I’ve worn my first Remy (the purple one from the photos) out and about, I always get complimented on the collar. My only issue with it is that it looks so blah when it’s not on a person. On a person, the collar looks all nice and boatnecky. Like this:
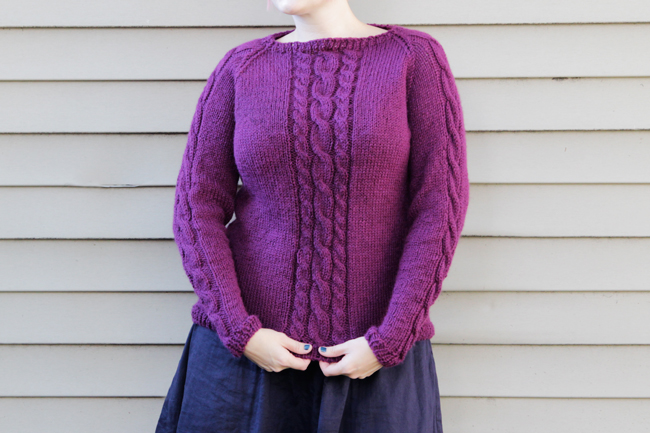 With just a few rows of ribbing on a size smaller needle, you get a neat little neckline that matches your cast on cuffs and hem. You can bind off however you like, but the BO I used was Jeny’s Surprisingly Stretchy Bind Off. It’s just like the classic bind off that I have used my whole knitting career, but with a couple of added yarn overs for some stretch. You can bind off however you like, but I just thought I’d share the BO I used in case you’re curious. :)
The Collar Pattern
Most of the Remy Pullover should have been knit on size 8 needles, so you’d switch to size 7 needles for this collar.
row 1-3. using a needle one size smaller than your sweater was knit with, k1, p1 around
BO all collar sts, draw tail through final loop and weave in ends.
When your collar is done, all that’s left is closing the under arm holes, which should still be chilling on their scrap yarn holders, like so:
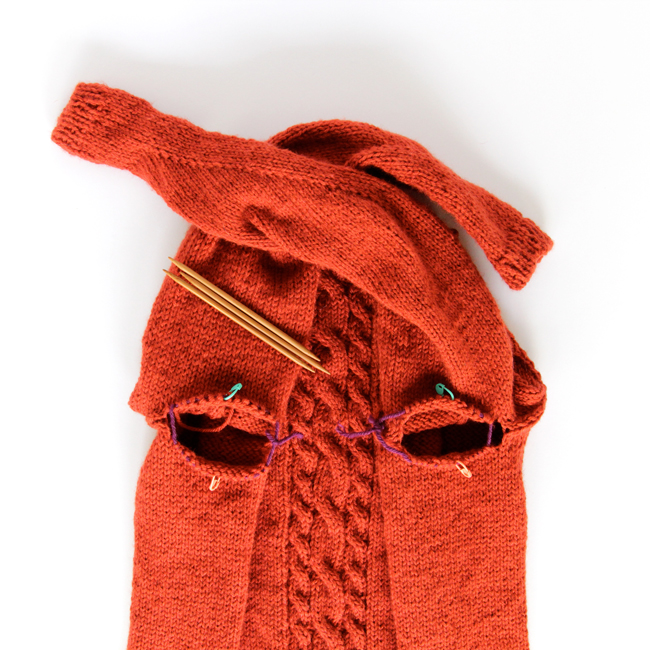
Next Monday I’ll share a tutorial on how to close those openings, but if you’re feeling ambitious, I recommend turning your sweater inside out and taking the chance to work on weaving in ends. I personally don’t really love weaving in ends and avoid it whenever possible. Just remember! Don’t weave in and cut the long tails you left on your sweater sleeves. You’ll need those for the final step. If you accidentally forget and trim them, you won’t die, but you’ll have more ends to weave in. ;)
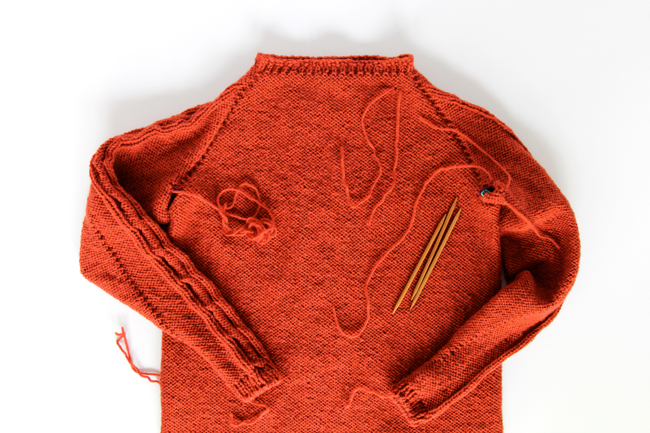
The giveaway!
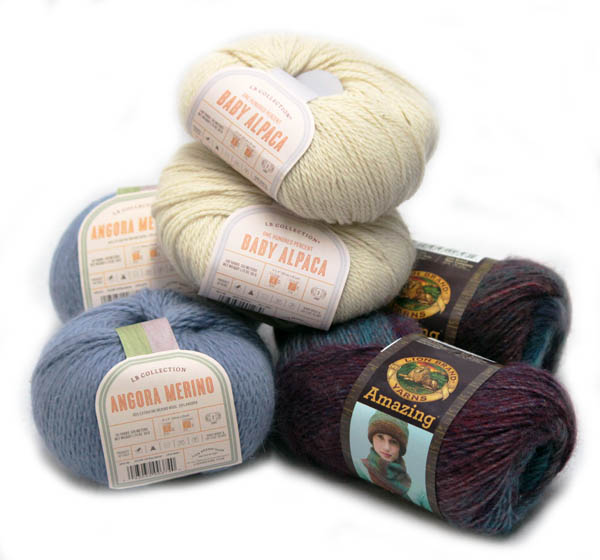
Don’t forget about the giveaway sponsored by Lion Brand Yarn. Enter here for a chance to win the awesome, yarn-filled prize pack. Want a look at the prizes?
The Remy Pullover knit along is brought to you by Lion Brand Yarns. Check out Lion Brand on social media: Facebook / Twitter / Instagram / Pinterest.
—
Other posts in this series:
- Announcing the fall knit along! The Remy Pullover
- How to do a long tail tubular cast on (optional tutorial for the cast on I like for this pattern)
- Do the math, get the fit / Fall Knit Along Day 1
- Knit Along Tips, Tricks & An Official Schedule
- Knit Along Day 2: Sleeve time!
- Fall KAL Day 3: The Other Sleeve
- How to attach sleeves / KAL Day 4
- How to knit a raglan decrease / KAL Day 5
- How to knit the collar / KAL Day 6
- more coming soon!




 & shop new patterns


hi!
I can’t find the post on how to close the holes under the arms! Was it ever posted?
Thanks so much!
Here you go! https://handsoccupied.com/2014/11/three-needle-bo-kal-7/
This whole KAL helped me so much, thank you!!