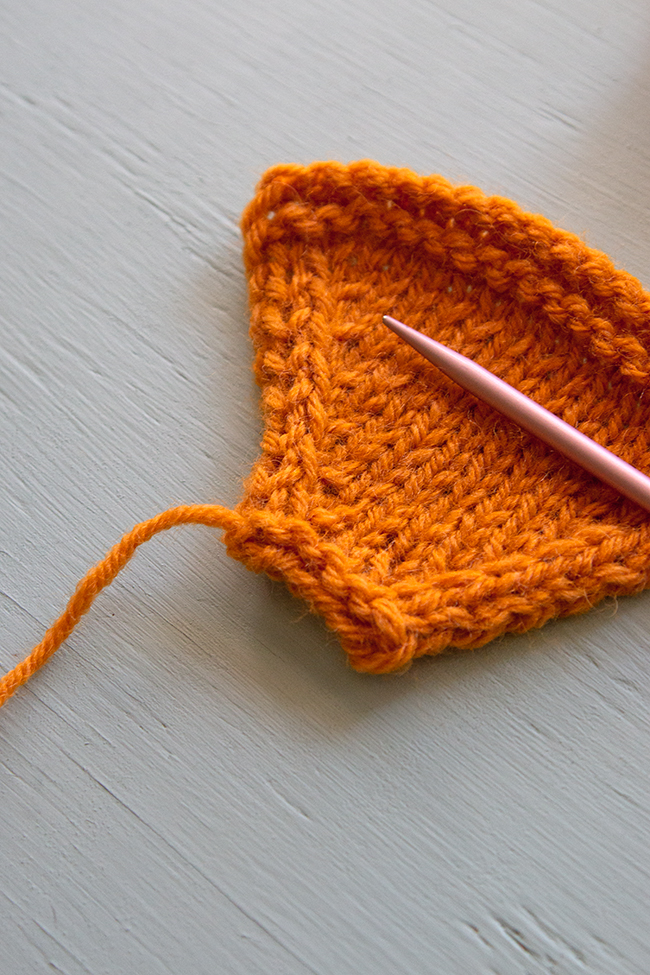
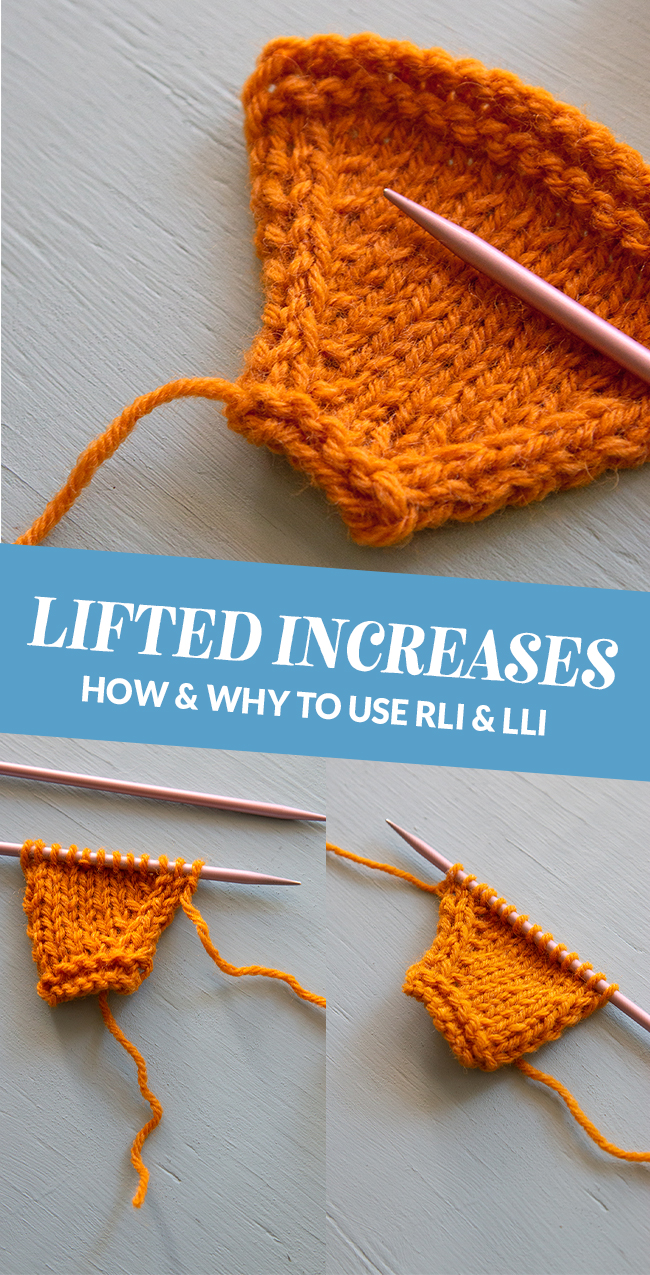
Lifted Increases (RLI & LLI) are a way to increase your stitch count by adding a stitch in between two columns of stitches. Make 1 stitches (M1L & M1R) are also increases made between stitches. Make 1 stitches, whether right or left leaning, are worked by pulling up on the strand of yarn running between columns of stitches, twisting it, and knitting into it. The twist results in a tiny hole and more tension on your finished knit fabric. More tension can mean more curling, particularly if you’re increasing a lot at once near the edge of your knitting. This can be desirable, but sometimes you might prefer something different.
That’s where lifted increases come in. People like to describe lifted increases as nearly invisible. Lifted increases are accomplished by picking up a loop though a stitch knit in the previous row or round. Other names you might hear for lifted increases are Raised or Invisible Increases.
In this post, we’re going to take a look at how to work a Right Lifted Increase (RLI) and a Left Lifted Increase (LLI), in both video and photo tutorial form. Each video runs about 3 minutes. Some knitters may prefer one tutorial format over the other, so I included both. There will also be a super short edit of the video tutorial (under 1 minute) on Instagram Reels, YouTube Shorts & TikTok because sometimes a super short refresher is what you need.
Right Lifted Increase (RLI)
A Right Lifted Increase (RLI) is a way to increase your stitch count by adding a stitch that leans to the right in between two columns of stitches. Lifted increases are accomplished by picking up a loop though a stitch knit in the previous row or round. Other names you might hear for lifted increases are Raised or Invisible Increases. A RLI is similar to, but not the same as a Make 1 Right (M1R) stitch.
Right Lifted Increase Video Tutorial
Right Lifted Increase Photo Tutorial
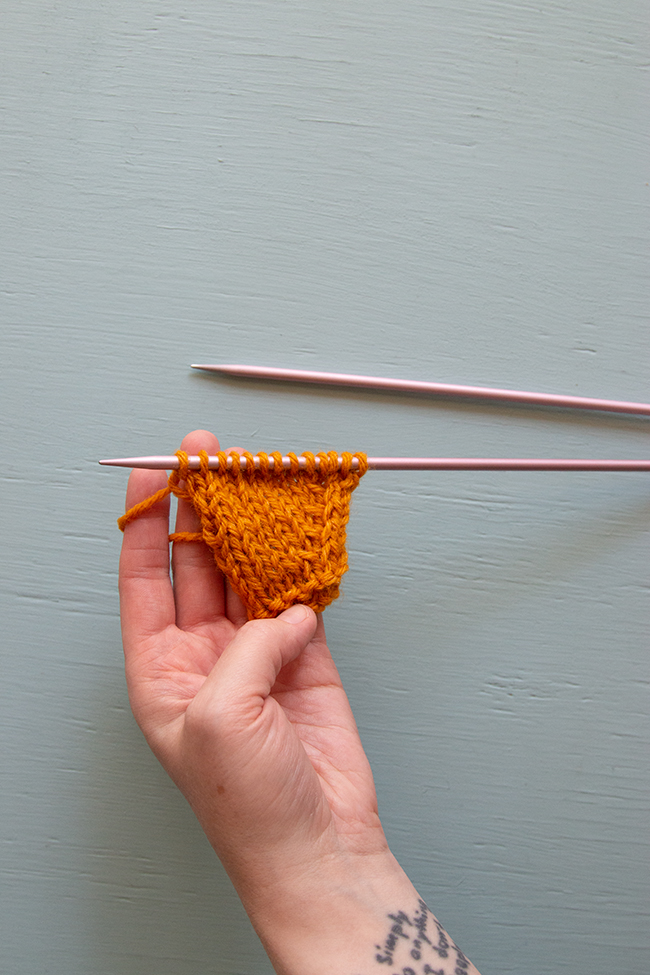
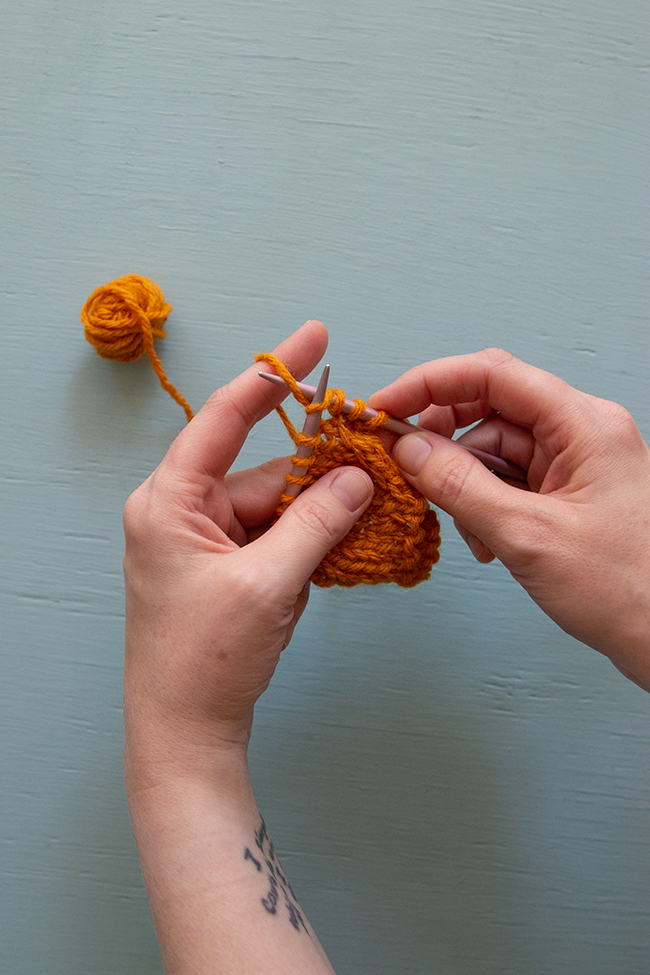
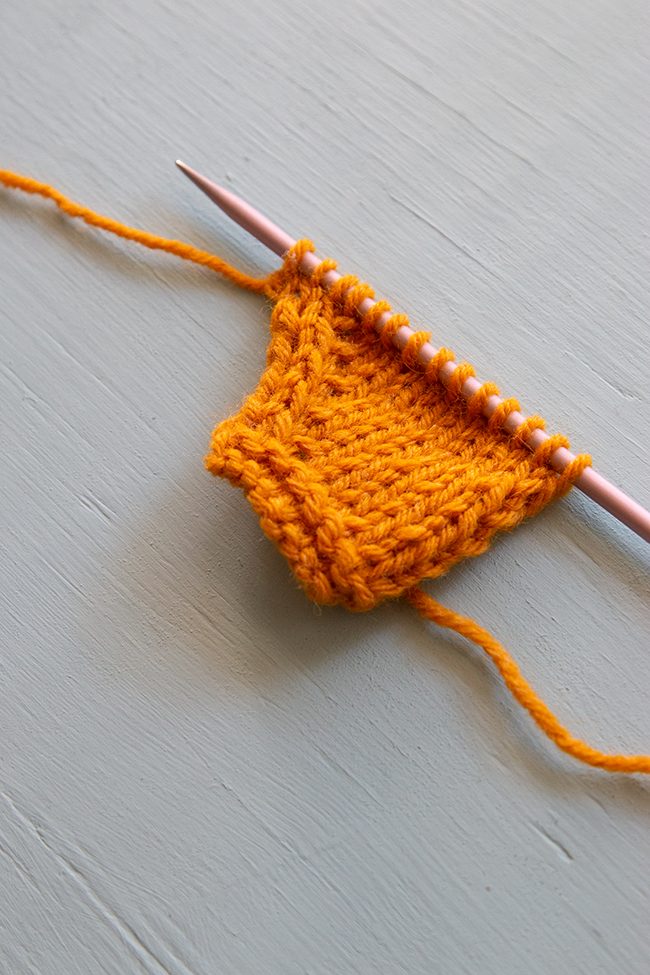
To work a Right Lifted Increase (or RLI), you’re going to knit in your row or round until you’re ready to increase.
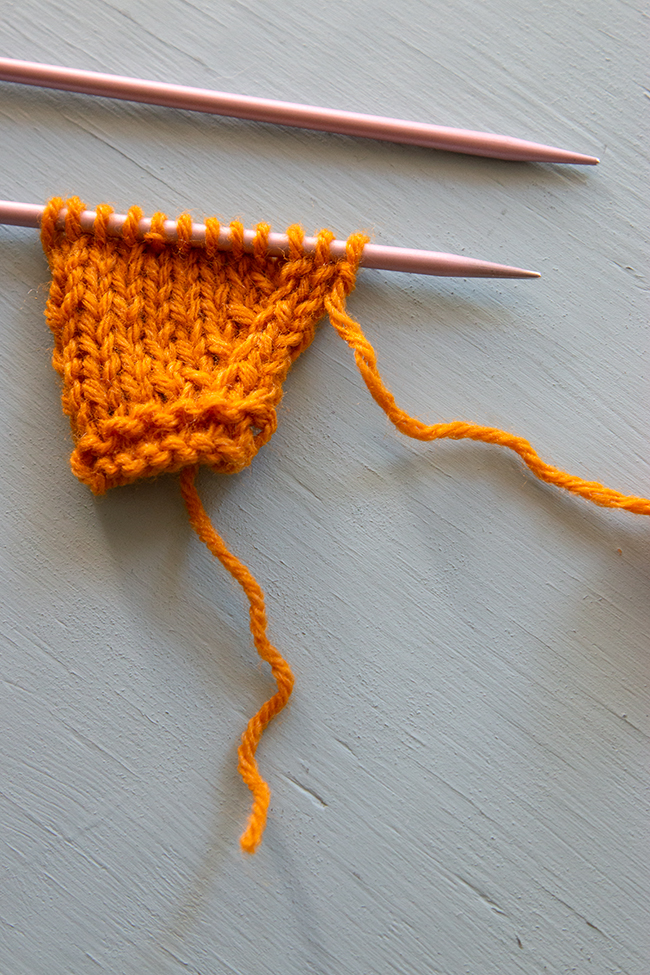
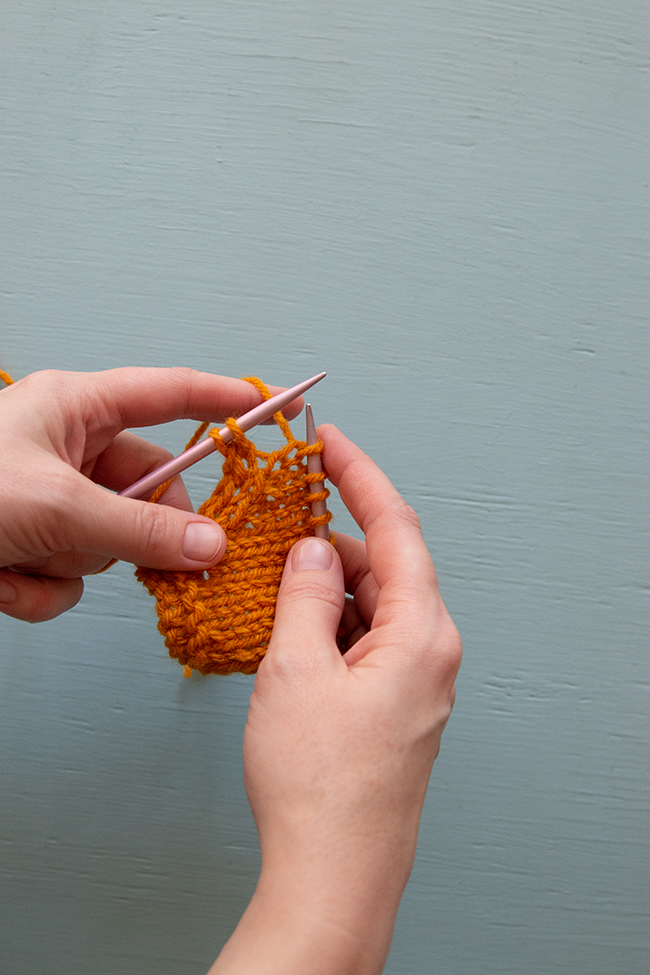
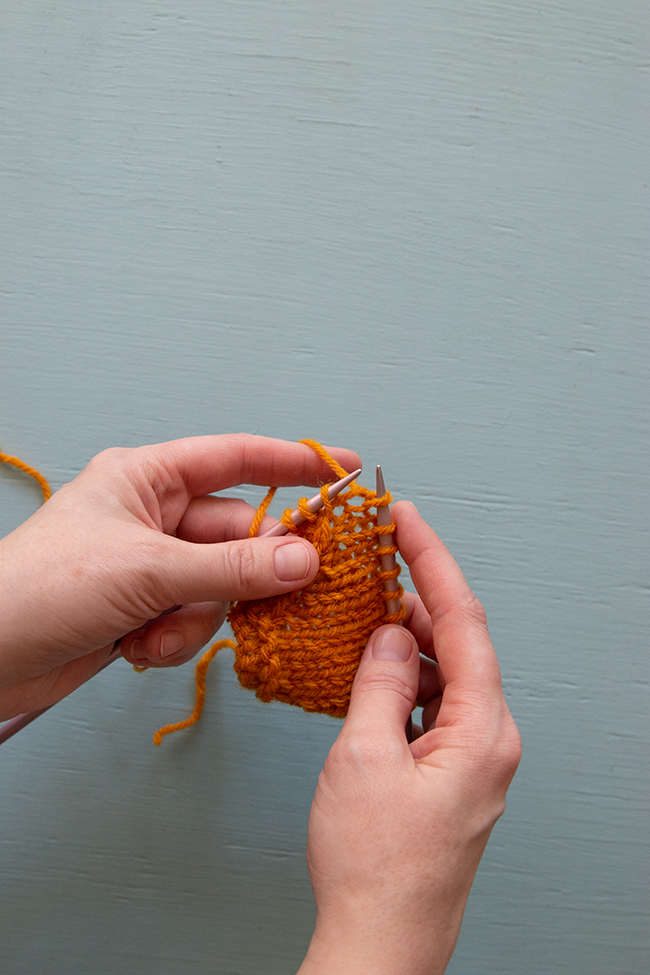
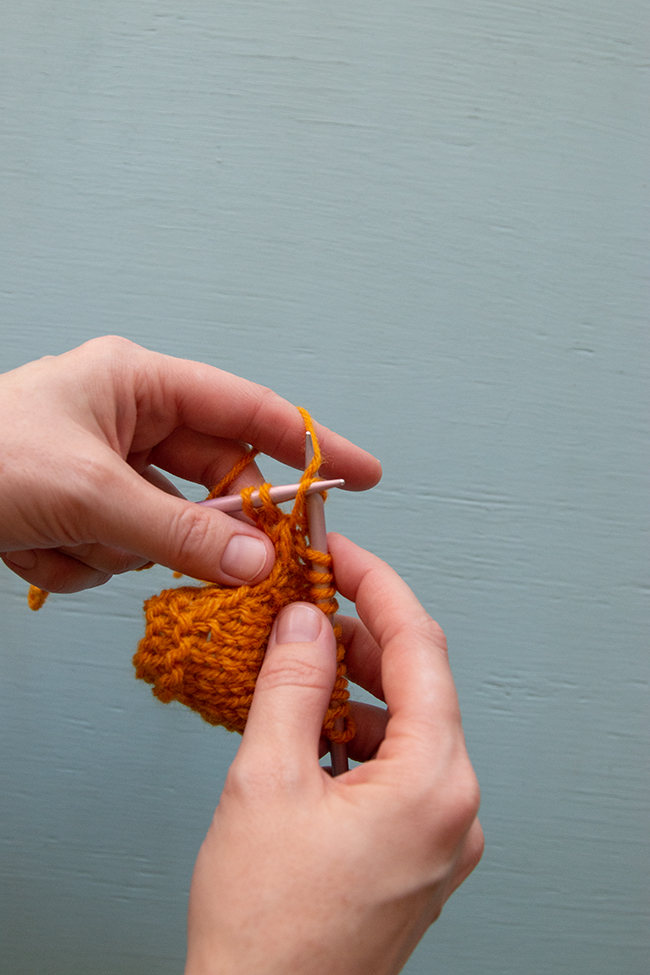
Then, you’re going to open up your knitting stitches, almost like a book. Locate the stitch BELOW the first stitch on your left hand needle. Insert the tip of your right hand needle into the right leg of that stitch from the back, opening it up slightly.
Place it knitwise on your left hand needle.
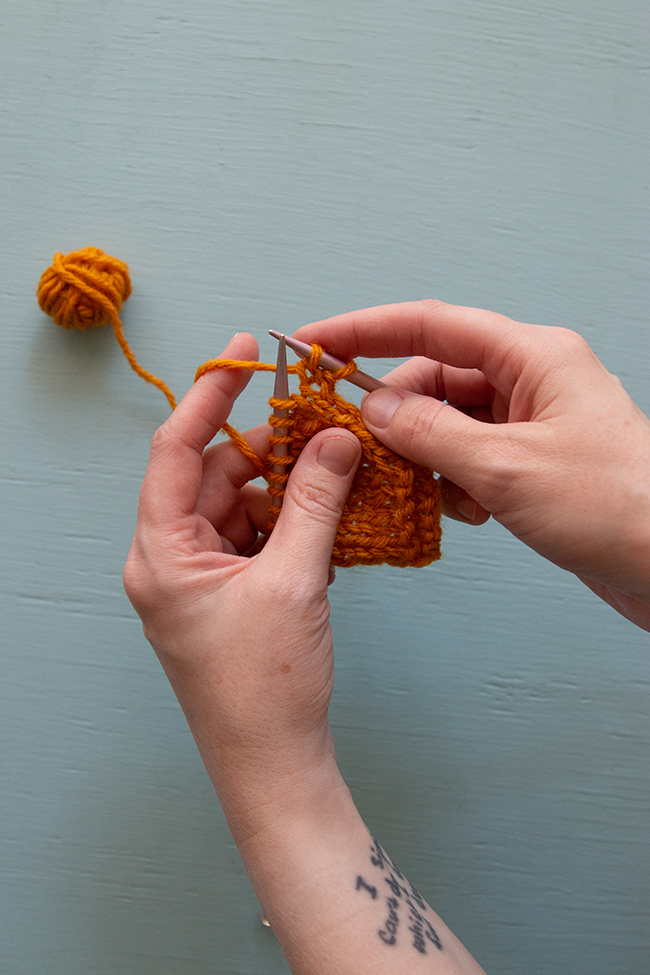
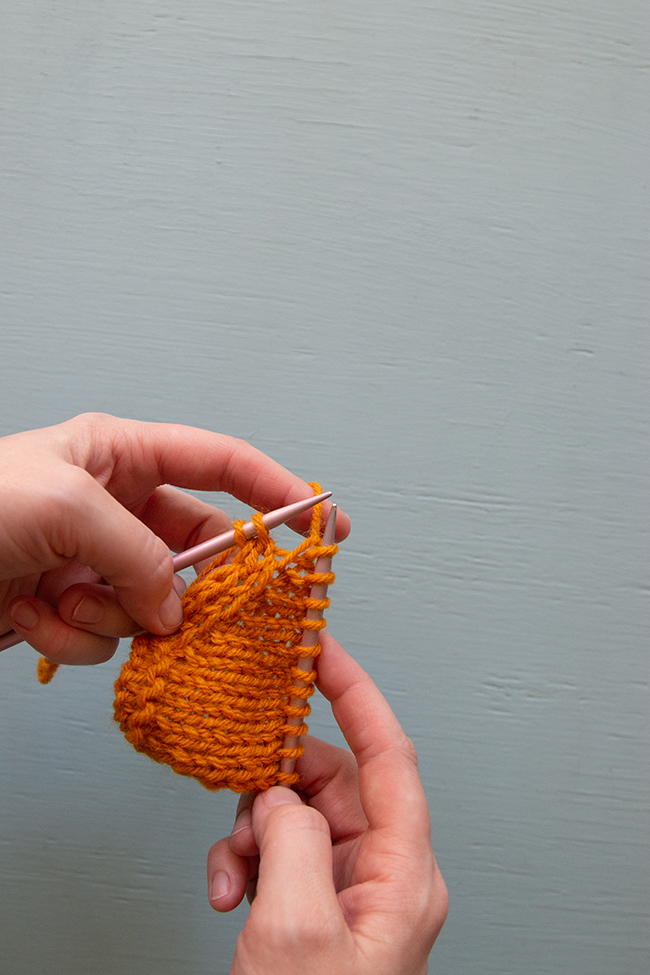
Knit into the lifted up stitch.
Then knit into what was the first stitch on your left hand needle.
Finally, continue knitting as normal.
Left Lifted Increase (LLI)
A Left Lifted Increase (LLI) is a way to increase your stitch count by adding a stitch that leans to the left in between two columns of stitches. Lifted increases are accomplished by picking up a loop though a stitch knit in the previous row or round. Other names you might hear for lifted increases are Raised or Invisible Increases. A LLI is similar to, but not the same as a Make 1 Left (M1L) stitch.
Left Lifted Increase Video Tutorial
Left Lifted Increase Photo Tutorial
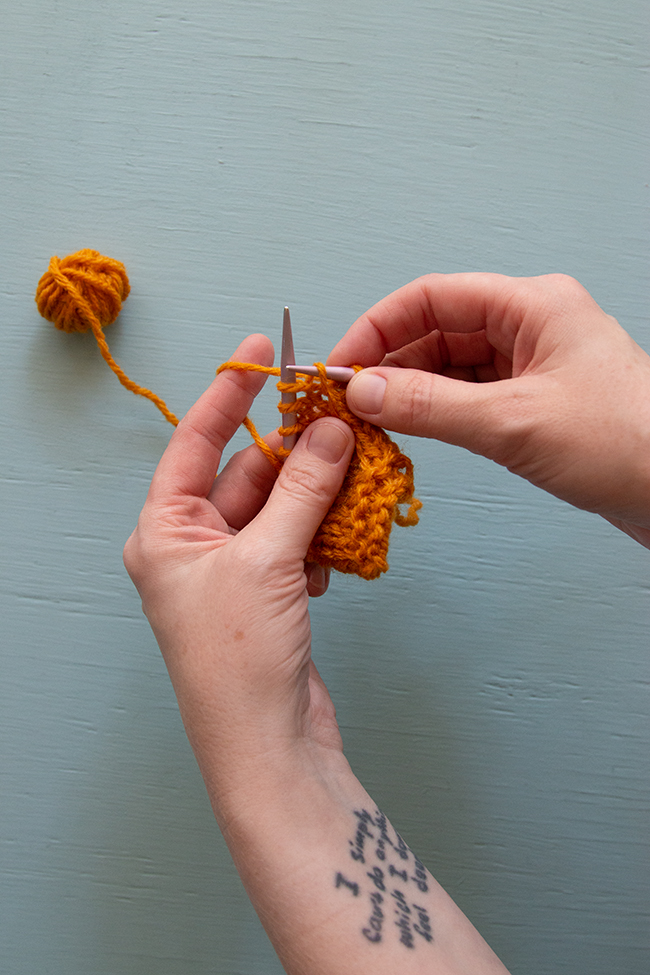
To work a Left Lifted Increase (or LLI), you’re going to knit in your row or round until you’re ready to increase.
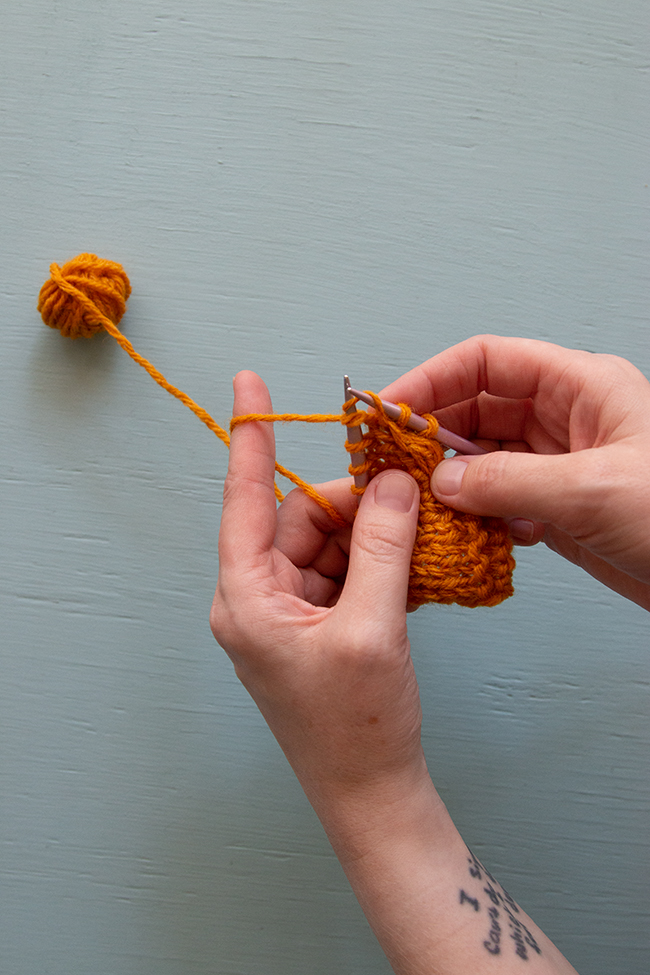
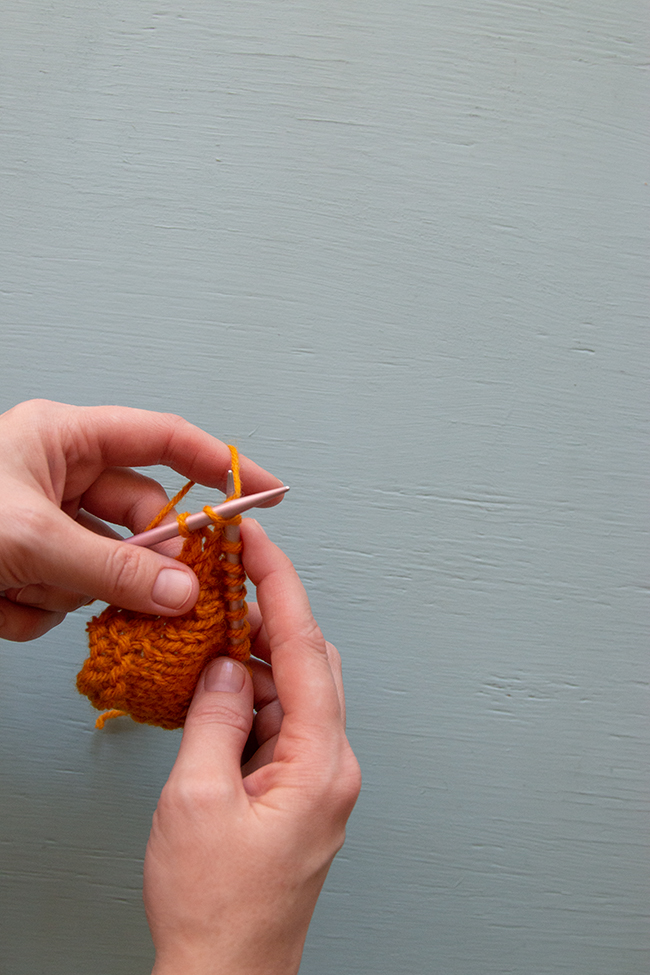
Then, you’re going to open up your knitting stitches, almost like a book. Locate the stitch TWO STITCHES BELOW the first stitch on your RIGHT hand needle. Then, insert the tip of your left hand needle into the left leg of that stitch from the back, opening it up slightly.
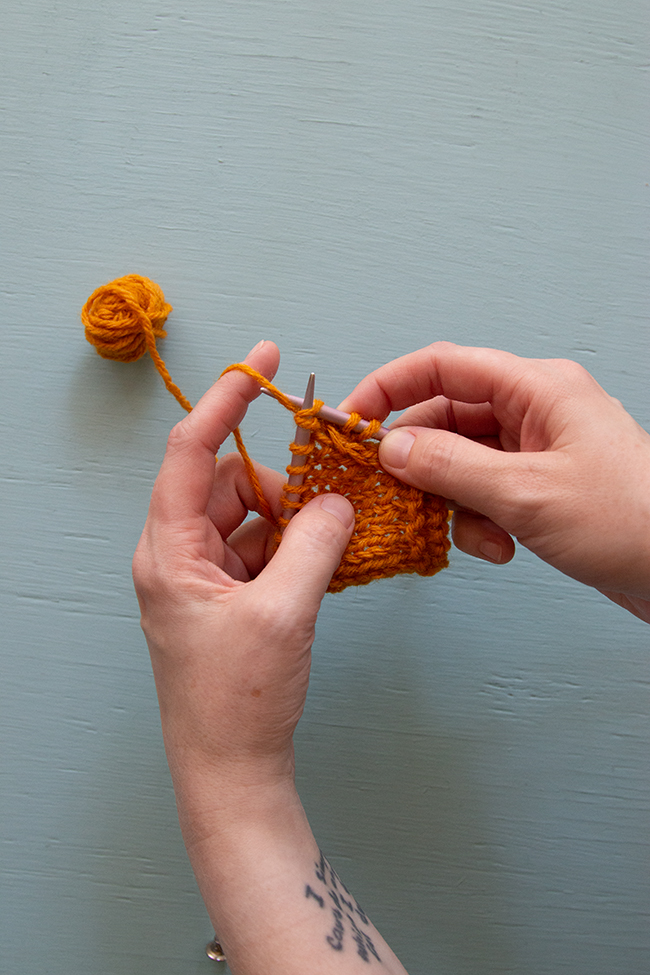
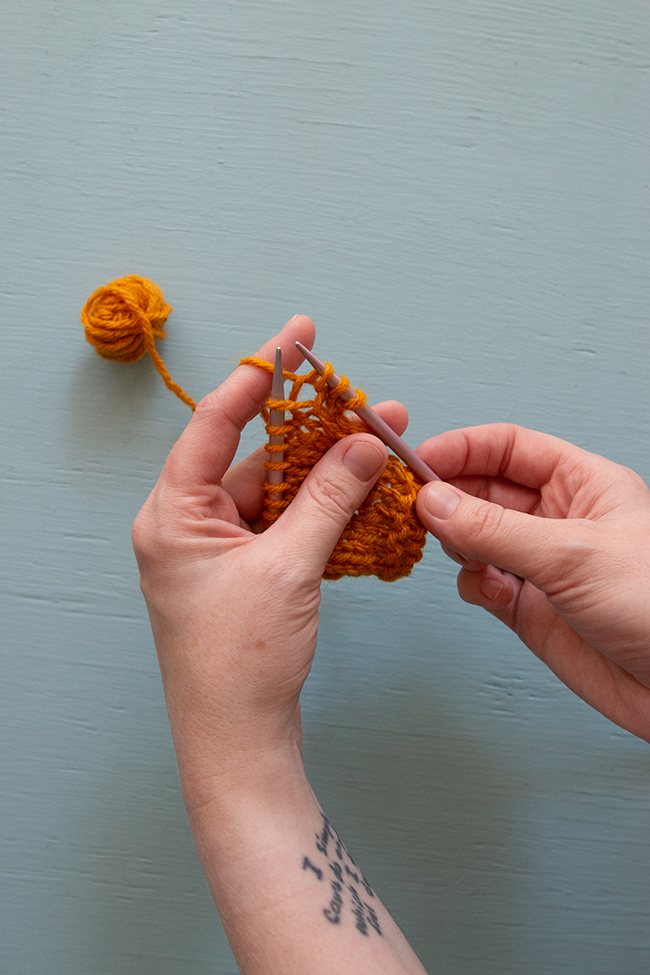
Knit into the right leg of the lifted up stitch, which is currently angled backwards.
Then keep on knitting the rest of your row or round.
Useful Resources
- Lifted Increases (RLI + LLI) – Purl Soho
- How to Work Lifted Increases – Ysolda
- How to Knit Lifted Increases – Nimble Needles


Leave a Reply