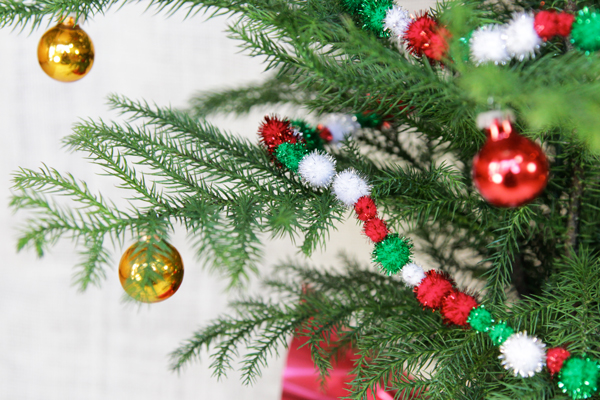
I love the look of fresh Christmas trees, but this year I didn’t want to hassle with getting one from a lot and trying to transport it in the big city. Plus, our apartment doesn’t really have a good place for a full on tree. A Norfolk Island Pine offered us an AMAZING alternative. Not only can you get it in the mail (no bungees or car scratches to mess with) in a range of sizes from 14 to 44 inches, but they offer a natural Christmas tree option that doesn’t have to be thrown away after the holidays. It can be de-decorated and used as a general house plant. A no-guilt natural Christmas tree? Yep. This is what I wanted this year.
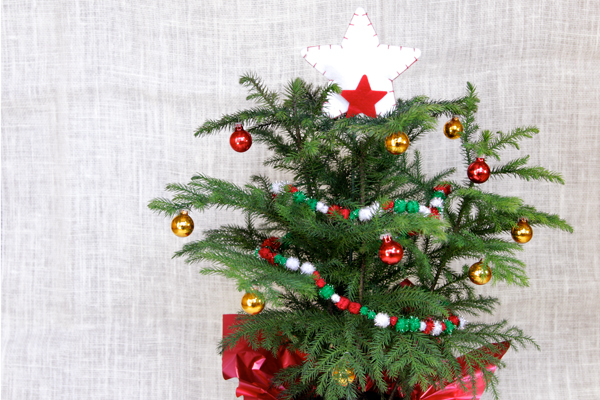
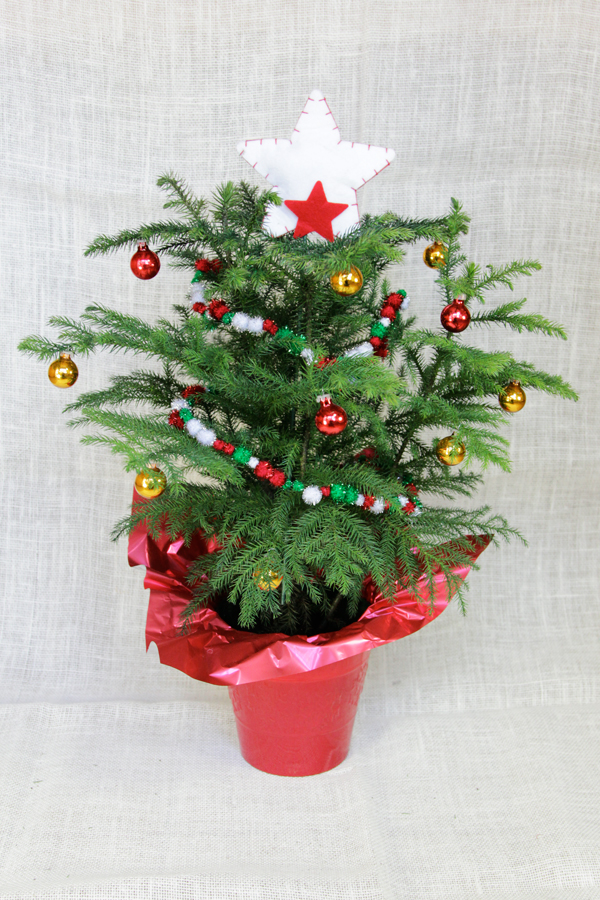
The decorations on a Norfolk Island Pine have to be lightweight to avoid bending the branches too much. You’ll also want to refrain from hanging your entire ornament collection on your NIP – it is, after all, a small tree. :) For our mini tannenbaum, I went with a classic approach, making a pom pom garland, using small christmas balls in just two colors, and topping it with a felt star (which, coincidentally, came with the tree and matched the rest of my decorations perfectly).
Glitter Pom Pom Garland How-to
Supplies
glitter pom poms
needle
thread
Directions
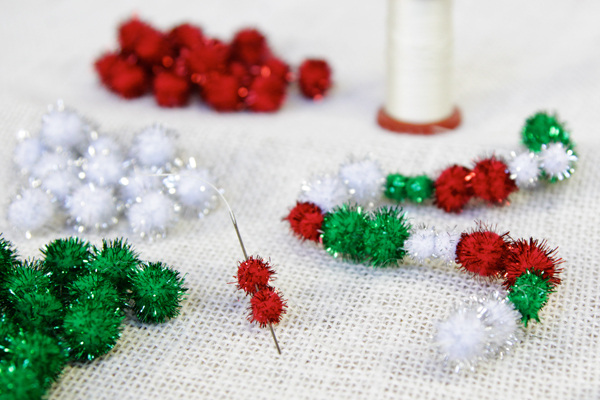
String your pom poms, alternating color and size, on some thread by sewing straight through their middles. I found it easiest to sew directly onto the spool of thread and wait until the end to cut the thread. The thread weighs down the far end of the garland as you sew (a good thing), and then you don’t have to mess with estimating how much thread you’ll need ahead of time.
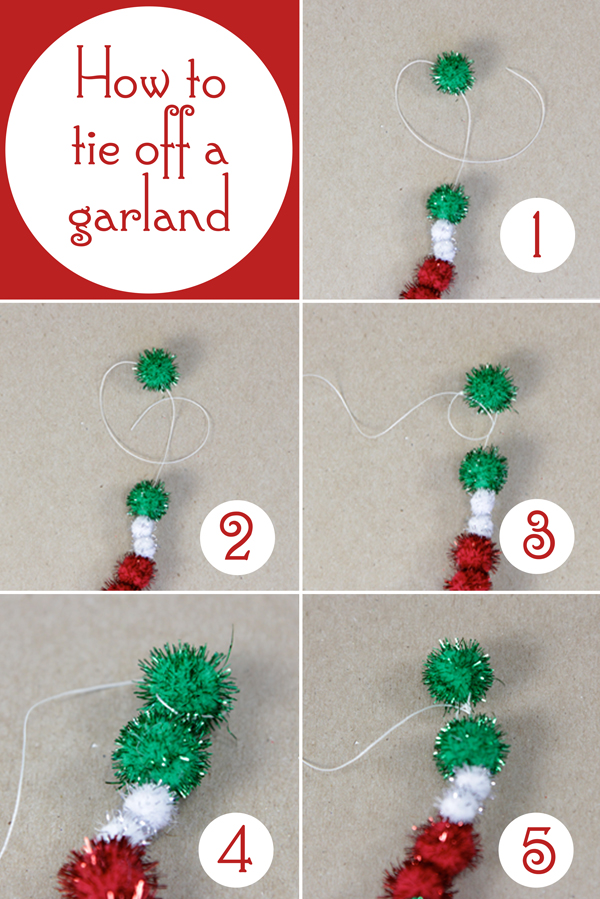
To tie off the ends of the garland, tie a knot just under the last pom pom, following these directions…
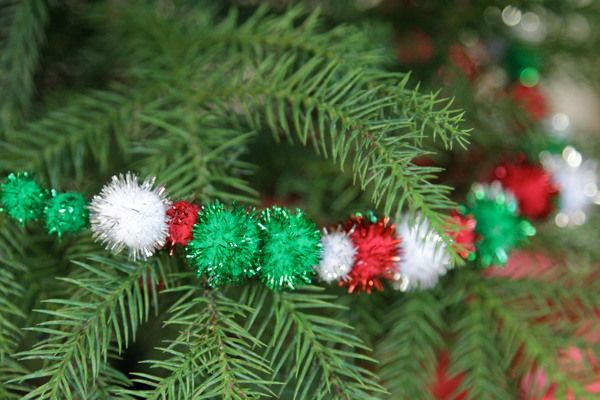
The finished garland, particularly with the glitter pom poms, is super playful. Perfect for the tiny tree in two ways: it’s light, so the branches aren’t weighed down, and it adds a lot of great texture and color!
Our Norfolk Island Pine Christmas Tree
When the tree comes in the mail, it comes in a special box with almost no mess. It also comes decorated with the felt star pictured as well as a few felt snowflakes, so if you really hate tree-trimming, this might be the solution for you.
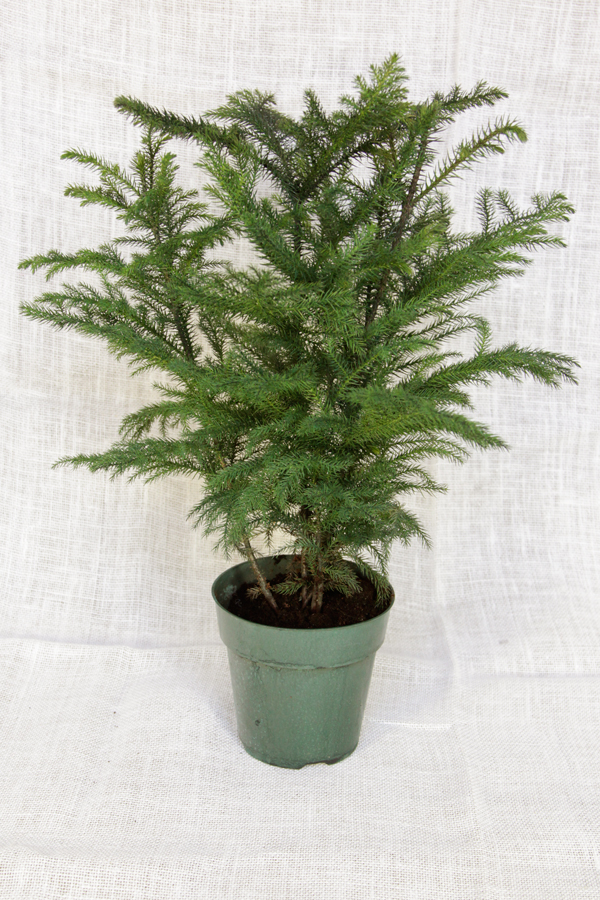
Since this is a real, potted tree, the basic care and keeping of a Norfolk Island Pine should be considered if you’re interested in one for your home.
Care of a Norfolk Island Pine
- They grow best indoors in a sunny location and prefer to be near a window- but away from direct heat. Avoid direct intense sunlight.
- Indoors they flourish in 50 percent humidity so consider running a humidifier or sit them in a tray of pebbles, watering the pebbles during winter months.
- Keep the soil moist but don’t let it dry out or stand in water.
- If you live where the temperature stays above 60 degrees, your Norfolk Island Pine can be planted in the landscape.
- As a houseplant, the Norfolk Island Pine naturally filters the air provides much needed moisture during the dry winter months.
- If you have a pet or small child, please note that these trees are toxic if ingested.
Speaking of pets, Storm decided to crash my photo shoot! She’s about the same size as the tree, so I snapped a few shots of her being cute. I decided she looks like she’s praying to Santa (she doesn’t understand the whole letter writing thing) for me to give up crafting in favor of petting her full time. Sadly for her, I don’t think that’ll be happening.

And finally, here’s a full shot of our little tree, which we’re keeping up on an end table, out of the dogs’ reach, near a window. We’re also using small LED lights on this tree since they’re super lightweight and battery powered – no risk of tripping on a cord (they’re the same lights I used in my giant arrow sign, actually).
So what do you think of this little untraditional tree? How would you make it your own?
The tree used in this post was provided by Garden Media Group and comes from Costa Farms.



 & shop new patterns


Yay for mini trees! Also, STORM IS SO CUTE!
Really darling idea using the mini pom poms for a small tree!