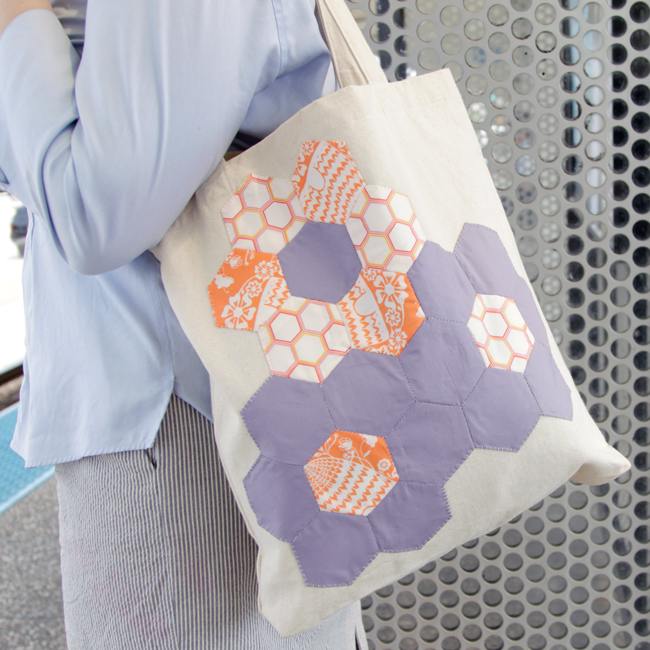
A major factor that has always drawn me to knitting is its portability. Whether it’s taking your work on a trip, bringing it to a social event, or simply pulling it out while you watch TV, you can take knitting and crochet with you easily (nine times out of ten, of course). Another craft I have wanted to master forever is quilting, but its distinct lack of portability – at least the way I saw my crafty elders do it as a child – was a problem for me. You mean I can’t work on this as close to every spare second as possible? No thanks.
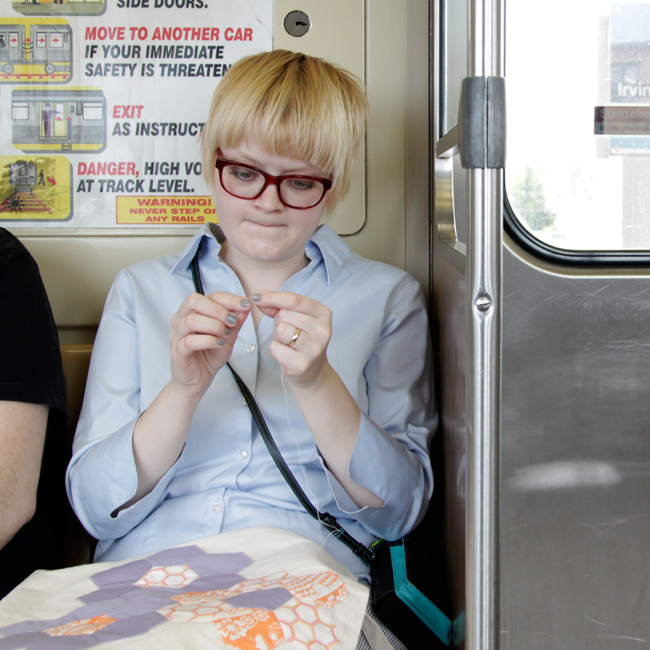 But then I discovered English paper piecing. Highly portable (again 9 times out of 10), English paper piecing is a method of hand quilting accomplished by sewing bits of fabric around cut out pieces of paper, and then sewing those together to form a quilt. Since I do wish there was a little more fabric in my crafty life, today’s tutorial is an intro to the basics of English paper piecing and how to make a flower applique for jazzing up a tote bag.
How to do English Paper Piecing
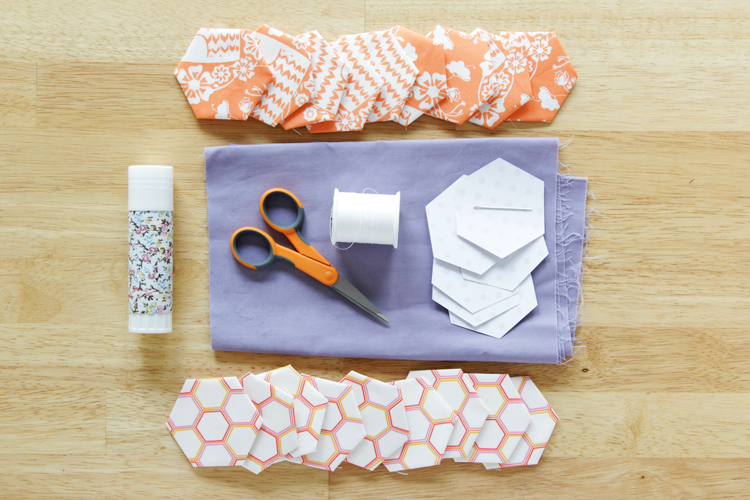
Supplies
several pieces of lightweight cardstock, cut into the same size hexagon shape
fabric
quilting thread
sewing needle
blank tote bag
lightweight fusible interfacing
iron
scissors
glue stick
cutting machine (like the Cricut)
Directions
You can cut your hexagons out by hand, or if you have a cutting machine (I use my Cricut Explore for cutting my paper piecing shapes), you can use that to save your hands & some time. Just make sure they’re all the same size – use a stencil if you’re cutting by hand.
You can do paper piecing with any polygon you think of. I just love hexies a LOT, and they group naturally into really nice flowers.
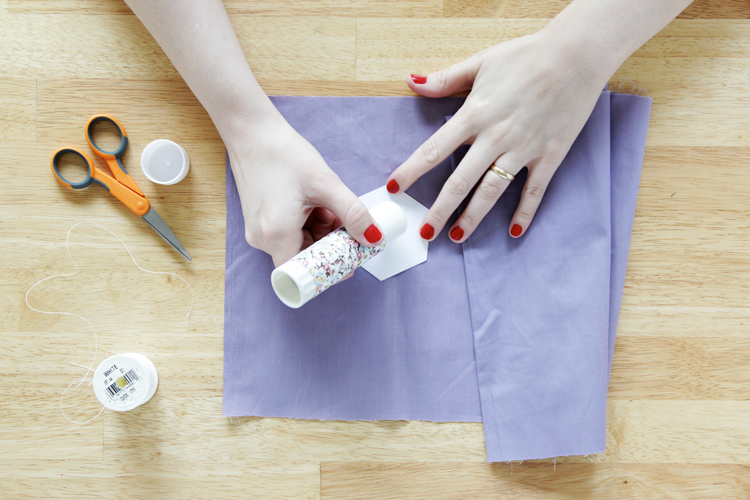
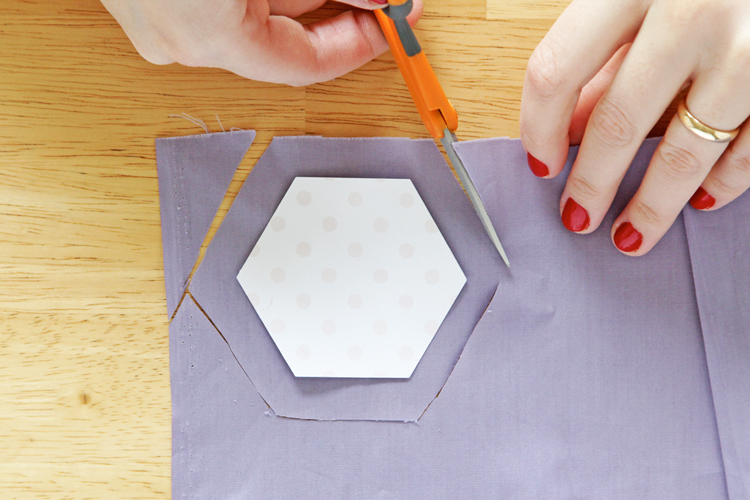
Swipe a light smear of glue on one of your hexie shapes with a glue stick.* Positioning it to make the most of your fabric, stick it on the wrong side of your fabric. Leaving seam allowance, cut around your hexagon, as shown.
*I know, glue seems weird, but it absolutely works, the glue stick I used is nothing special. I just covered a jumbo glue stick from Staples with washi tape so it was less ugly for this, haha! :)
Thread your needle and knot your thread. Fold two corners of your fabric around a corner of your hexagon, but think goldilocks – not too loose or too tight. Secure each corner as shown, sewing twice through each corner “seam.”
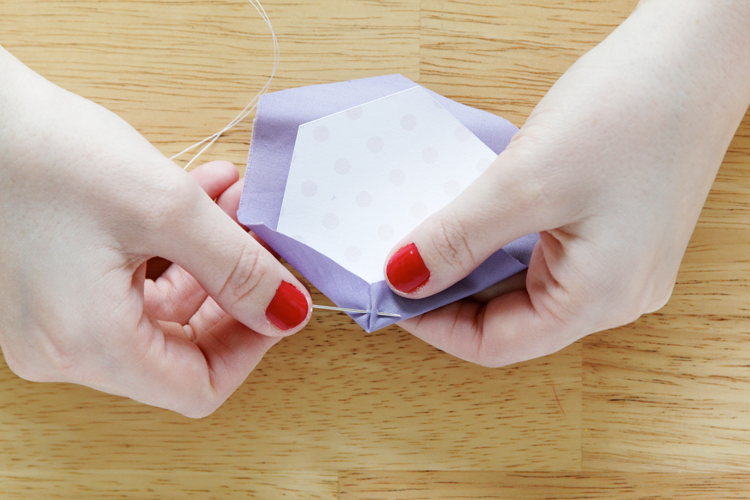
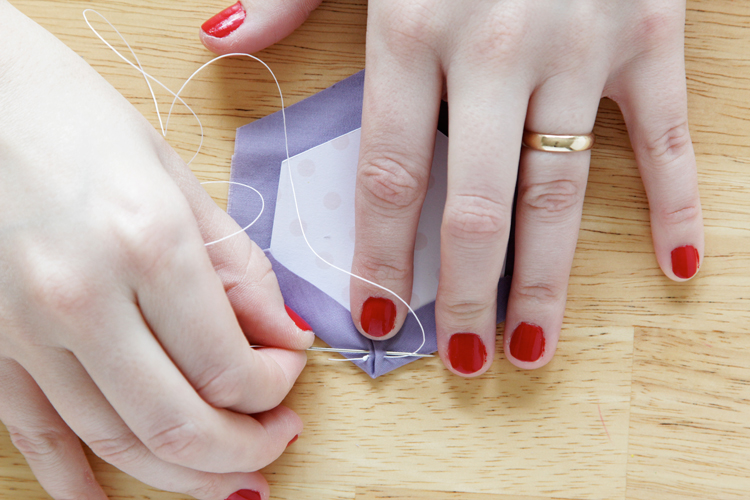
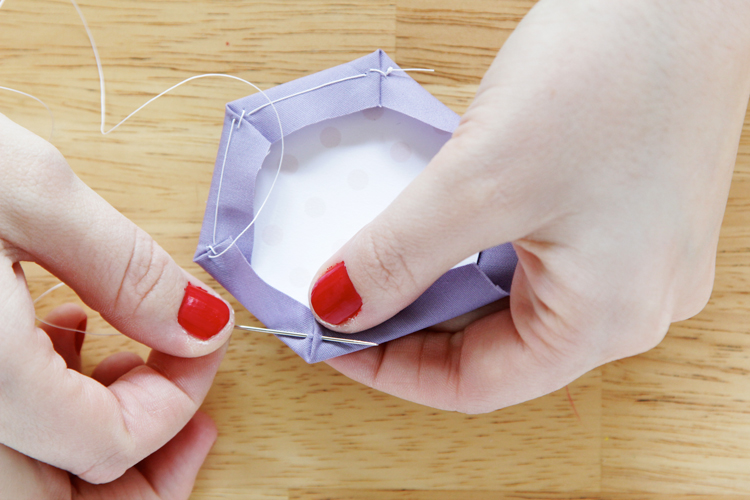
When you get all the way around your hexie, tie with a knot, and then repeat the process with your other hexies.
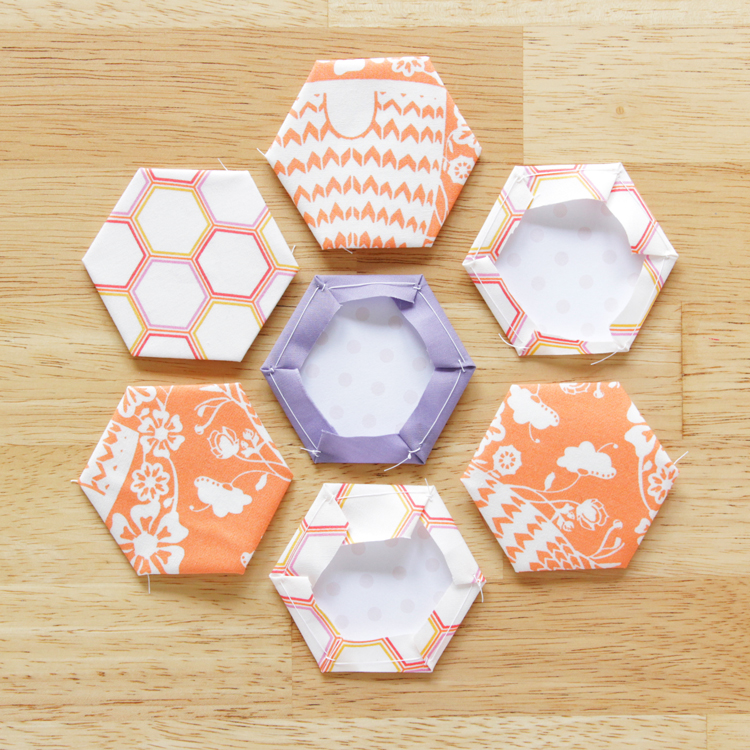
When you have seven hexies, you can whipstitch them together at the seams to form a flower. When you have three flowers, you can whipstitch them together again, forming the set of three flowers in the quilted flower tote shown. Remove the paper from the back of all hexies and iron some lightweight fusible interfacing to the back of the three flowers to help define their shape. Trim away excess interfacing and attach the applique to the tote by whipstitching all the way around all of the flowers though the tote’s fabric. With the right fabric choice, you can make an old fashioned craft new again!

Have you ever quilted or done paper piecing before?




 & shop new patterns


Here’s one of my paper pieced quilts. http://www.empirequilters.net/pg/s07/z/s07az208.html
That’s beautiful, Betty!
I really like how you made this technique modern. I can see myself wearing tiny hexagons on a blouse or a shirt. Nice!
oh I never thought to use my die-cutter to make hexagons! did you have to destroy the hexagons when you removed them, or were they reusable?
Assuming I didn’t stab through them with my needle, most were ok to reuse. Once they get bent, they’re a little harder to sew around, so I made sure to use recyclable paper just in case. :)
YOu are seriously the cutest ever!!!