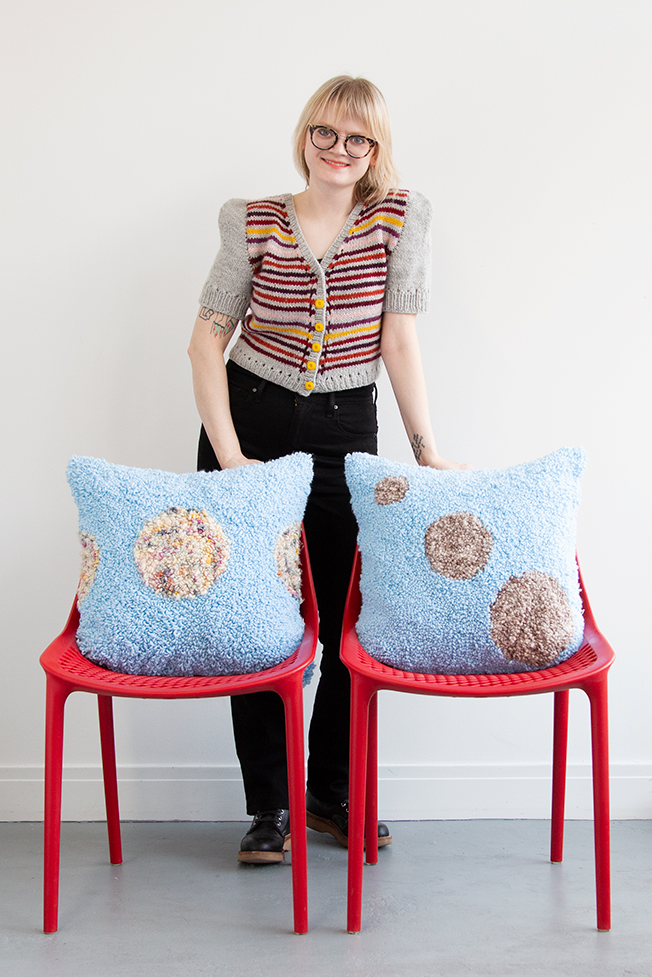
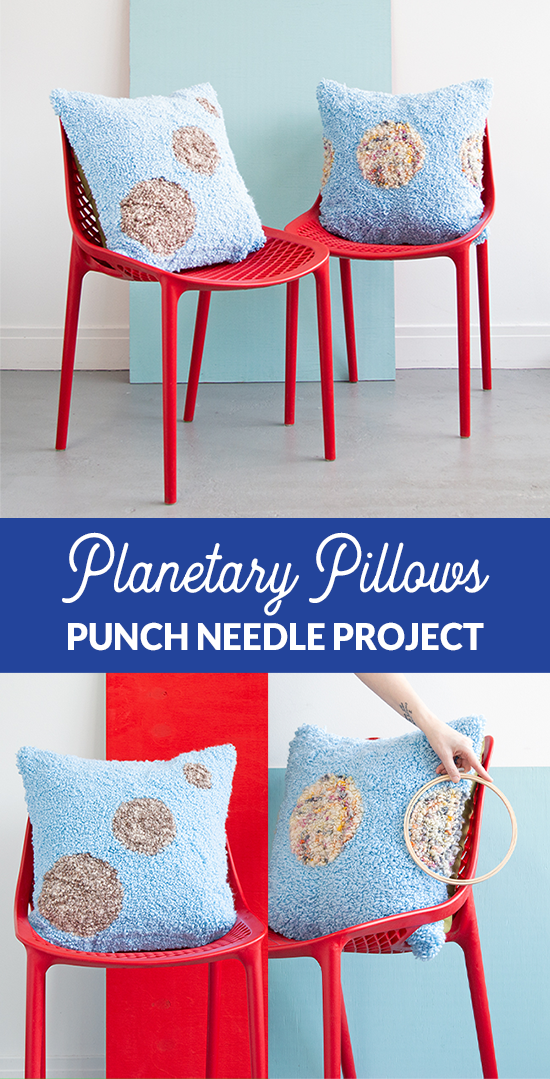
I’d been looking for just the right throw pillows for my bedroom for months, and then I realized I could make a pair that were so much nicer and precisely suited my needs! So today I’m sharing how I made this fun project with you. These outer space-inspired pillows are accomplished with a few, humble embroidery hoops and 101-level punch needle skills, so they’re really easy to replicate. :)
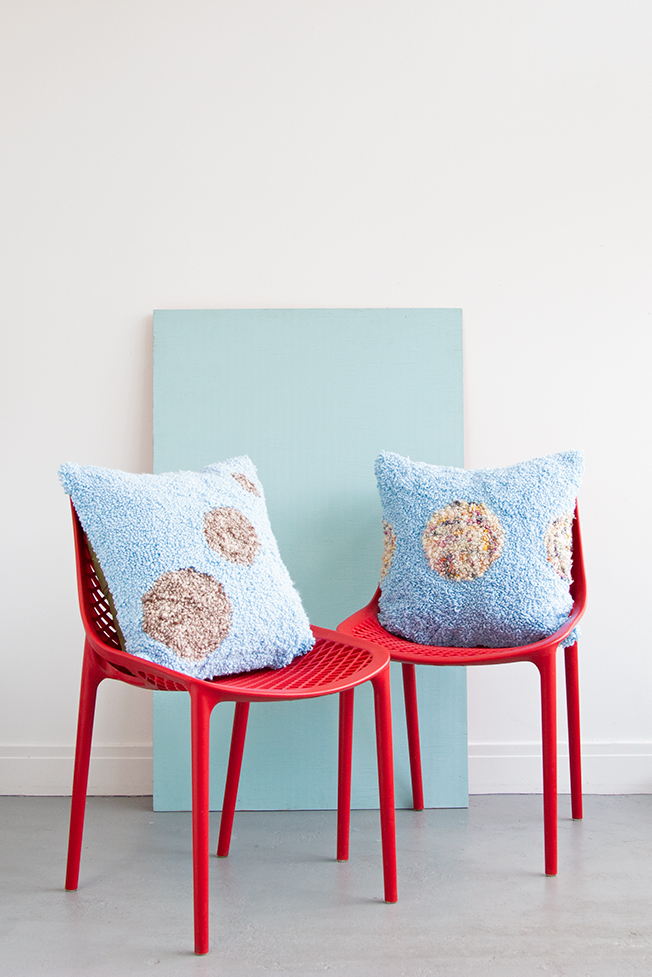
Getting started
Yarns pictured
Red Heart Super Saver (light blue), Manos del Uruguay Serpentina in Malala, & some gifted handspun yarn made with a camel/wool fiber blend.
Supplies
1-2 throw pillows, pillow forms, etc. that are in need of a new cover. (I made new covers for some old throw pillows I’ve had since high school!)
3″, 6″ & 9″ embroidery hoops
punch needle tool (used: Oxford #10 punch needle)
scissors
punch needle project canvas – cut to the appropriate size for your cushion cover plus 1-2″
sewing thread
hand sewing needle
How to punch needle
If you’re new to punch needle (a.k.a. punch needle rug hooking), please refer to my punch needle basics tutorial for how to prep your canvas and work punch needle stitches.
How to make phased-look planets
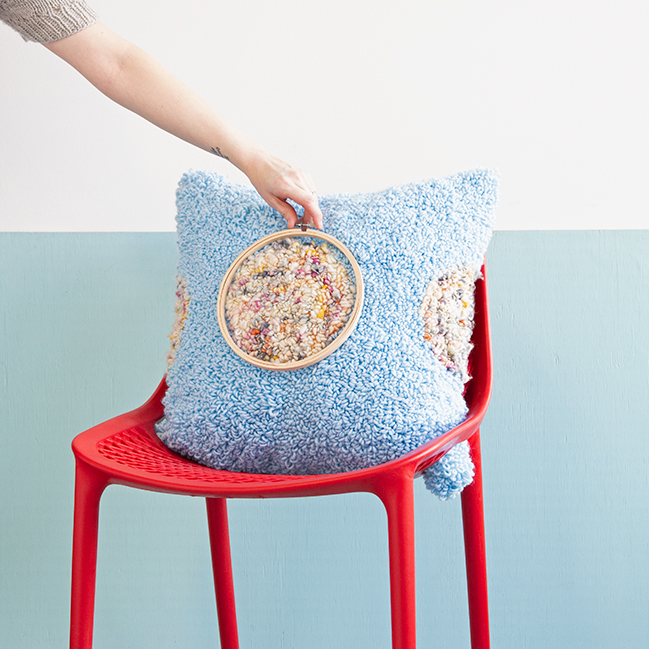
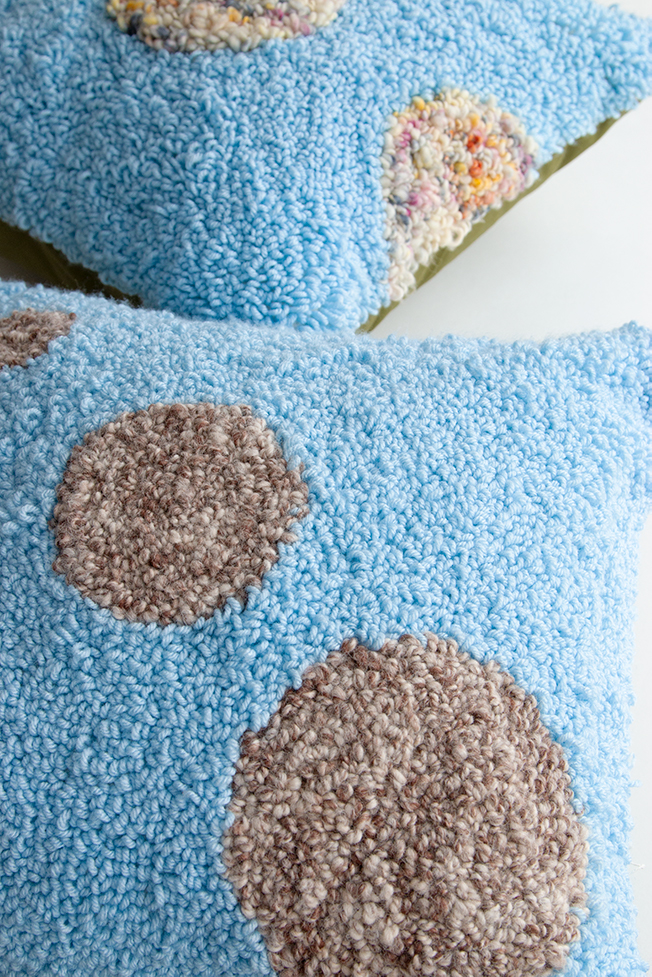
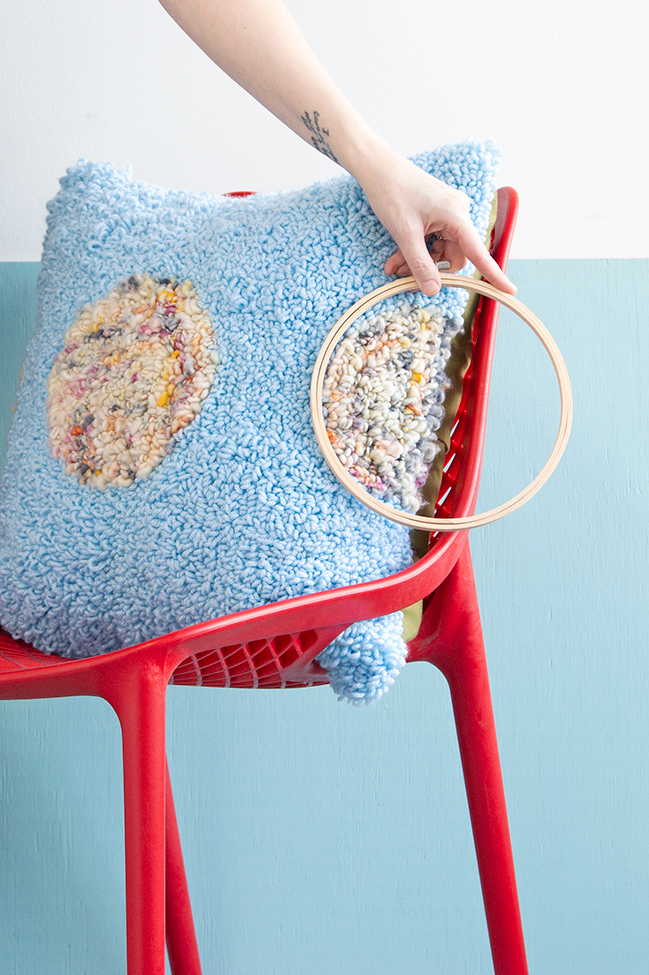
To create a series of planets and half-planets like those pictured, simply center a large embroidery hoop on your canvas and work its entire area in one yarn. Next, align half of the hoop on the right edge of your canvas (don’t forget to leave a 1-2″ area of unworked canvas for seam allowance). Punch this half circle in line with your full circle. Repeat the process for a corresponding left half-planet. Fill the remainder of your canvas with a contrasting yarn. Easy peasy!
How to punch telescoping planets
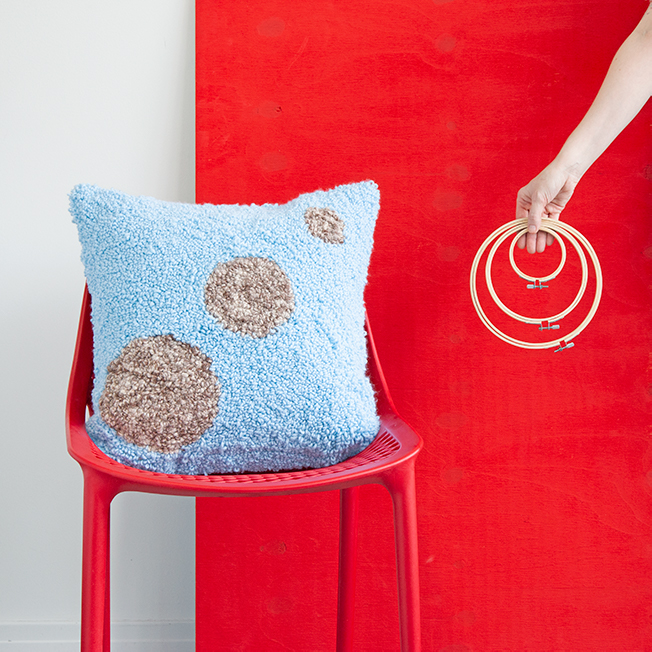
“Telescoping” planets, as I’m calling them, are simply a series of three circles in varying sizes, aligned on the diagonal. Worked in a straight line on the diagonal, fill 3″, 6″ and 9″ embroidery hoop sections with punch needle stitches. Then work the remainder of your canvas in a contrasting yarn as before.
Finishing
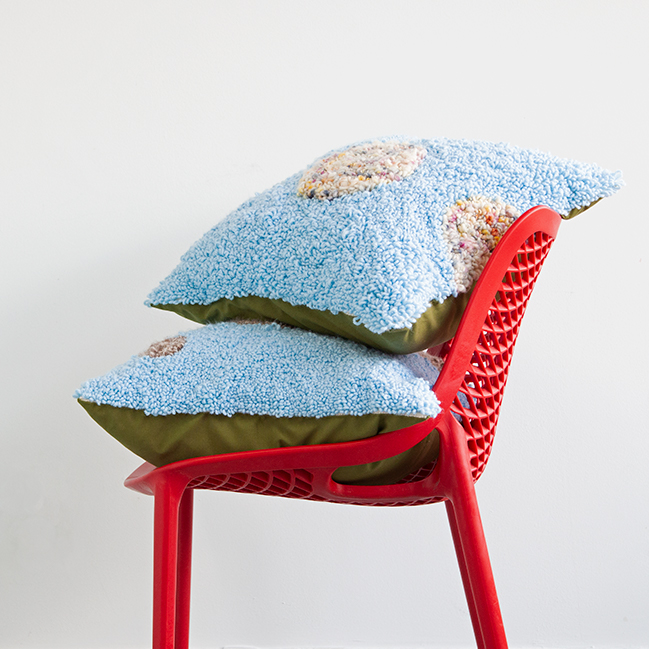
You can check out my tutorial on weaving in punch needle ends, but beyond that, the remainder of the finishing on these pillows is pretty standard. After finishing the punch needling for your pillow fronts, you next fold your 1-2″ of seam allowance canvas to the back of your work and hand baste it in place all the way around.
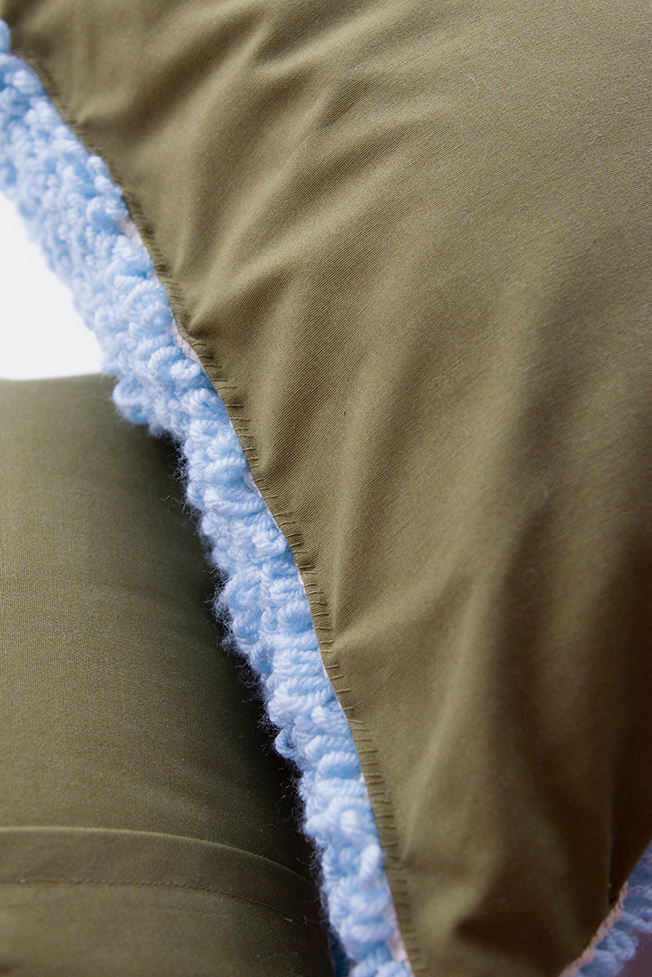
Finally, hand sew your punch needle fronts to your pillow case or pillow form using a whip stitch. Depending on the size of your pillow(s), this process may or may not feel like it takes forever. Have fun! ;)





 & shop new patterns


Leave a Reply