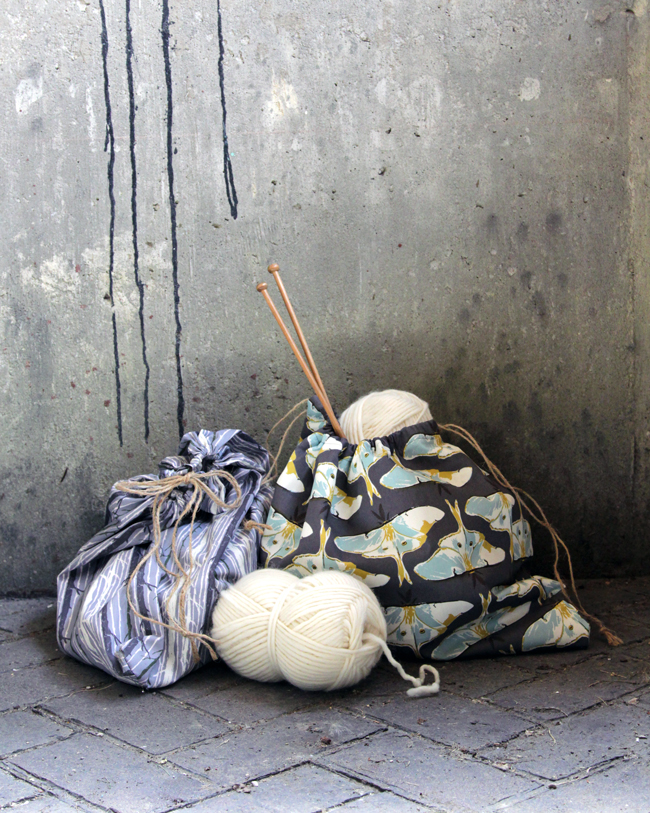
Like many yarn crafters, I’ve got roughly a thousand and one works-in-progress laying about, so I regularly find myself in need of more project bags. As I knit and crochet over the years, I realized that the best project bag is nothing more than a simple rectangle with a drawstring top. You can toss the bags in your purse to keep your skeins in order, you can toss them in a suitcase, and you can easily store them with your other WIPs without worrying about yarn running amok. ;)
Every once in awhile, the odd pair of fancy shoes comes with a drawstring bag. I always hang on to those to use as project bags. But if you’re like me, you also sew a bit in addition to yarn crafting and have some gorgeous fabric that you’re dying to work with. I recently got my hands on some beautiful forest-inspired fabric designed by Bonnie Christine. The moth print in particular made me go all heart eyes the second I saw it. Since I immediately wanted to make something with it, a wee project bag was in order. Today I’m going to walk you through how I make my go-to, super-simple-to-sew project bags in mere minutes. Let’s get started!
Supplies
1/2 yd of 44-inch wide fabric per bag
1/2 yd lightweight fusible interfacing (optional)
iron
scissors
coordinating thread
sewing machine
twine
safety pin
straight pins
tape measure
Directions
The dimensions for this bag are large as I made these specifically for some larger projects I’ve currently got going. To make a smaller bag, simply alter the size of the rectangles you start with to suit your needs. Easy peasy!
Begin by cutting your fabric into two 18×22 inch rectangles. If you’d like to create a sturdier bag, also cut two pieces of 18×22 inch fusible interfacing and iron to the wrong side of your fabric. Pin on three sides.
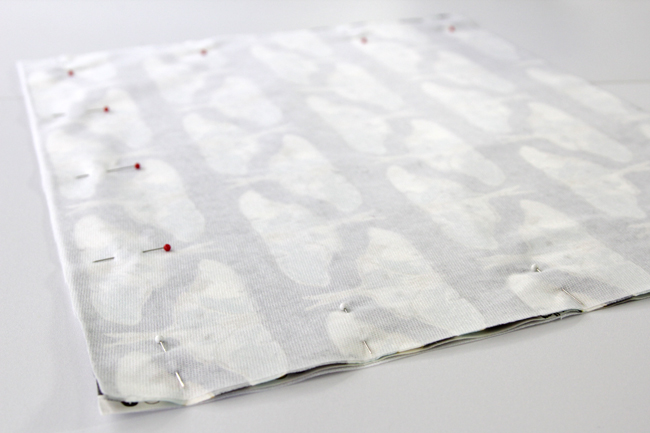
Leaving a 3/4 inch seam allowance, sew along the bottom of the soon-to-be-bag. Backstitch at either end to secure.
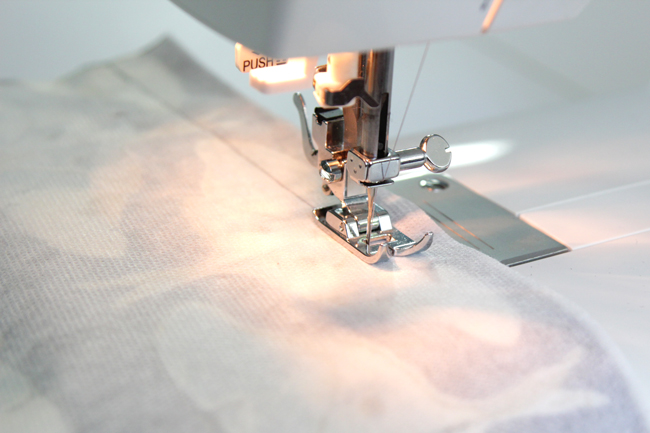
Sew along each side of the bag, backstitching at the beginning. Stop three inches before the opposite end of the bag and backstitch to secure.
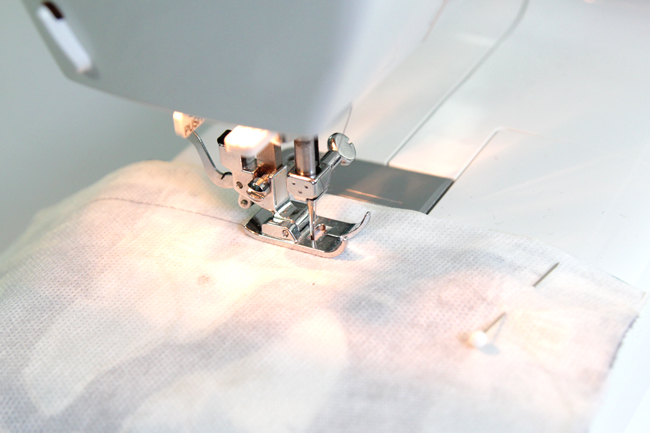
Press open the remaining three inches on both ends and both sides as shown.
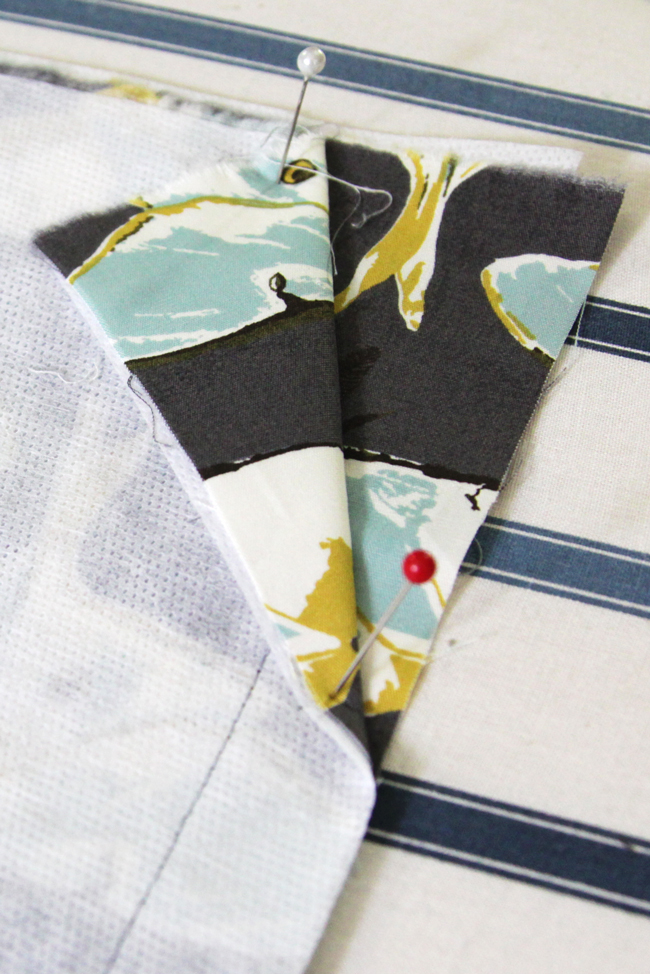
Next, press 3/4 inches of the unsewn edge as shown.
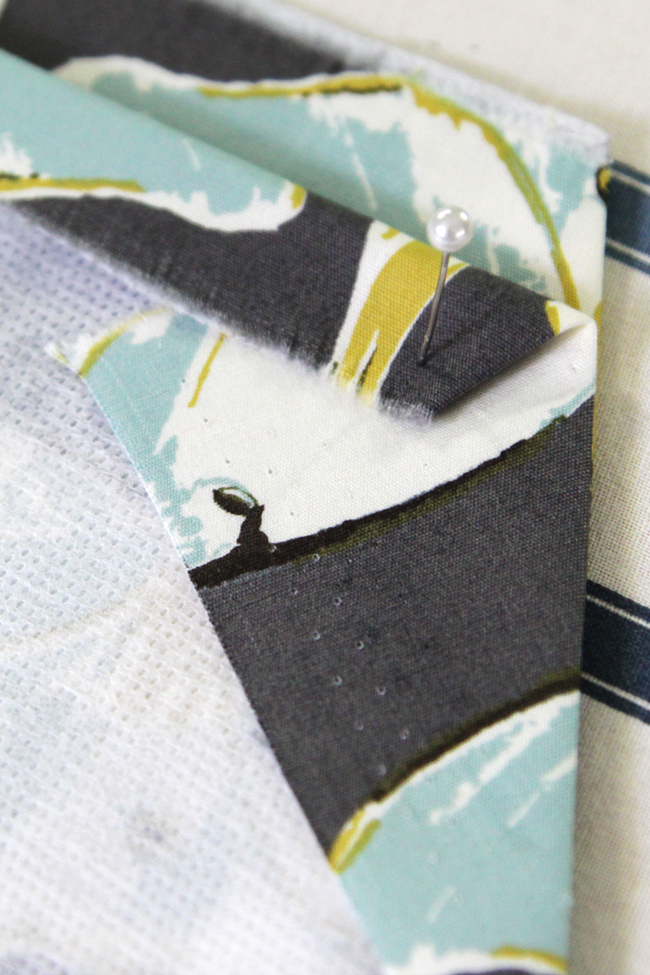
Press and then sew a 3/4 in casing on each side of the bag, again backstitching at each end.
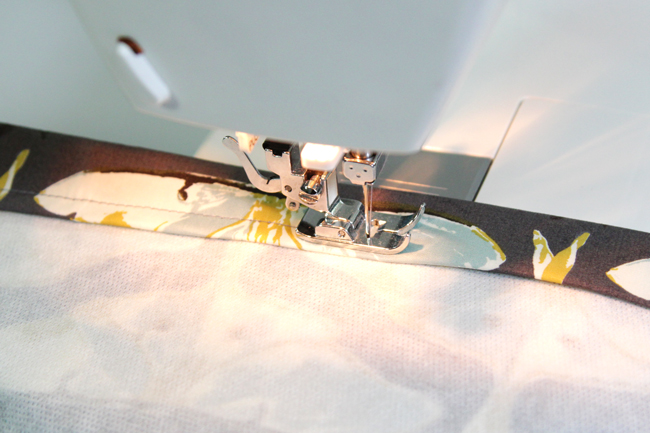
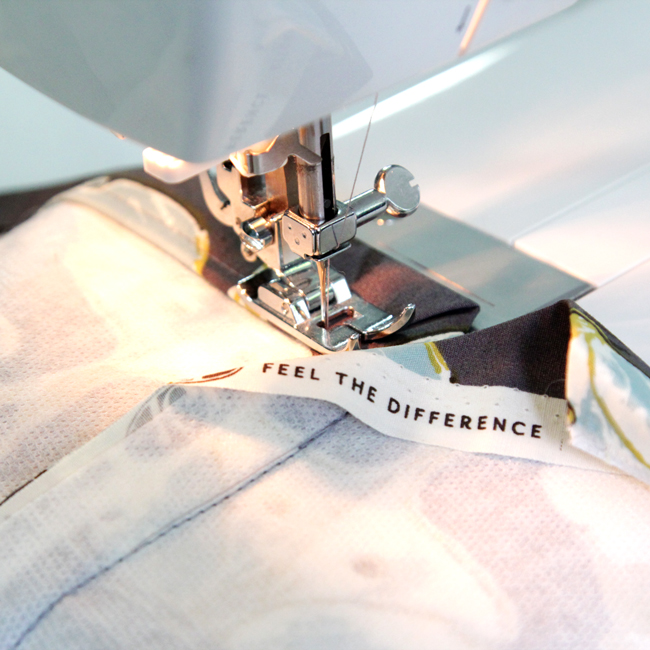
Turn your bag right side out. Cut a 63 inch piece of twine and tie it to a closed safety pin. Using the safety pin, thread the twine through the casing on one side of the bag.
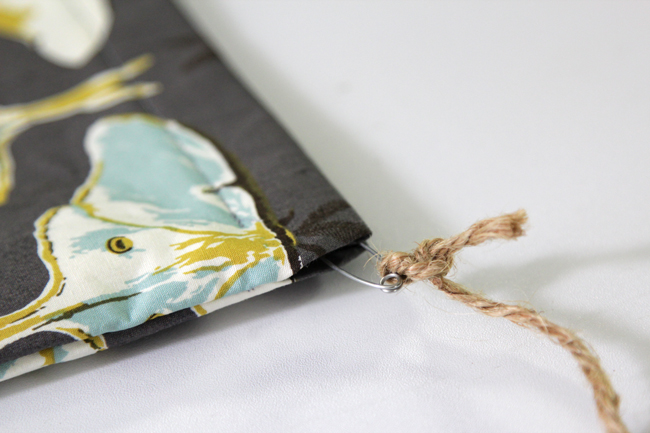
Continuing with the same safety pin, draw the twine through the casing on the remaining side of the bag.
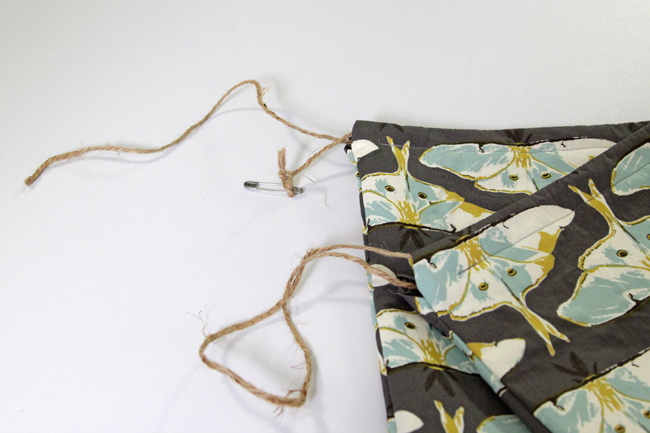
Remove the safety pin, cut the twine evenly in half, and knot the ends together to finish!
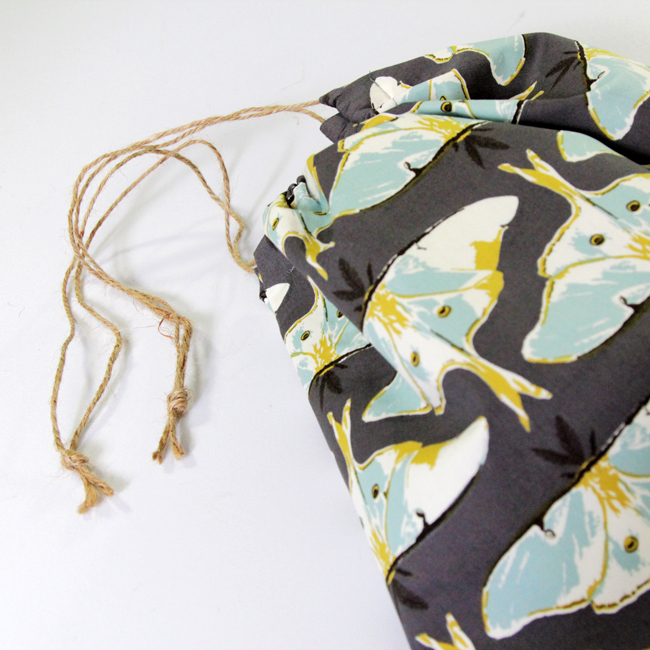
A look at the finished bags
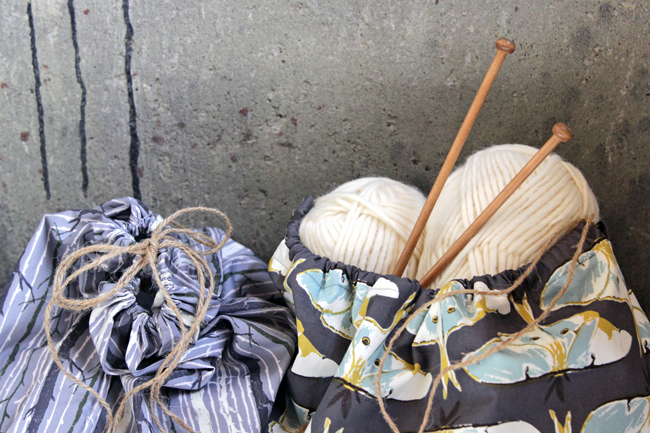
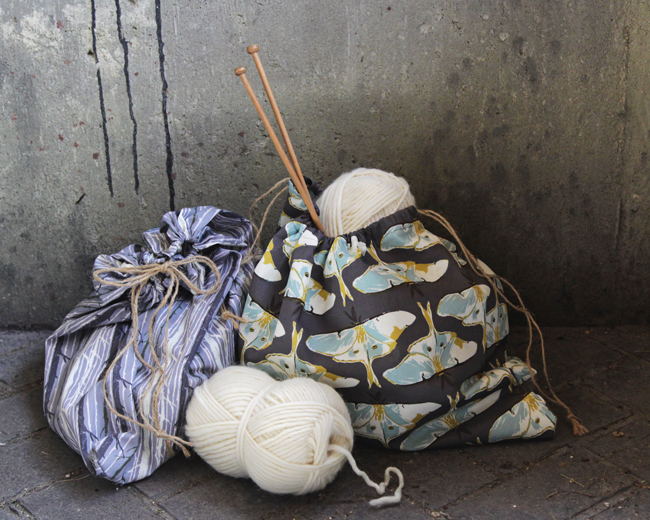
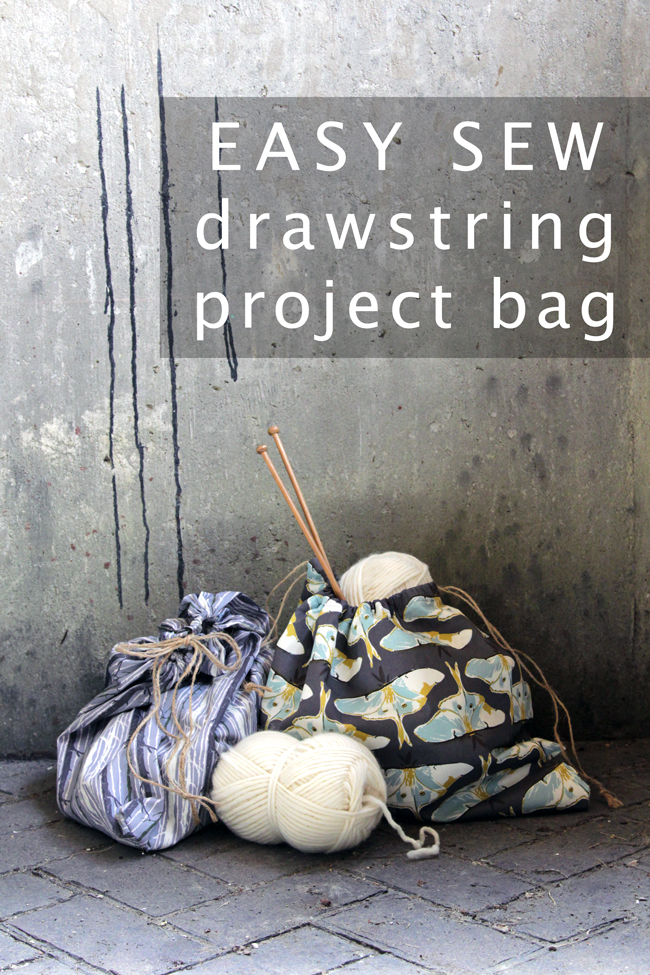
The tree print bag on the left in this photo was made without interfacing, but the bag on the right was made with it. As a result, the bag can’t be drawn as tight, but I am already using this bag to wrangle a knitting project that uses a lot of heavier yarn. The unlined bag is proving perfect for storing a laceweight work in progress, and I love it!
This post was part of the Forest Floor Blog Tour and the gorgeous, high quality fabric was provided in exchange for this post. Learn more about the Forest Floor fabric collection from Bonnie Christine.
Check out what Annie & Dot did with their fabric samples from the collection!
Visit Alextillalia Designs tomorrow to see what she’s got in store for her stop on the blog tour.





 & shop new patterns


Adorable – and so very useful! Love having you on the tour, Heidi!
These drawstring bags are so beautiful! Lovely fabric choices! I share one of your pics on my post for the Blog Tour yesterday and I linked your website, hope you don’t mind. Alex @alextilalila
No problem! Thanks for sharing! :)
Heidi,
I would like to pin this for later but not finding the option. Possible or should I just go ahead and print. May make for Christmas gifts for my cancer knit group.
Thanks,
Sue Anna
Heidi,
Not sure why I was having issues pinning this but came to my laptop and had no problems! Sorry to bother you. Thanks
Sue Anna