Yarn provided by Lion Brand Yarn. This post is part of The Super Spike Stitch Blog Hop, organized by Stitch & Hustle.
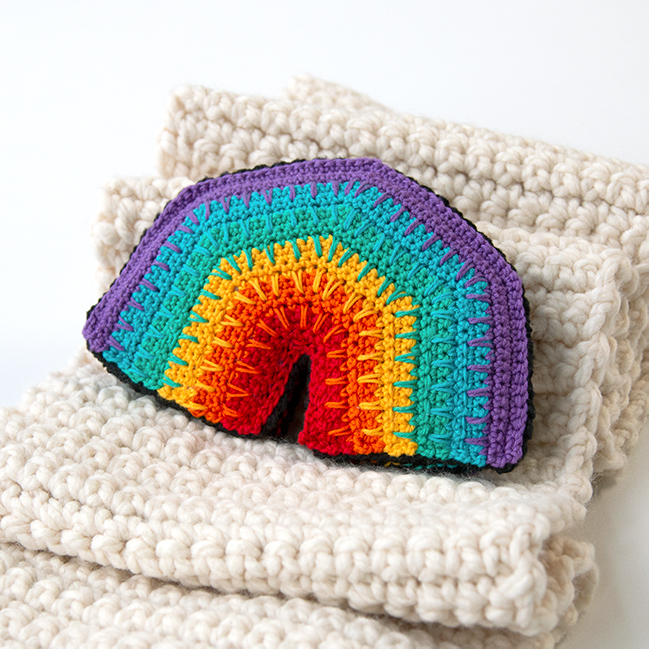
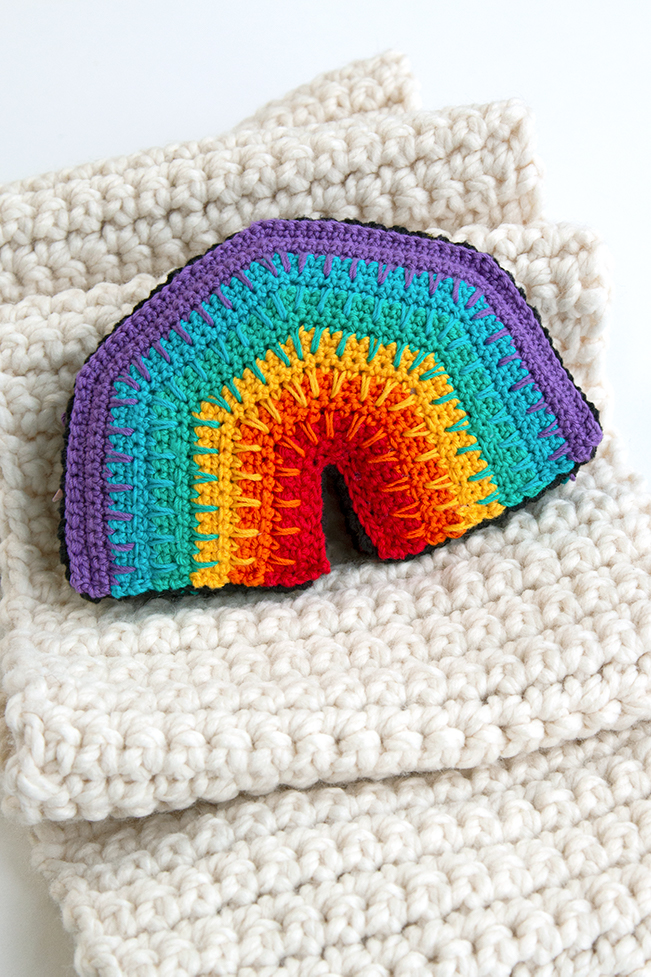
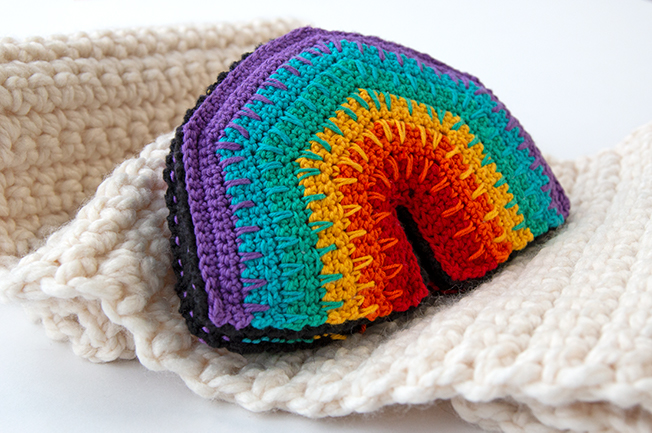
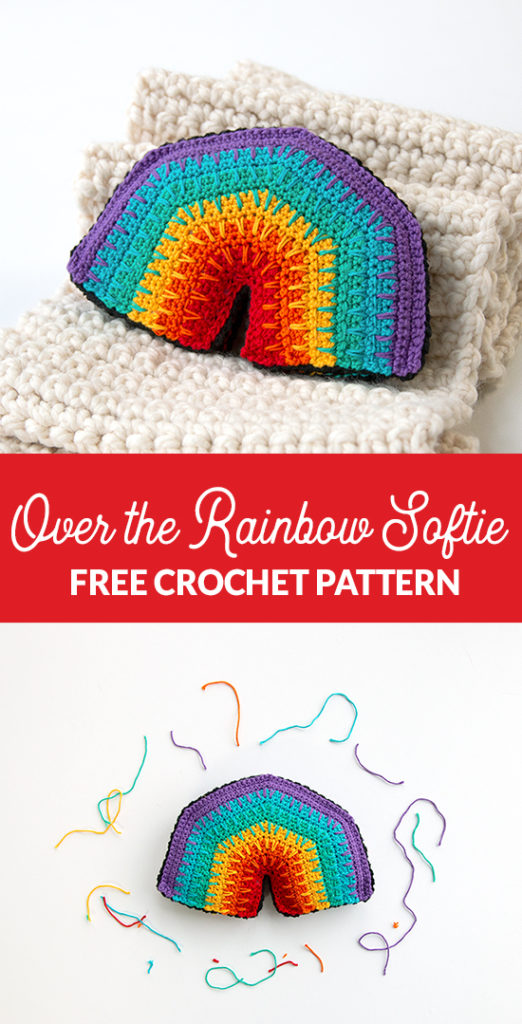
Who doesn’t love a good rainbow? This happy little rainbow toy is crocheted with a single package of Lion Brand Yarn Bonbons yarn. Doable in a day, this baby and toddler-friendly softie toy is an ideal gift to make because its fun and takes so much less time than a blanket or garment. Colorful and taking advantage of the charming spike stitch, the Over the Rainbow Softie coordinates so well with contemporary nursery decor trends!
Get an inexpensive, printable, ad-free PDF of this pattern here, or read on for the free blog version of the pattern.
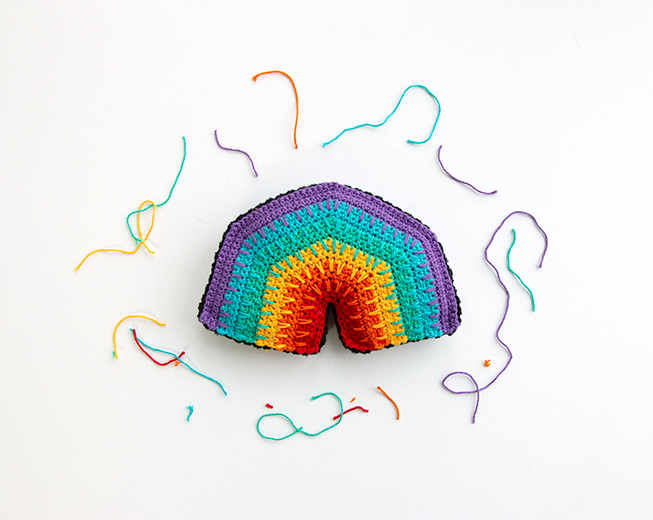
Over the Rainbow Softie – Free Crochet Pattern
Skill level: easy
Supplies
1 pack Lion Brand Yarn Bonbons in Beach (100% Cotton yarn; fingering weight), which comes with 8 mini skeins.
US size F (3.75 mm) crochet hook
scissors
tapestry needle
poly-fil
Abbreviations & Terms
RS – right side
Clr A – color A (red)
fsc – foundation single crochet
WS – wrong side
ch – chain
sc – single crochet
sc 2 in next st – sc 2 times in same st
(X sts) – X is the number of sts that are now in the row
( ) twice – work stitches between parenthesis two times
Clr B – color B (orange)
sp – spike stitch (Insert hook into space 2 rows below to work an elongated sc stitch. Here’s a tutorial.)
rep from * – repeat the instructions following the asterisk as directed
Clr C – color C (yellow)
Clr D – color D (green)
Clr E – color E (blue)
Clr F – color F (purple)
Clr G – color G (black)
rep – repeat
Gauge & Dimensions: Approx. 19 sc & 23 rows over 4 inches. Finished softie toy measures approx. 5.5″ tall x 8″ wide x 1″ thick.
Get an inexpensive, printable, ad-free PDF of this pattern here, or read on for the free blog version of the pattern.
THE PATTERN
Softie Body (make 2, one for front & one for back)
row 1. (RS) Using Clr A, fsc 19.
row 2. (WS) ch1, turn to WS. sc8, sc 2 in next st, sc1, sc2 in next st, sc8. (21 sts)
row 3. ch1, turn. sc8, (sc2 in next st, sc1) twice, sc 2 in next st, sc8. (24 sts)
row 4. ch1, turn. sc8, (sc2 in next st, sc2) twice, sc 2 in next st, sc9. (27 sts)
row 5. Using Clr B, ch1, turn. *sc1, sp1; rep from * to last st, sc 1.
row 6. ch1, turn. sc9, (sc2 in next st, sc3) twice, sc 2 in next st, sc9. (30 sts)
row 7. ch1, turn. sc9, (sc2 in next st, sc4) twice, sc 2 in next st, sc 10. (33 sts)
row 8. ch1, turn. sc 10, (sc2 in next st, sc5) twice, sc 2 in next st, sc 10. (36 sts)
row 9. Using Clr C, ch1, turn. *sc1, sp1; rep from * to last st, sc 1.
row 10. ch1, turn. sc 10, (sc2 in next st, sc6) twice, sc 2 in next st, sc 11. (39 sts)
row 11. ch1, turn. sc 11, (sc2 in next st, sc7) twice, sc 2 in next st, sc 11. (42 sts)
row 12. ch1, turn. sc 11, (sc2 in next st, sc8) twice, sc 2 in next st, sc 12. (45 sts)
row 13. Using Clr D, ch1, turn. *sc1, sp1; rep from * to last st, sc 1.
row 14. ch1, turn. sc 12, (sc2 in next st, sc9) twice, sc 2 in next st, sc 12. (48 sts)
row 15. ch1, turn. sc 12, (sc2 in next st, sc 10) twice, sc 2 in next st, sc 13. (51 sts)
row 16. ch1, turn. sc 13, (sc2 in next st, sc 11) twice, sc 2 in next st, sc 13. (54 sts)
row 17. Using Clr E, ch1, turn. *sc1, sp1; rep from * to last st, sc 1.
row 18. ch1, turn. sc 13, (sc2 in next st, sc 12) twice, sc 2 in next st, sc 14. (57 sts)
row 19. ch1, turn. sc 14, (sc2 in next st, sc 13) twice, sc 2 in next st, sc 14. (60 sts)
row 20. ch1, turn. sc 14, (sc2 in next st, sc 14) twice, sc 2 in next st, sc 15. (63 sts)
row 21. Using Clr F, ch1, turn. *sc1, sp1; rep from * to last st, sc 1.
row 22. ch1, turn. sc 15, (sc2 in next st, sc 15) twice, sc 2 in next st, sc 15. (66 sts)
row 23. ch1, turn. sc 15, (sc2 in next st, sc 16) twice, sc 2 in next st, sc 16. (69 sts)
row 24. ch1, turn. sc 16, (sc2 in next st, sc 17) twice, sc 2 in next st, sc 16. (72 sts)Break yarn and draw tail through to secure. Weave in ends.
“The Thickener” – make one
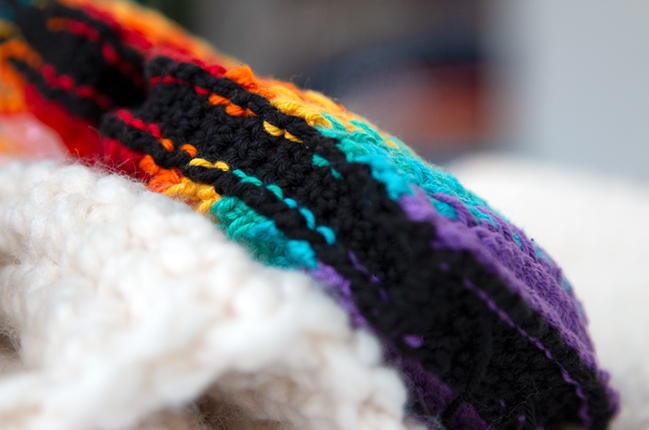
A thickening strip to accommodate stuffing.
row 1. (RS) Using Clr G, fsc 8.
row 2. ch1, turn. sc8.
rows 3-142. Rep row 2.Break yarn and draw tail through to secure. Weave in ends.
Finishing
Using a tapestry needle & whichever yarn color(s) you prefer, sew the “thickener” strip to one of your softie body pieces. Then, seam the remaining body piece, pausing to stuff the softie a few inches before finishing your seam. Finish seaming your softie and weave in all ends.
The Super Spike Stitch Blog Hop and Giveaway!
Ok! What’s a Blog Hop? My buddy Michele of the blog Stitch & Hustle invited me and six other bloggers to design a free crochet pattern featuring the spike stitch and using Lion Brand Yarn. I had a pack of Bonbons left over from our Ornaments of Christmas series, and it’s one of my favorite cottons to work with. Whipping up this spike stitch rainbow design was so much fun and I can’t wait to gift it to my niece! Here’s more from Michele about the Blog Hop:
[For this year’s blog hop], I selected the Spike Stitch for the themed stitch. I love how the Spiked Stitch can truly make a design different in so many ways. You can use it as an accent to bring a pop of color or you can use it as a main design feature to create a sort of mosaic look.
Read all about the Blog Hop.
Our blog hop designers really showed off some major skills with these designs and imaginative ideas.
Enter the giveaway here:
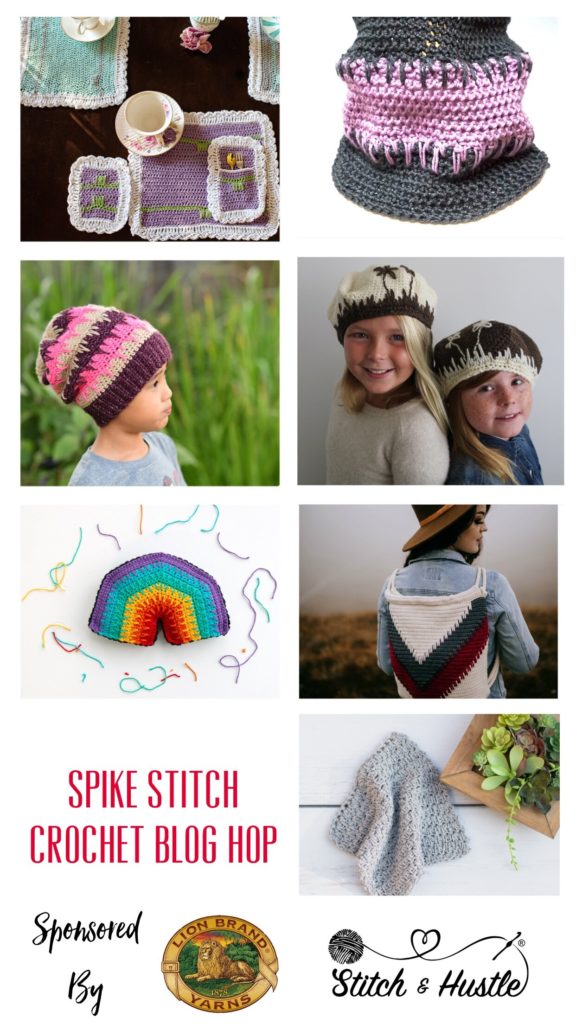
Participating bloggers you should check out, especially if you’re diggin’ the look of spike stitch!
Make And Do Crew
Rescued Paw Designs
Designs by Phanessa
2 Bossay Knits
Naturally More Crochet
A Crocheted Simplicity
Stitch & Hustle
Yarn provided by Lion Brand Yarn. This post is part of The Super Spike Stitch Blog Hop, organized by Stitch & Hustle.


 & shop new patterns


Leave a Reply