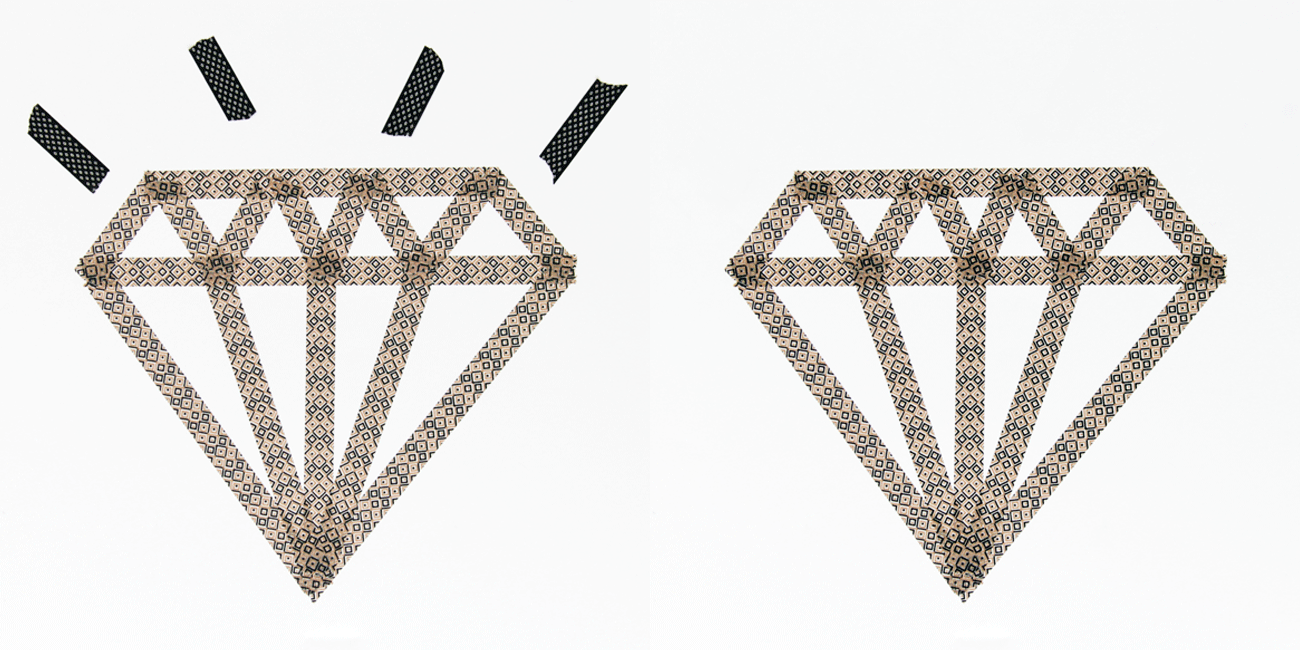
I realize that that if you’re regular DIY blog reader, you’re likely familiar with washi tape. When I did a presentation about crafts at a library conference last summer, a bunch of the people I met had never heard of washi tape! For those of you new to washi tape, it’s kinda like painter’s tape, but it comes in fun patterns, is made of paper, and is really fun to craft with. I’ve been experimenting with washi tape in my library’s teen space, just to add some color, and it’s working awesomely! None of the paint has come off the walls and it makes everything a little more colorful.
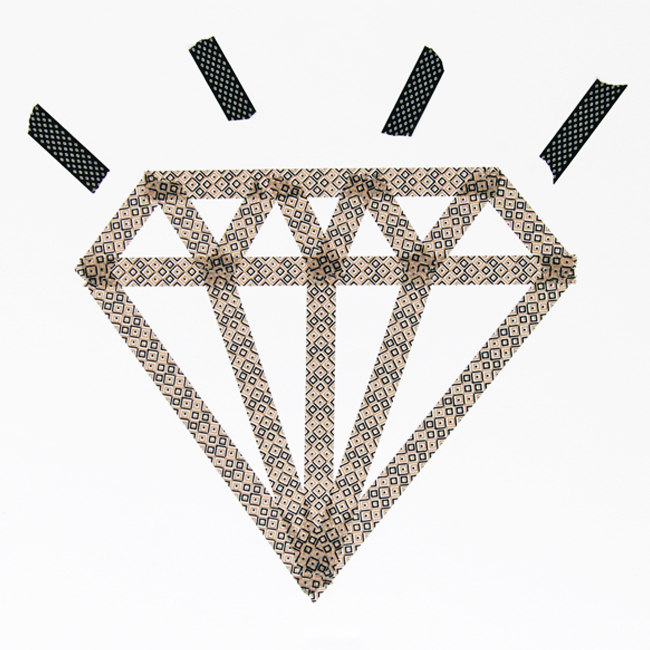
For the new year, I made a little pun-tastic BLING in the new year wall where library customers could, anonymously or not, share their resolutions, hopes & wishes For 2014. Here’s how these washi tape diamonds look at my lib:

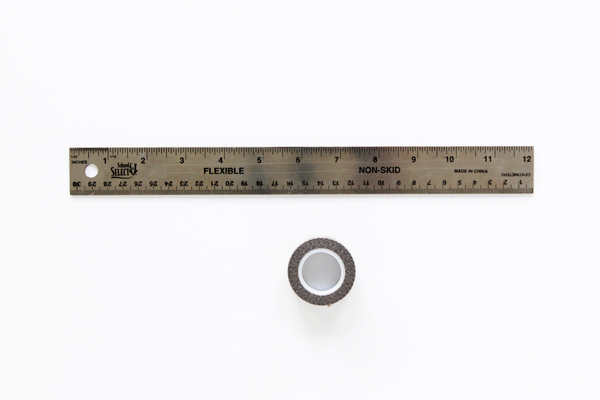
Supplies
washi tape
ruler
post-its (optional)
writing utensil (optional)
Directions
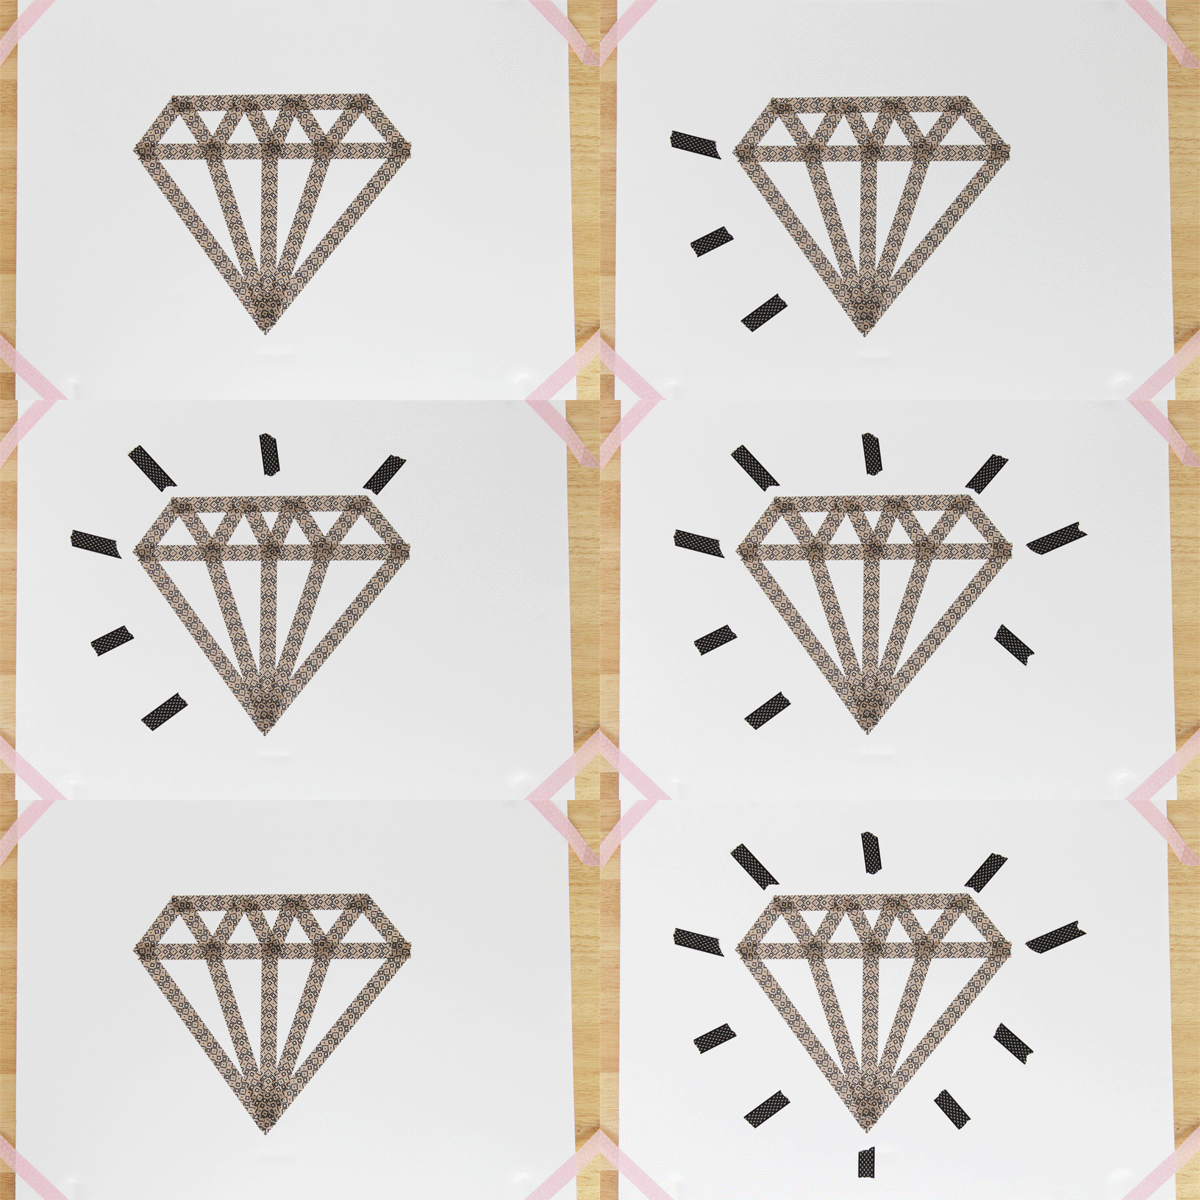
On a clean and dry surface, lay a piece of washi tape slightly narrower than you’d like your finished diamond to be.
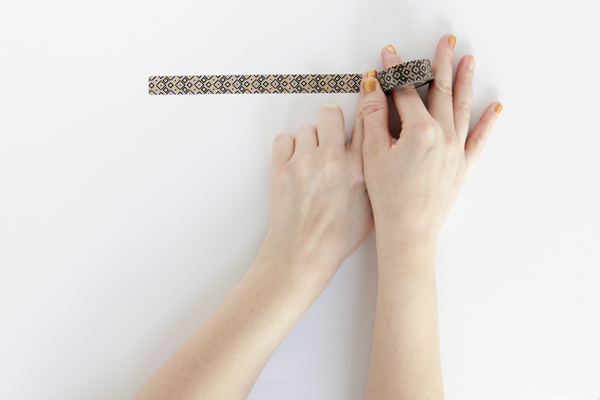
If your want your diamond to be very precise or symmetrical, mark its center point with a spare bit of post-it note. Add a second line of washi tape parallel to the first, but slightly wider than your fist piece. My first piece of washi tape was 9″ wide and the second was 3″ wider (1.5″ wider on each end). For the display at my library, I eyeballed everything to save time, and I think they turned out just fine.
Next, decide how long you want your diamond to be and make a triangle whose base is the second piece of washi tape, as shown.
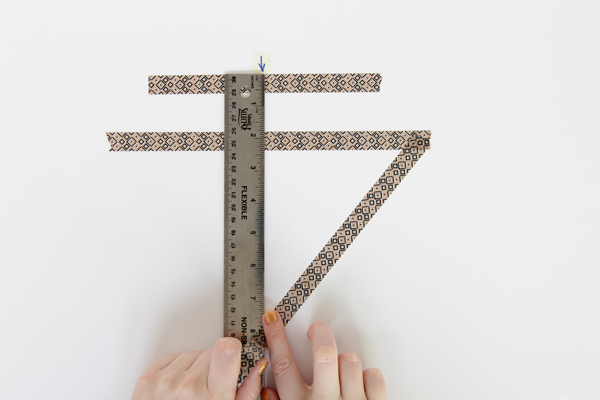
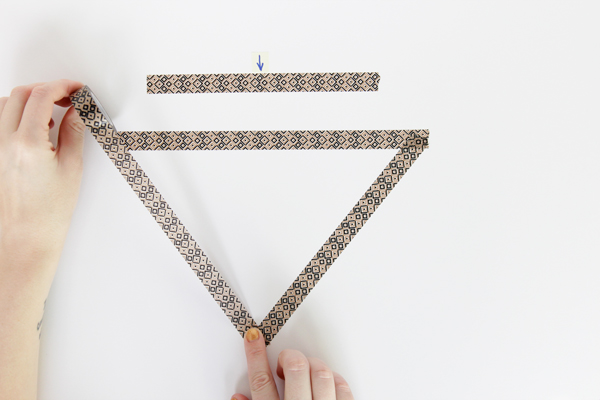
Connect the ends of the parallel pieces of washi tape, forming the outline of your diamond.
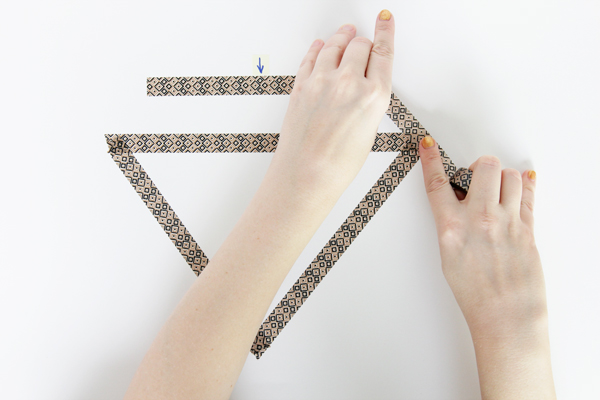
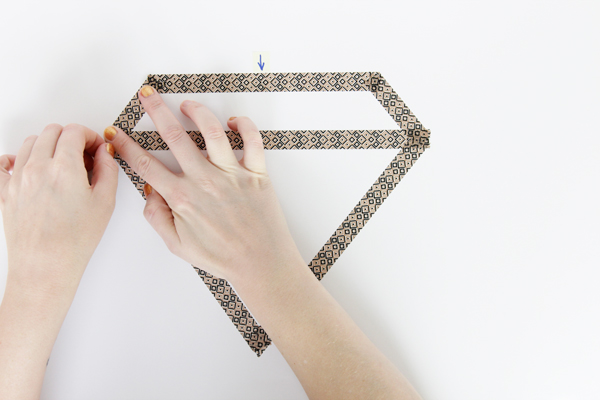
Add a centered line of tape, connecting the tip of the diamond to the center of the top of the diamond.
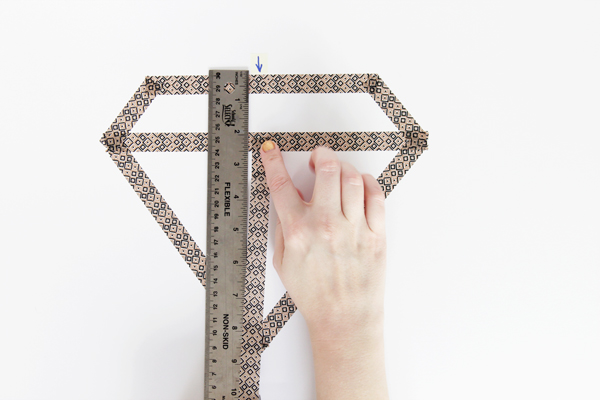
Mark the centers or each half of the top of the diamond with post-it’s. You can easily eyeball this if you want instead. :)
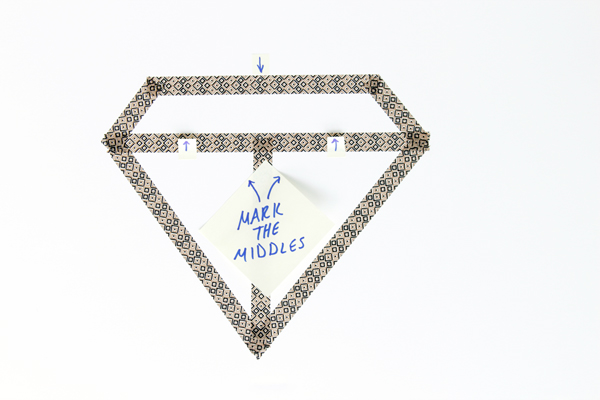
Connect the top corners of the diamond to the center points, removing any marked points as you go.
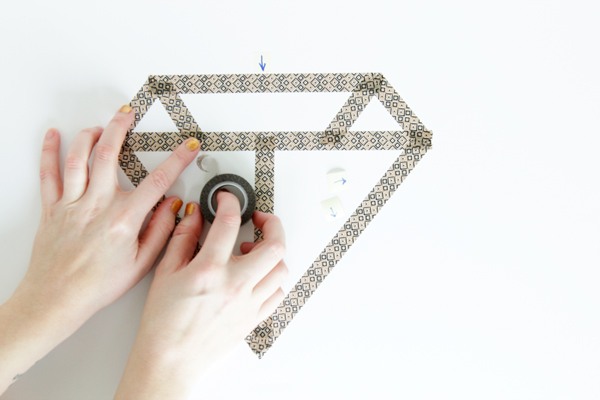
Add lines from the ends of those pieces to the tip of the diamond.
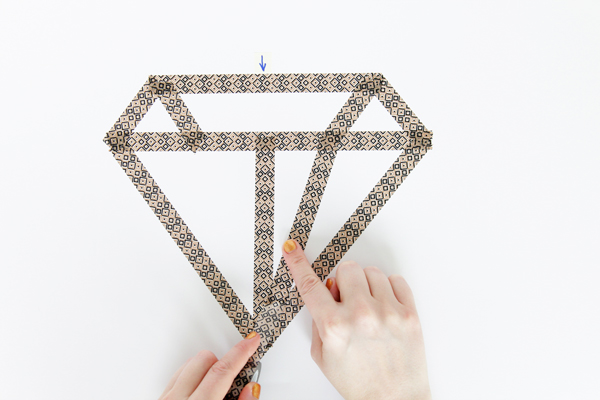
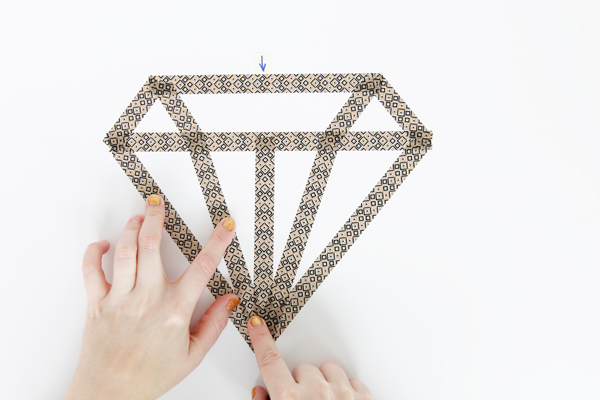 You’re just about done – make two triangles in the top of the diamond, like this:
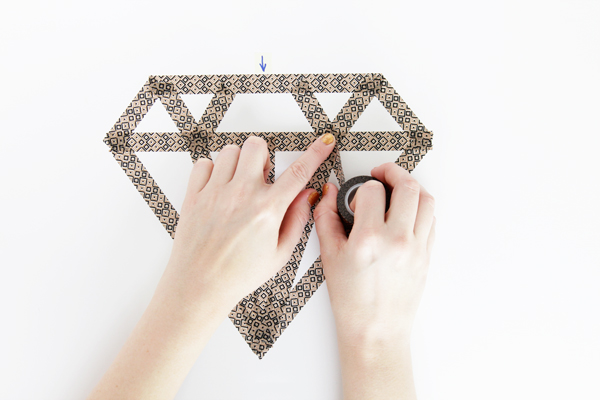
And finally, finish by making a final triangle in the top center of your diamond.
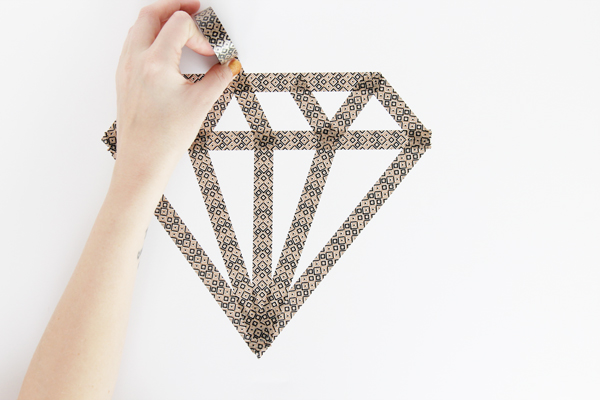
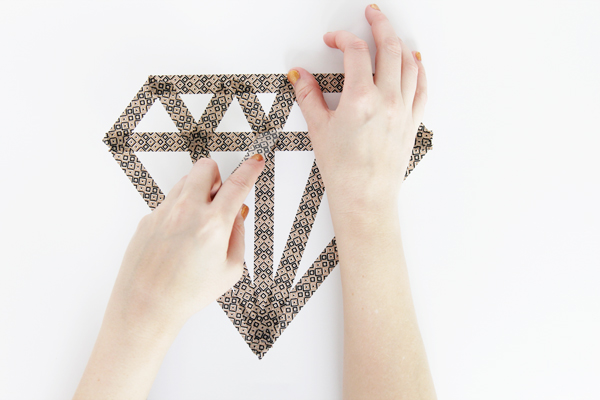
See? So cute, affordable & easy! I rotate my washi display at the library, but I think I might keep this particular design up for awhile. It’s on trend enough that the teens don’t call it ratchet, so I feel super proud of it, lol!
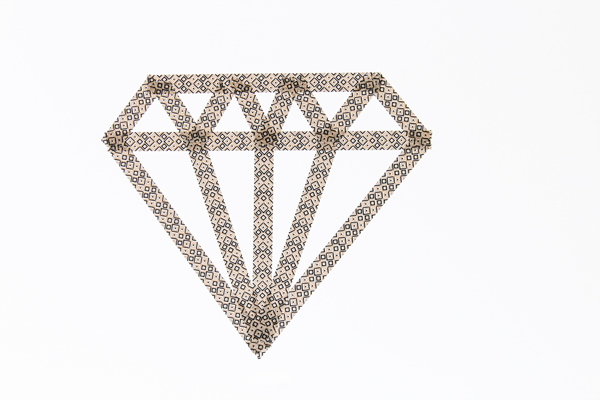
PS: You can add some sparkle lines for fun if you’d like to add to the blingy effect.
And here’s another GIF because I just can’t get enough of crafty animations. :D




 & shop new patterns


SO GOOD! Crafty animations forever! Mine would be incredibly crooked, despite all the rulers in the world. I consider that a talent :)
I love it! And the crafty animation rocks. Brilliant, Ms. Heidi.