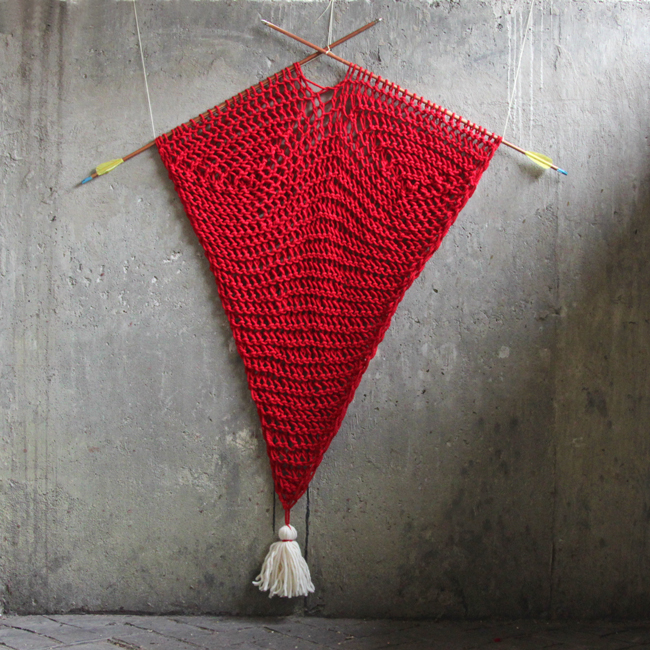
Shot Through the Heart – knitting pattern
Supplies
2 skeins Patons Classic Wool Bulky
1 pair vintage arrows
US 13 (9 mm) circular knitting needles with long cord (I used a 65 cm cord.)
stitch markers
tassel maker
scissors
tapestry needle (for weaving in ends)
fishing line (for hanging)
Abbreviations & Terms
CO – cast on
sts – stitches
WS – wrong side
sl – slip
f – with yarn in front
k – knit
RS – right side
yo – yarn over
(X sts) – X indicates the number of sts that should be on your needles at the end of the listed row
rep – repeat
pm – place marker
ppso – pass the previous stitch over
veil stitch – See video tutorial below!
short rows – If you’re new to short rows, check out this great article for an introduction to the concept.
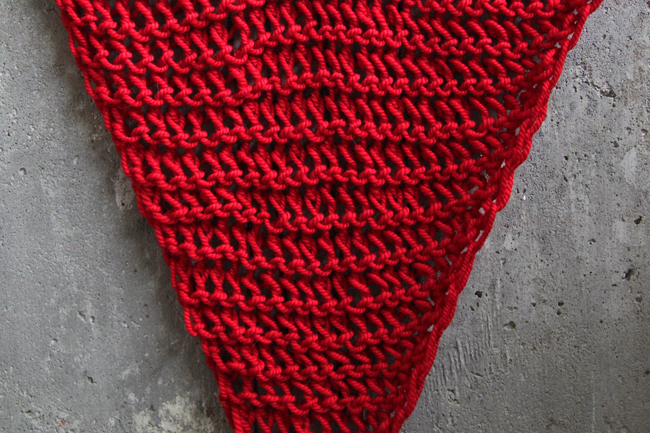
A close-up look at the veil stitch used in this fun pattern.
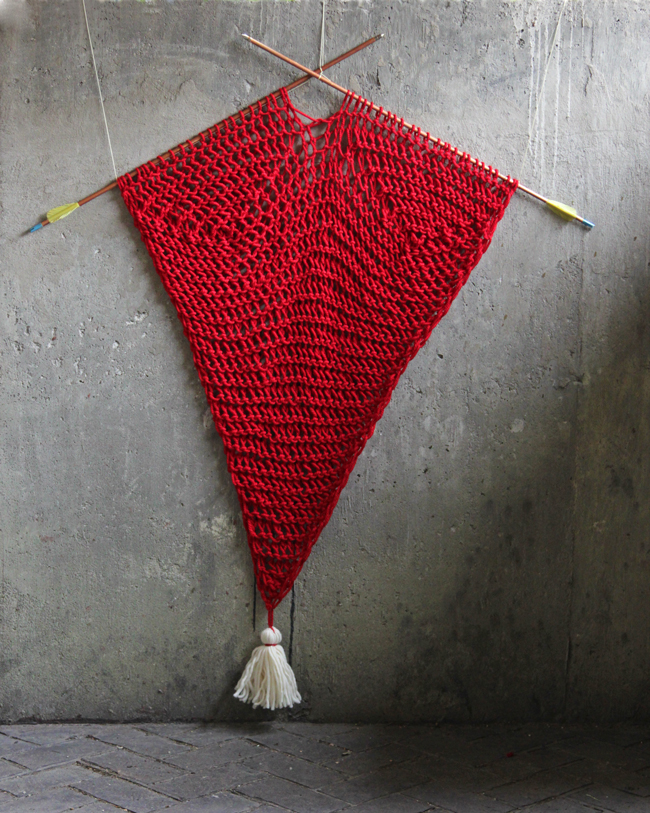
Gauge & Dimensions: 6 sts & 8 rows over 4 inches. Depending on how you hang it, the finished hanging measures approximately 40″ tall by 18″ wide.
Pattern
Note: All knit stitches in this pattern should be worked using the veil stitch (see tutorial linked above). This allows for your stitches to be elongated and open, but with twists that differentiate this stitch from a simple drop stitch. If you prefer to work this pattern with plain knit stitches, the pattern will still work out, but your work will have a less open weave.
Also not that the slipped stitches at the beginning of every row form a chain edge, but if you’re working the veil stitch version of this pattern, remember to slip those stitches loosely to avoid warping your work.
CO 3 sts.
Row 1. (WS) sl 1 f, k across.
Row 2. (RS) sl 1 f, yo, k to last st, yo, k1. (5 sts)Rep rows 1-2 until there are 49 sts on your needles.
Row 3. (WS) sl 1 f, yo, k 24, pm, k1, pm, k24, yo, k1. (51 sts)
Row 4. (RS) sl 1 f, k 12. Turn.
Row 5. (WS) sl 1 f, k2. Turn.
Row 6. (RS) sl 1 f, k4. Turn.
Row 7. (WS) sl 1 f, k6. Turn.
Row 8. (RS) sl 1 f, k8. Turn.
Row 9. (WS) sl 1 f, k 10. Turn.
Row 10. (RS) sl 1 f, k 12. Turn.
Row 11. (WS) sl 1 f, k 14. Turn.
Row 12. (RS) sl 1 f, k 16. Turn.
Row 13. (WS) sl 1 f, k 18. Turn.
Row 14. (RS) sl 1 f, k 20. Turn.
Row 15. (WS) sl 1 f, k 22. Turn.
Row 16. (RS) sl 1 f, k 24, sm, k1, sm, k 13. Turn.
Rows 17-27. Rep rows 5-15.
Row 28. (WS) {You’re currently at the marker at the center of the row.} sl 1 f, k 24. {You’re now at the end of the row.} Turn.
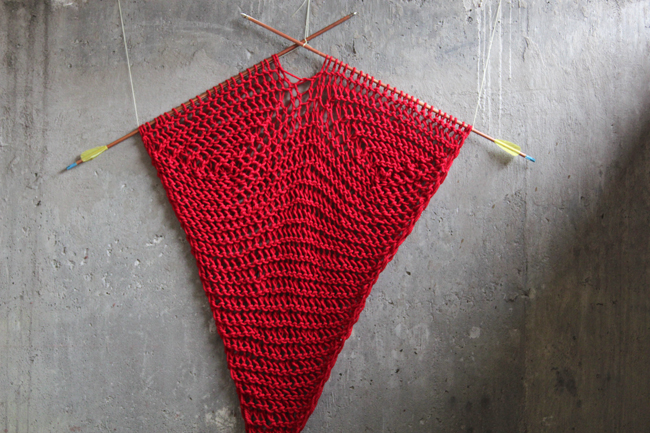
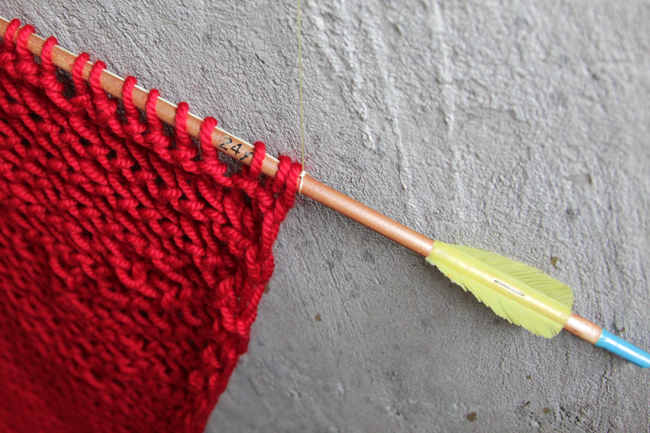
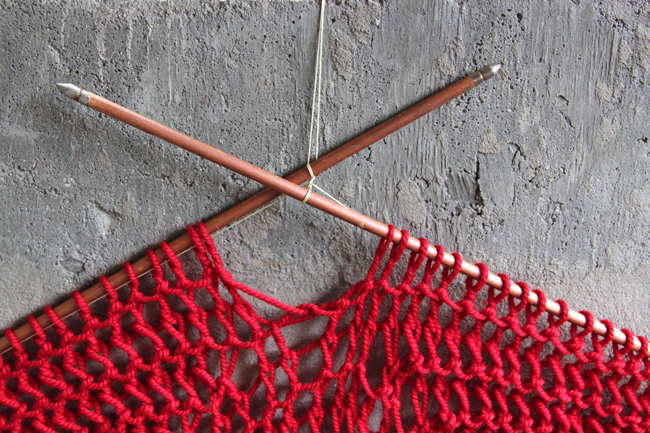
Row 29. (RS) sl 1 f, rm, k 24, rm, k1, ppso, rm, k1, ppso, k 24.Place 24 sts on first arrow (to the gap at the center of the row). Sliding your stitches to the other end of your circular needles, place the remaining 24 sts on your second arrow, with arrow tips pointing toward each other as shown in the photos. Obviously the arrows are intended to look like knitting needles.
To avoid raveling, thread a generous length of clear fishing line (or other thin, strong string) through all live stitches as shown. Give yourself enough extra line to hang your arrows.
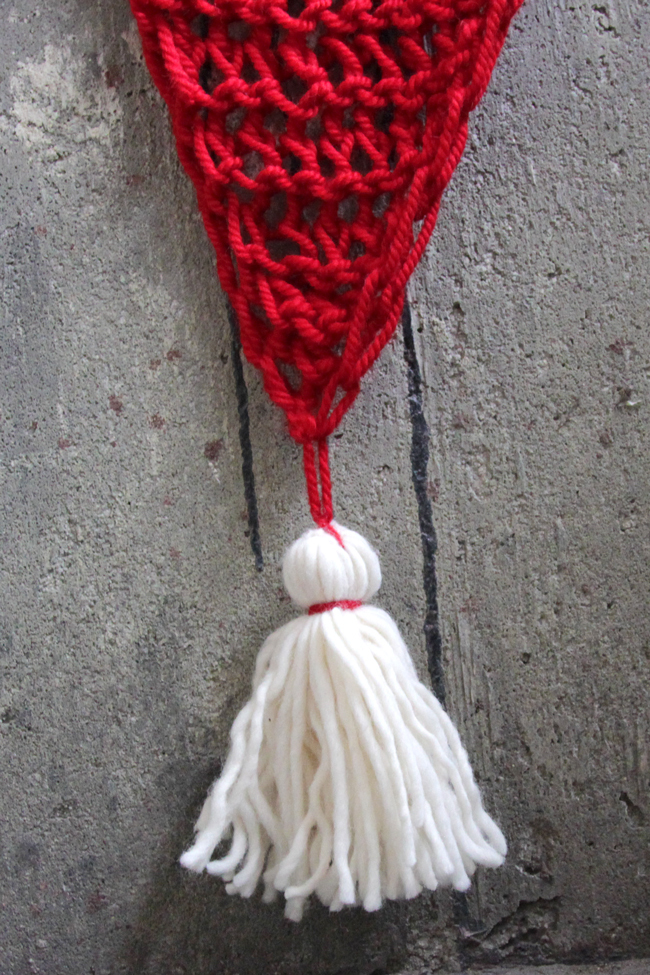
Finish your wall hanging by weaving in ends and, if you like, embellishing as shown with a bulky tassel. The tassel helps the drape of the wall hanging, but is totally optional.


 & shop new patterns


Heidi i am confused by PPSO! Help please
PPSO = Pass the Previous Stitch Over (similar to binding off) – I’ll add that to the abbreviations list now, apologies I missed it. :)