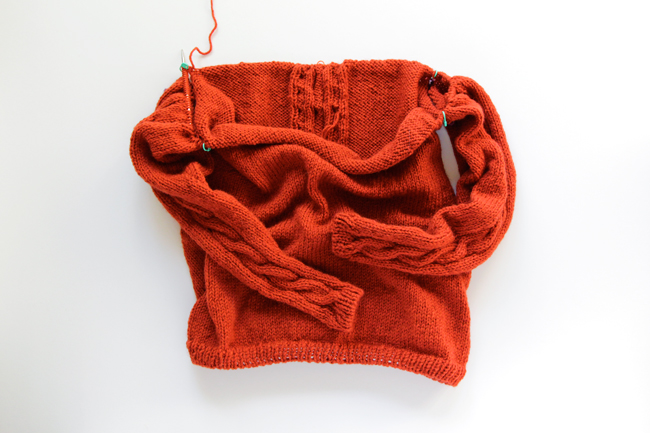
It’s sleeve attachment day! Today is the day your sweaters will start looking a LOT like sweaters, people! Despite how long this post is, attaching the sleeves really isn’t all that complicated. I just want to give you guys a thorough overview of the mechanics of how to attach bottom-up sweater sleeves. Since we’re dealing with math, words and photos (and a couple of animated GIFs, because I couldn’t help myself and do think they’re helpful), this post is long, but I think it really will help you understand sweater making! Let’s dive in, shall we?
knit along
Knit Along Day 3: The Other Sleeve
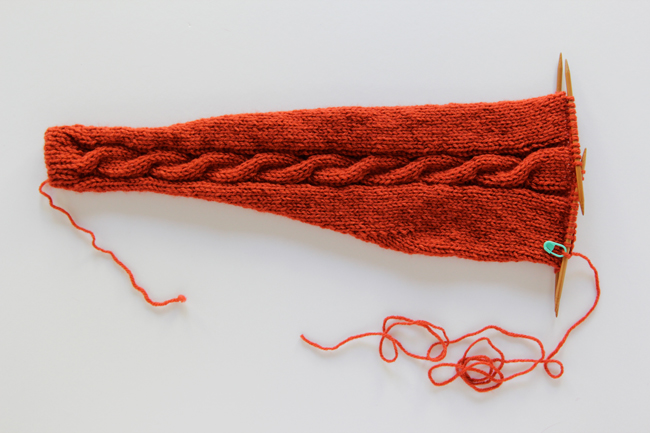
Last week’s installment of the fall knit along featured the pattern for the first sleeve for your Remy Pullover. This week is a bit of a repeat since it’s time for sleeve 2 of 2. There are a couple of variations you can do if you are a knitter who hates knitting things like mittens, socks and sweater sleeves. You know, projects that involve knitting things twice.
Knit Along Day 2: Sleeve time!
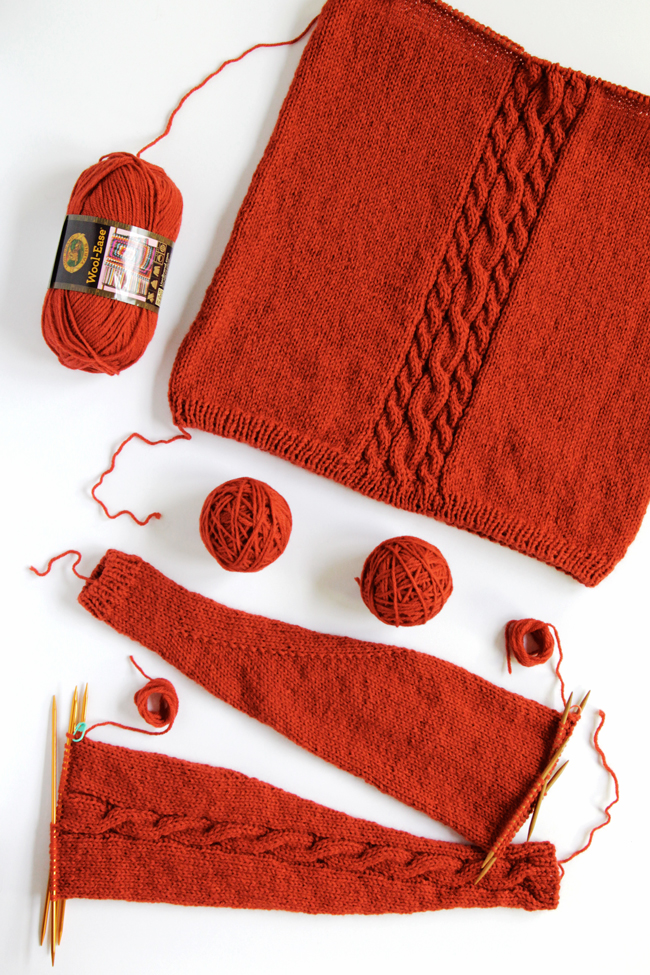
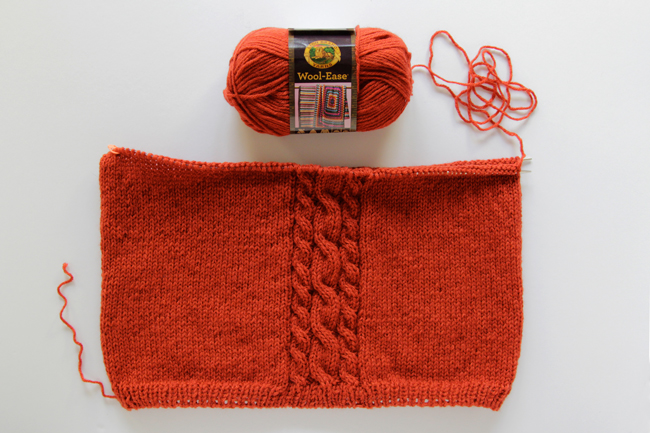
Great news! If you’ve finished knitting the body of your sweater, you’ve done the biggest chunk of knitting required for the whole Remy Pullover knit along! That’s one of the reasons I love bottom up sweaters – you get the biggest part of it out of the way first. :) Today is officially day 2, which makes it sleeve knitting time.
Knit Along Tips, Tricks & An Official Schedule
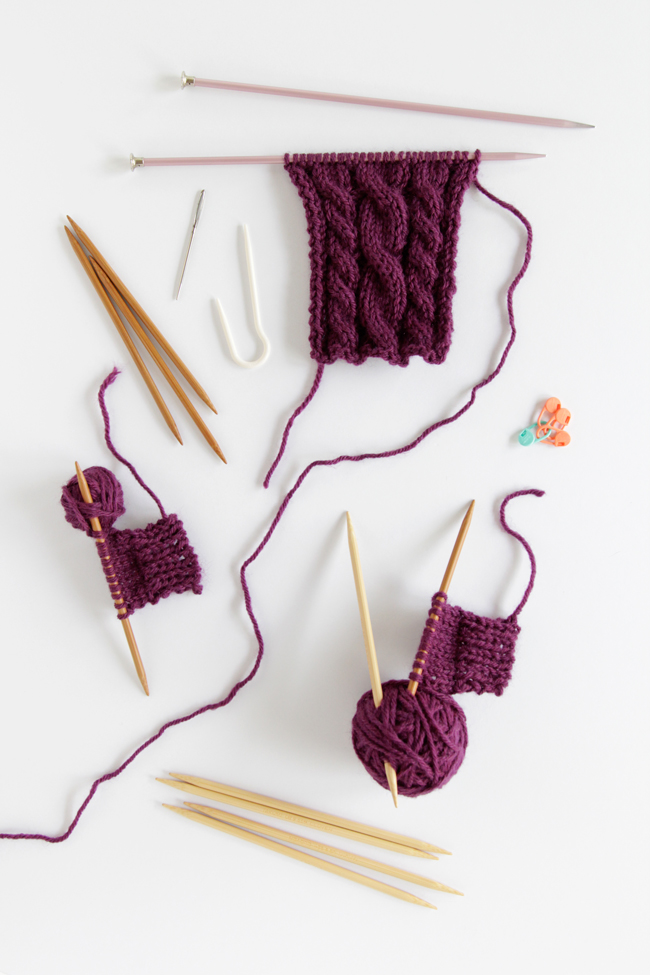
If you’re working on (or thinking about working on) the Remy Pullover for the fall knit along, the biggest chunk of knitting you’ll need to do is week 1, the body of the sweater. In case you’re just tuning in, you can check out the first week’s post and pattern and learn how to measure and calculate the perfect fit or your pullover. Today I want to share some tips and tricks for improving your knitting technique and, for knitters who might be scared of the cabling, how to knit cables!
Do the math, get the fit / Fall Knit Along Day 1
It’s here! The fall knit along (KAL) featuring the Remy Pullover casts on… today! For this sweater, you’ll need to be able to knit in the round, purl, knit decreases, cast on and cast off.
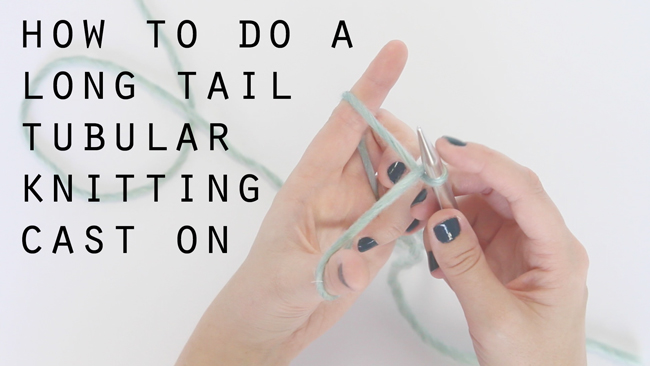
The Long Tail Tubular Cast On
In this year’s reader survey, you might remember I had a lot of questions about your thoughts on knitting and crochet video tutorials. An overwhelming number of you (77%) said you’d love to see them, so I’m happy to say I’ve got TWO videos to launch the renewed Hands Occupied YouTube channel. The videos show you how to make a long tail tubular cast on for a knitting project. The first video in this post shows how to do it right handed, and the second video shows the leftie version.
Shorty Socks / Knit Along Wrap Up
It’s been real, folks, but the first Hands Occupied knit along has come to a close. :( I had so much fun sharpening my knitting needles skills, making some new friends and finishing a couple pairs of socks during this process. Pictured today is my new Shorty Socks knitting pattern, made using the exact techniques shared in each step of the Knit Along.
Knit Along Day 5: The Toe!
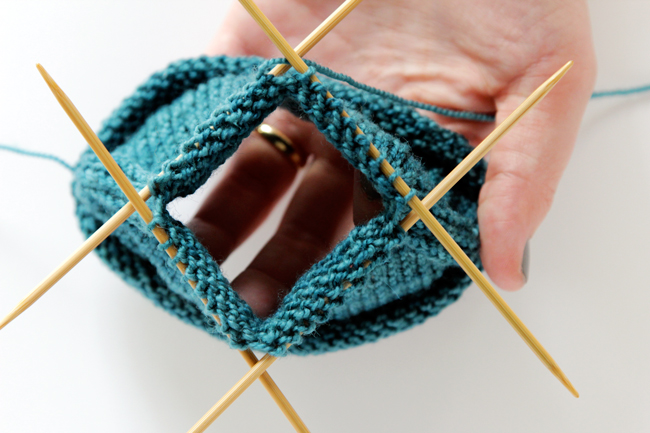
We’re in the home stretch, knitters!! Today I’m going to show you all how to do a toe decrease, which, surpriii-iiise!, is way easier that the parts of sock knitting you’ve already mastered. Aren’t you excited?
Knit Along Day 4: The Gusset
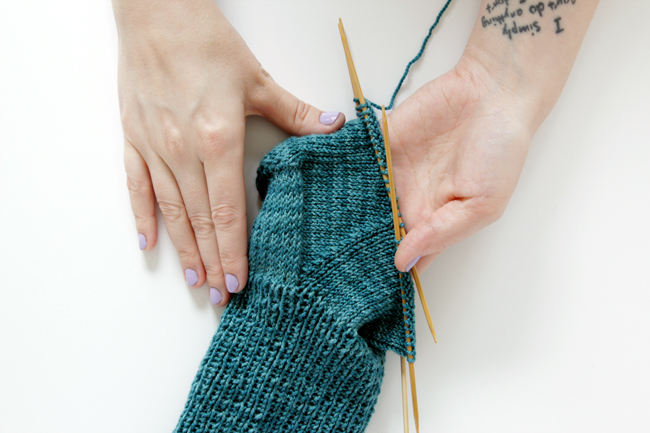
This is a gusset. While is has one of the weirdest names in knitting, the gusset isn’t all that weird. Gussets actually appear in other parts of clothing to help make them fit over the many curves of the human body. In socks, the shape being addressed is just the part of the foot that gradually narrows from where your ankle meets your foot to the size it should be to fit your arch.



 & shop new patterns


