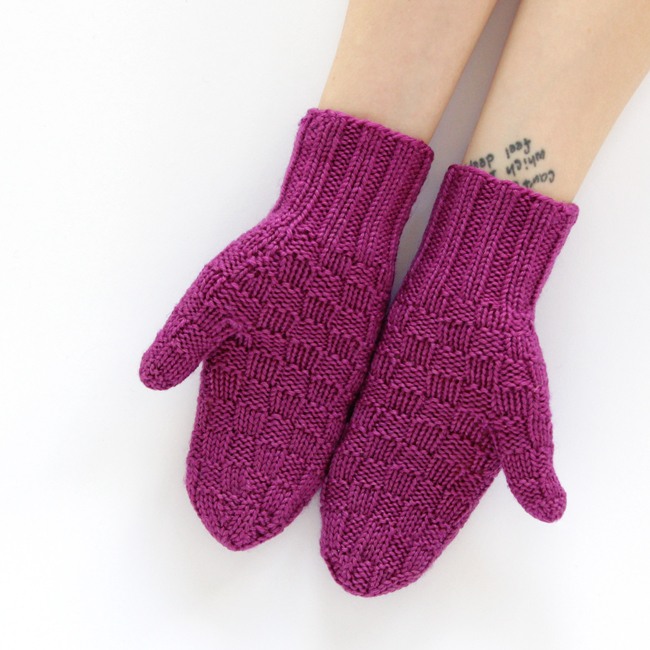
My grandmother knitted these mittens for my mom when she was a teen. When I was home for Christmas, my mom said I could have them, and I was obviously excited, particularly because my mom’s mom is the woman who taught me to knit. These are so special to have and I’m so glad that they happen to fit me as well! They’re really a sweet little set of mittens with a basic checked motif, and I absolutely love the color. The yarn feels like it’s mostly acrylic, which might be why they’re in such good shape. The icing on the cake is their fabulous color, which is probably thanks to their being made in the mid-70s. Trends in the 60s and 70s led to some really fantastic colors that you’d be hard pressed to come across in 2015.
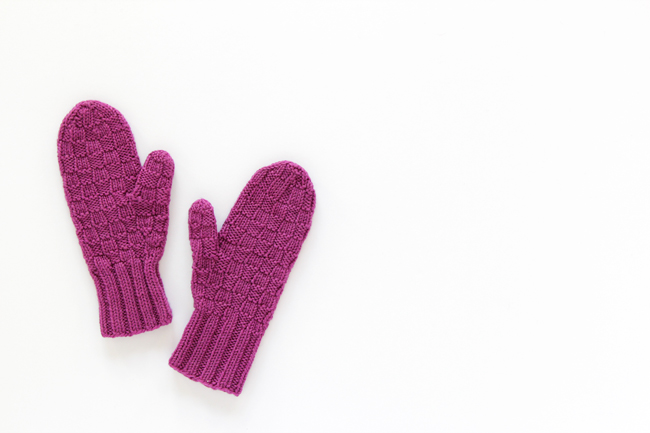
These checked mittens are great if you have relatively small hands or are making them for a teen. You can also experiment with a slightly larger yarn for a slightly larger mitten if you’re feeling adventurous or are confident in calculating your own gauge.
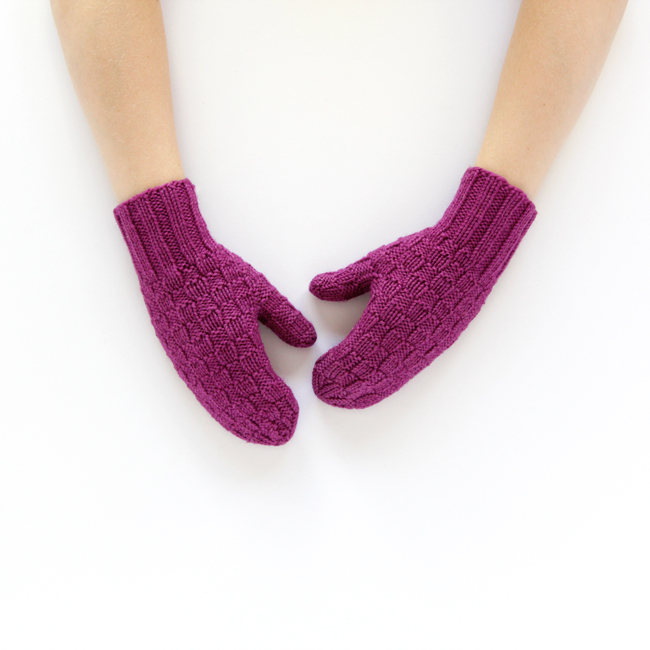
Vintage Checked Mittens Pattern
Gauge – approx. 6 sts/inch & 7 rows/inch
Supplies
sport weight yarn that works with the listed gauge
size 4 circular knitting needles or double pointed needles
stitch holder (scrap yarn or a safety pin works)
tapestry needle or crochet hook for weaving in ends
Abbreviations
CO – cast on
k – knit
p – purl
sts – stitches
k2tog – knit 2 stitches together
p2tog – purl 2 stitches together
kfb – knit front and back (tutorial)
m1 – make 1 (tutorial)
m1p – make 1 purl stitch (tutorial)
(x sts) – the number of stitches that should be in the row after an increase or decrease row
Pattern
Note: This was reverse engineered from the mittens shown, so some of the repeats are a little off and the increases used are a little less common than you might see in other mitten patterns today. Like many of the knit objects I’ve inherited from my grandmothers, these were likely just whipped up one day as a gift or fun little snow day project. I triple checked the math to make sure this pattern works and the increases/decreases are placed as symmetrically as possible around the mitten.
CO 36 sts
The cuff
1-23. k2, p2 aroundShape thumb gusset
24. kfb twice, (p3, k3) 5 times, p3, k1 (38 sts)
25-27. k4, (p3, k3) 5 times, p3, k1
28. p1, k6, (p3, k3) 5 times, p1
29. p1, k3, m1p, (k3, p3) 5 times, k3, p1, m1p (40 sts)
30. p1, k3, p1, (k3, p3) 5 times, k3, p2
31. k3, p1, m1p, p1, (k3, p3) 5 times, k3, p1, m1p, p1 (42 sts)
32-34. (p3, k3) 7 times
35. p3, k2, m1, k1, (p3, k3) 5 times, p3, k2, m1, k1 (44 sts)
36-39. k3, p4, (k3, p3) 5 times, k3, p4
40. Place 7 sts on a stitch holder. (p3, k3) 6 times, then add last st to holder. (36 sts remain for working mitten body)Knit body of mitten and reduce for fingertips
41-43. (p3, k3) 6 times
44-46. (k3, p3) 6 times
47-49. (p3, k3) 6 times
50-55. Repeat rows 44 through 49 once again.
56-58. Repeat rows 44-46.
59. (k2, k2tog, p2) 6 times (30 sts)
60. (p3, k2) 6 times
61. (p1, p2tog, k2) 6 times (24 sts)
62. (p2, k2) 6 times
63. (p2, k2tog) 6 times (18 sts)
64. (p2, k1) 6 times
65. (p2tog, k1) 6 times (12 sts)Break yarn and draw tail through. Weave in tail to finish.
Knit the thumb
Pick up 8 sts from holder and pick up 7 additional sts. (15 sts)
1-4. (k3, p3) twice, k3
5-8. (p3, k3) twice, p3
9-12. Repeat rows 1-4.
13. (p1, p2tog, k1, k2tog) twice, p1, p2tog (10 sts)
14. (p2, k2) twice, p2
15. (p2tog, k2tog) twice, p2tog (5 sts)Break yarn and draw tail through. Weave in all ends to finish.



 & shop new patterns


These are so cute! Thank you for sharing your instructions. I particularly like the continued pattern on the thumbs. Isn’t the heritage of knitting wonderful?! Might be a bit snug for my medium hands so will use worsted weight yarn to up the gauge. Thanks again. Judy