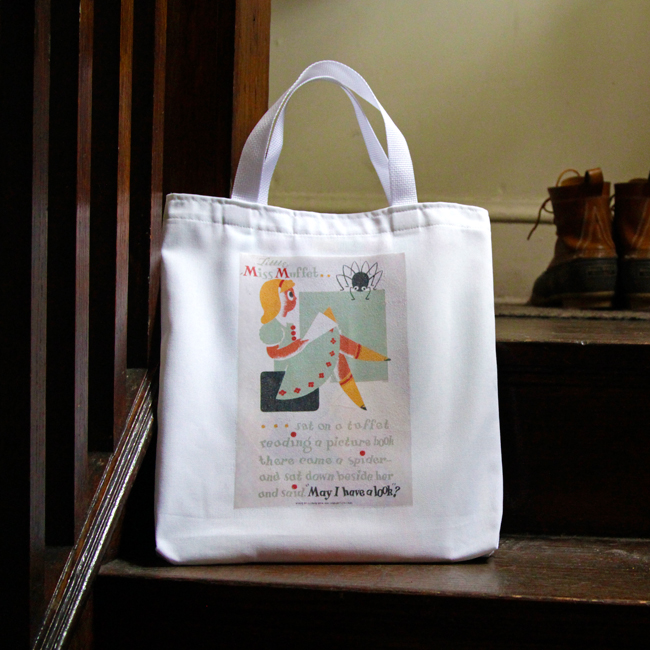
I am mildly obsessed with vintage ads, and in particular the work done for the Works Progress Administration after World War II. They’re really inspiring to look at, and they make excellent wall art, but sometimes finding big enough copies of images is hard. Lots of web searches yield images that are only like 250 pixels and compressed practically beyond recognition. So where did I find the adorable WPA poster to make this tote?
My new favorite source for vintage images is called Vintagerio. It’s also my favorite place to spend hours drooling over and getting inspired by vintage ads, propaganda, vintage greeting cards, foreign vintage art and illustrations. Vintagerio’s incredible collection of thousands of high quality vintage images is perfect for vintage lovers and DIYers looking for images to craft with. The best part is that their library includes a lot of images I haven’t seen a million places before. Today, I’m sharing just one idea for how to use a vintage image in a DIY, but the possibilities are endless.
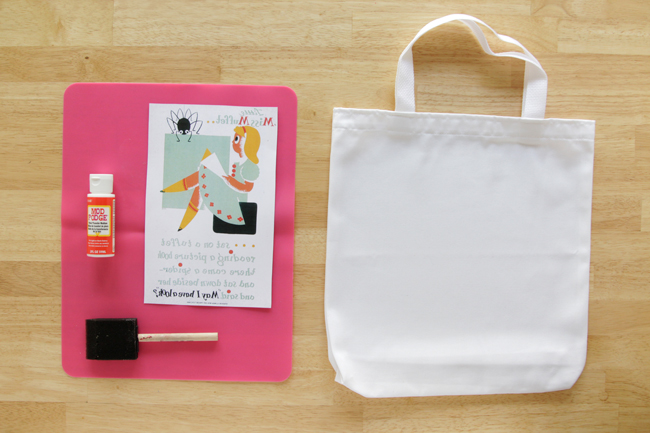
Supplies
blank tote bag
Mod Podge image transfer
sponge brush
waxed paper or silicon craft mat
vintage image from Vintagerio
scissors
washcloth
a sink
Directions
phase 1: prep
Download your favorite Vintagerio image (my two biblio-picks: miss muffet & use your library). Using photo editing software or a free site like Pixlr, flip your image horizontally, particularly if it’s got text on it. If you don’t flip it, the text will read backwards when it’s transferred.
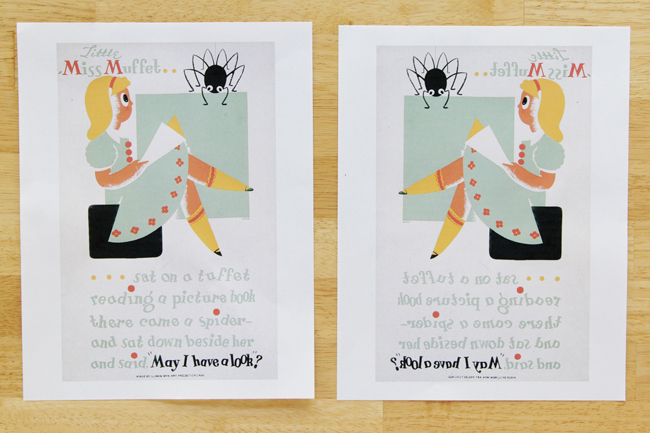
Print your reversed image on a laser printer. Most home printers are inkjet, which doesn’t work with Mod Podge image transfer formula. (I got my image printed at my local shipping store.) Next, cut away excess paper from your print out, and prep your tote bag by washing, drying and ironing it.
phase 2: transfer your image
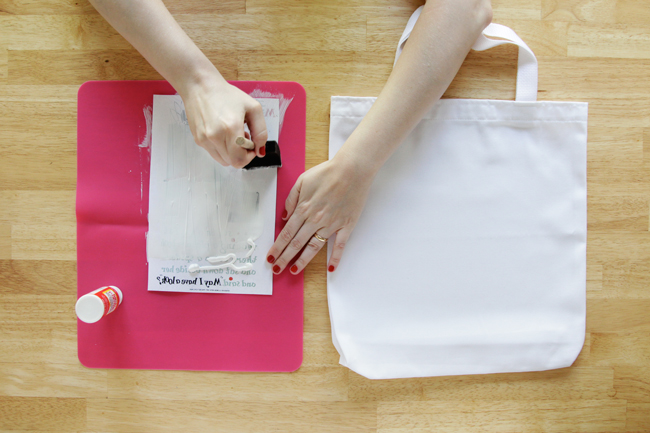
Apply a very generous layer of Mod Podge image transfer formula to the ink side of your image with a sponge brush, covering it all in about a 1/16″ layer, all the way to the edges. You should work on waxed paper or a silicon craft mat so you can spread your Mod Podge past your image and onto your work surface.
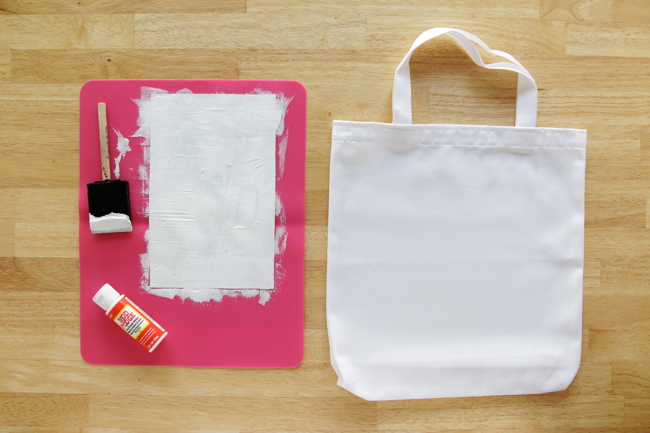
Carefully lift your Podged image from your work surface and center it on your tote bag. Put a piece of cardboard or an old magazine inside your tote so the Podge doesn’t seep through to the back of the bag, gluing it shut.
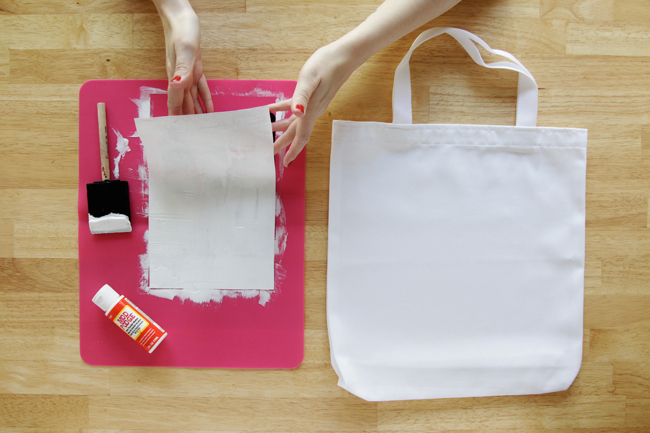
Press down on your image, ensuring there are no bubbles and that the whole image, including the edges, are pressed into the tote.
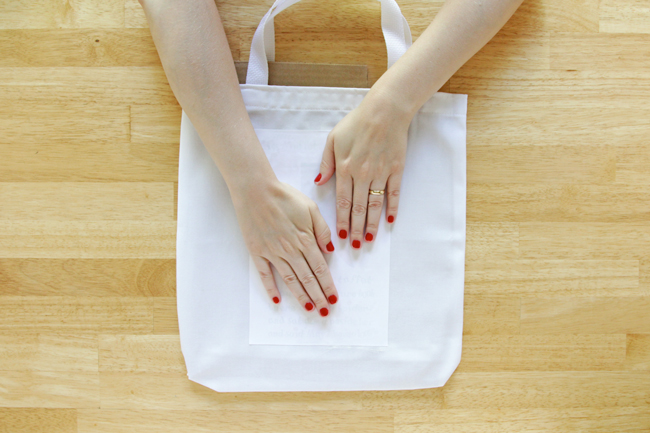
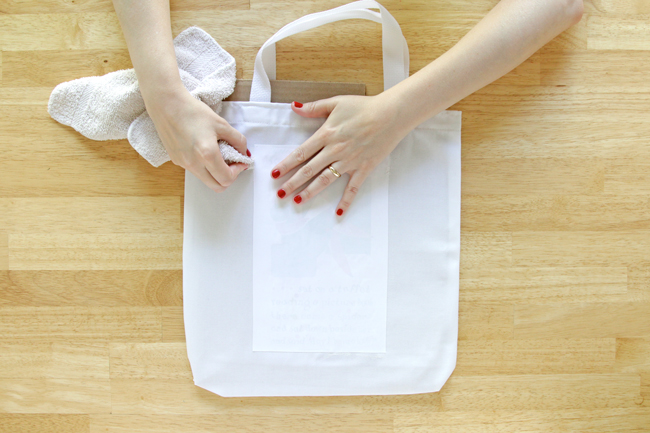
If some of the Podge leaks out of the edges, use a damp rag to wipe it up while it’s still wet. When your image is all pressed down, let dry for 24 hours.
phase 3: removing the paper
Before you get to work the next day, double check that your Podge has dried 100%. If it has, get a small bowl of water and a rag or washcloth. Dampen your paper thoroughly.
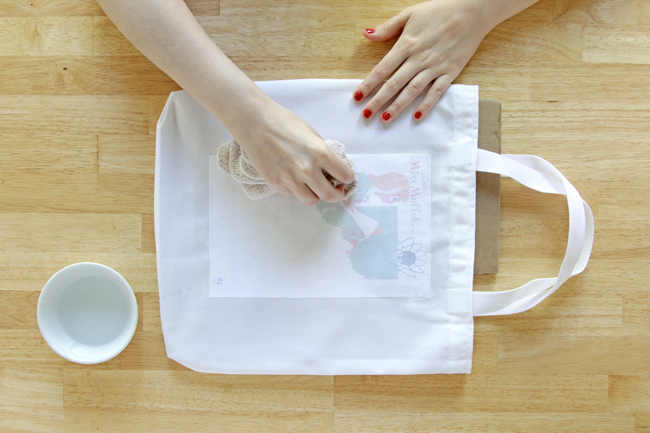
Rub off the paper with your damp cloth, working in circles to break it down. The paper will begin peeling off, as shown.
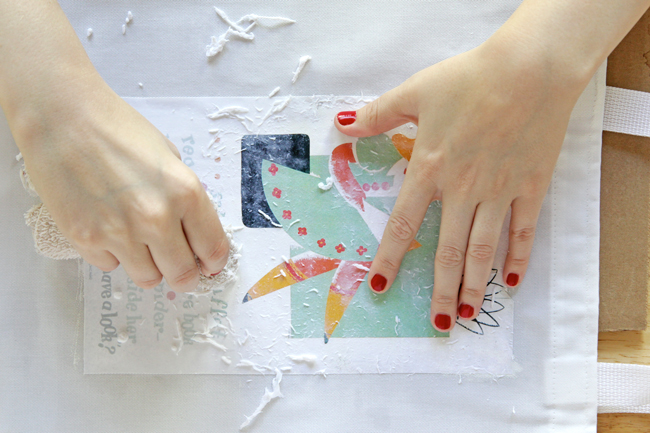
When you think most of your paper is removed, I recommend rinsing off the little pieces of paper and continuing to rub off the paper a little more. If not all of the paper is removed, your image will look a little like you’re looking though a film when it’s dry.
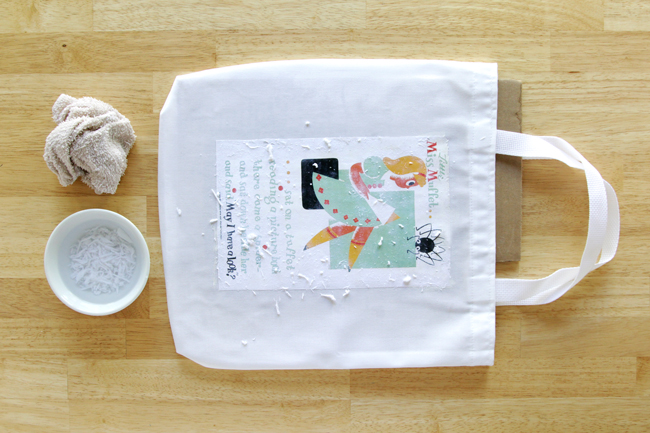
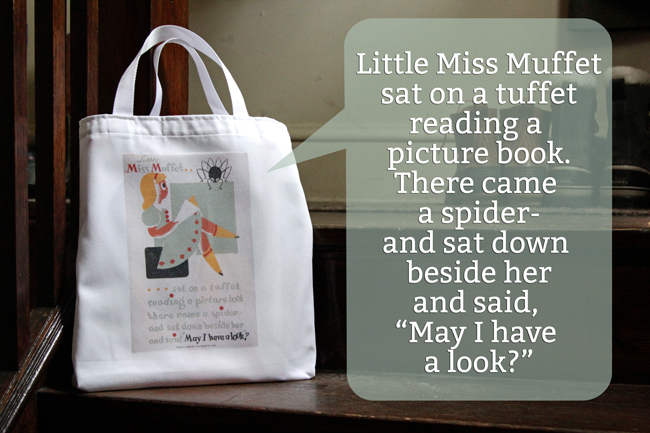
It took me a few rounds to get all of the paper off completely, but I love the finished tote!
This post was brought to you by Vintagerio, who I’d like to thank for supporting Hands Occupied and being a true pleasure to collaborate with.
—
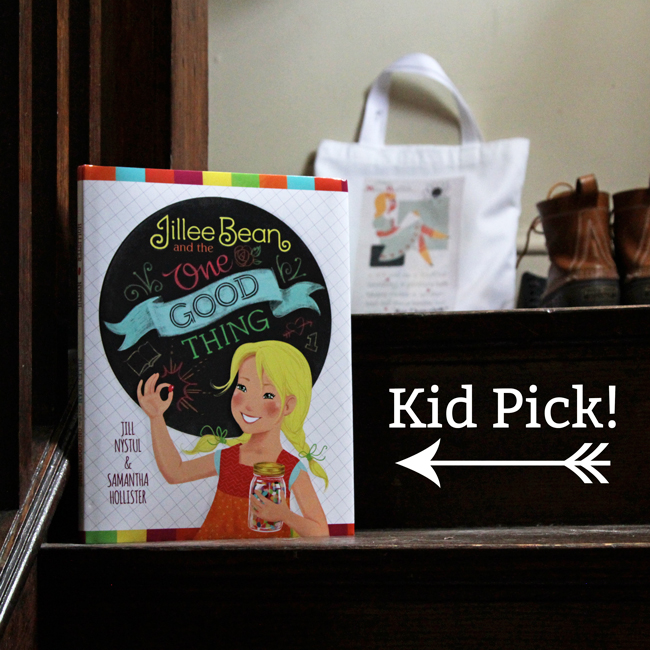
PS: This tote is the perfect size for children’s books, and in mine is my buddy Jillee’s new children’s book, Jillee Bean and the One Good Thing. It teaches kids about the value of doing small kindnesses, and that kindness can be just as rewarding as a sports trophy or perfect grades.




 & shop new patterns


[…] See it HERE! […]