Intarsia knitting often leaves us with a few (or a lot) of ends to weave in. Weaving in an end incorrectly can leave you with little eyelet-looking holes where new colors are joined. And weaving in an end in the wrong place can result in a too-bulky appearance on the right side, affecting the appearance of the finished design.
In intarsia knitting, good tension is the key to achieving a correct looking finished design – that is to say, not squished or stretched. Good tension comes from knitting yourself a large gauge swatch and blocking it to confirm you’re knitting the correct amount of stitches and rows per inch. Good intarsia tension also comes from a couple more things: good technique when you’re working an intarsia join, and correctly/thoughtfully/carefully weaving in your ends.
This blog post & YouTube tutorial are about weaving in intarsia ends, but If you’re looking for tips for working better intarsia joins, that’s right here.
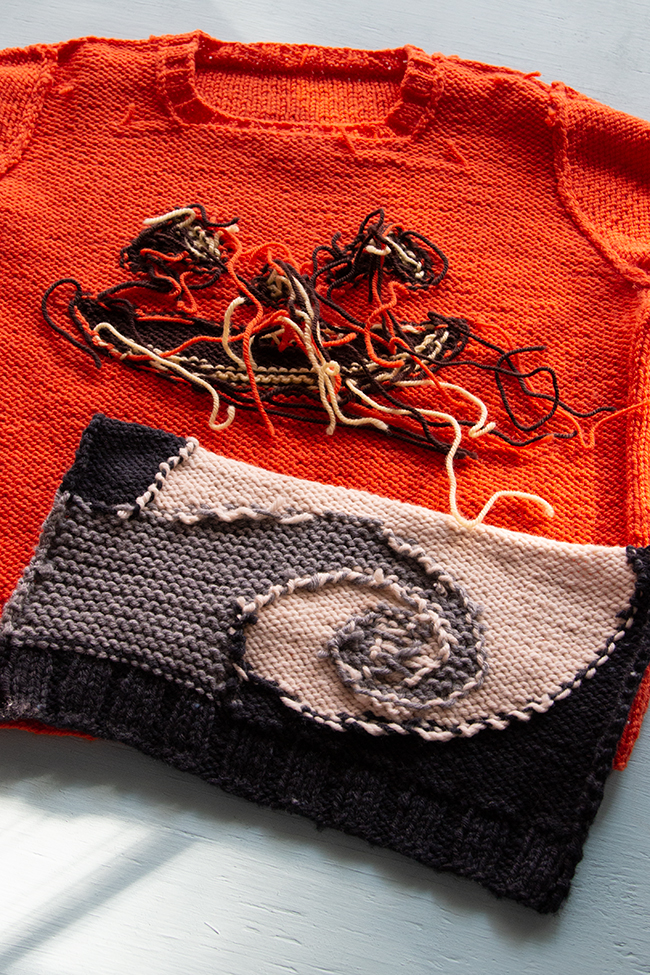
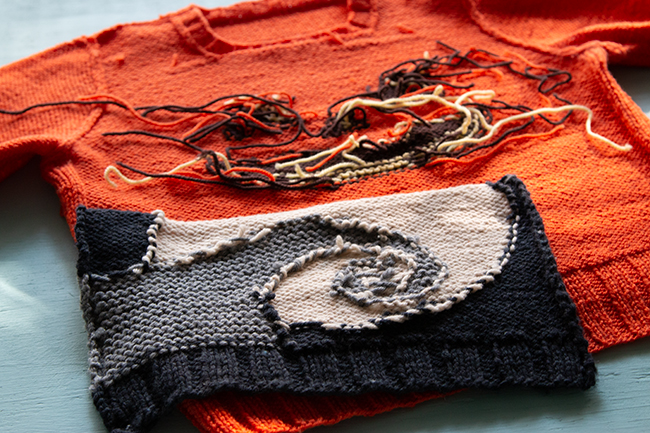
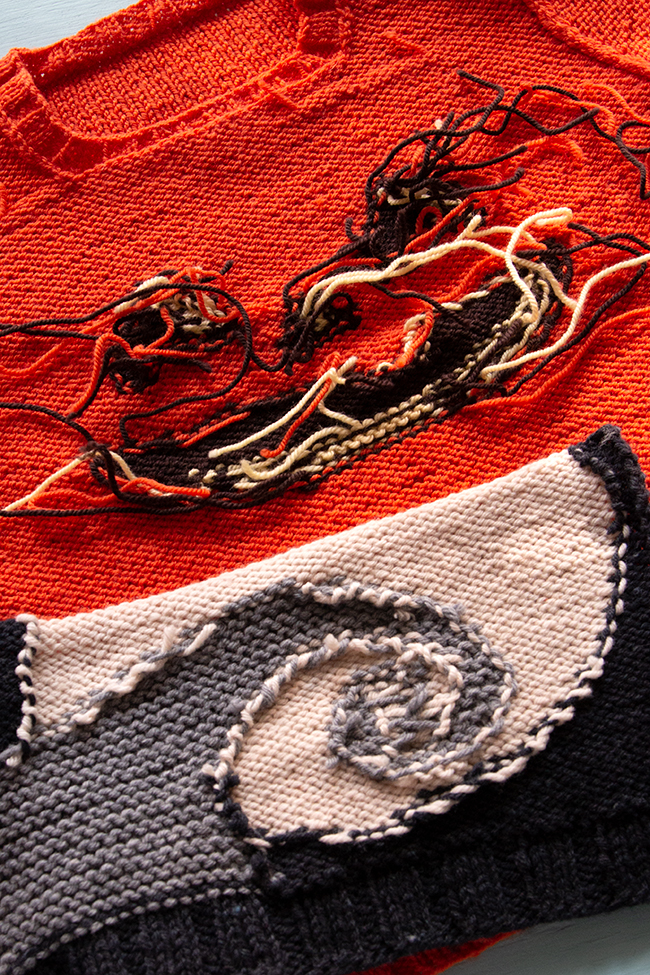
I talk about this more in the video embedded in this post, but I want to begin by saying you don’t have to be hyper meticulous with every little end you’re weaving in (unless you want to be). When I’m not making samples for publication or photography, I try to remember that finishing something is better than it sitting perfect and unfinished forever. (Spoiler alert: if you watch this post’s video, you’ll see me confess to not having woven in ends on the pictured pumpkin sweater that I made FOUR years ago. It happens!) That being said, I strive to make samples for public consumption as polished as possible. As a result, I’ve gotten pretty good at garment finishing and blocking.
Tips for weaving in ends to achieve clean looking intarsia:
- weave in ends at joins or edges whenever you can
- duplicate stitch can be used to weave in ends, but it can add bulk
- sometimes the added bulk of duplicate stitch can be used to “fill out” a loose stitch as you weave in ends
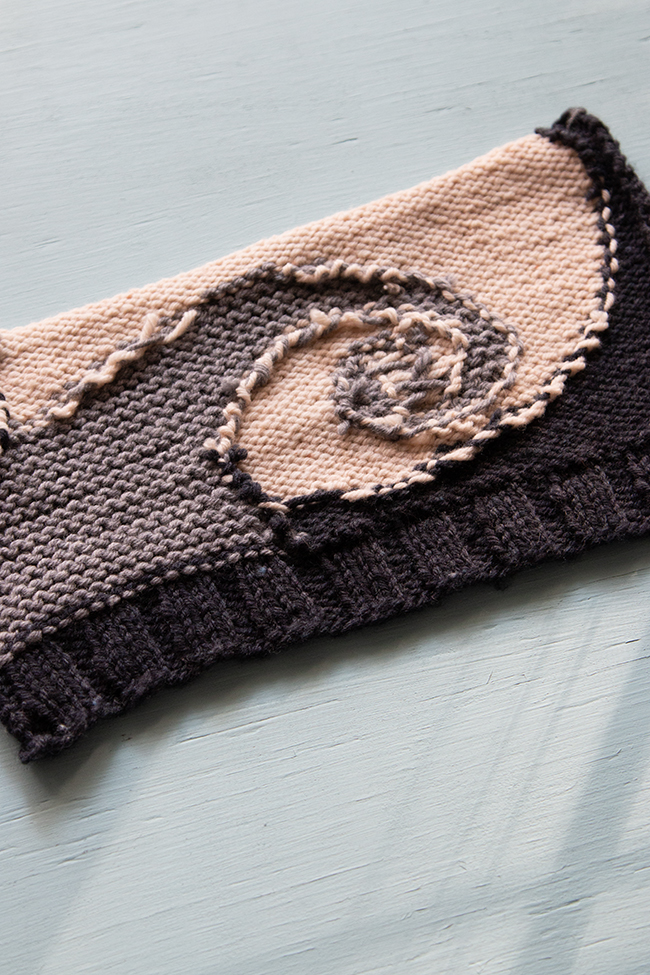
- weaving in intarsia ends at joins works best with whip stitch (and looks a little like candy canes, bonus!)
- when you weave in an intarsia end at a color join, don’t forget to interlock the tail like an intarsia join to avoid holes in your finished knit
- if you weave your ends in the wrong direction, they can not only affect finished tension, but they also can have a horseshoe (open bottom) shape rather than a teardrop (closed bottom) shape
- Don’t weave too many ends into the same intarsia joins/floats. 2-3 (maximum) ends should be woven into the same places.
Weaving in Ends: Tips for Intarsia – video tutorial
In the video, I go a little more in depth on each of the tips above, explaining as well as demonstrating what (the heck 


 & shop new patterns


Leave a Reply