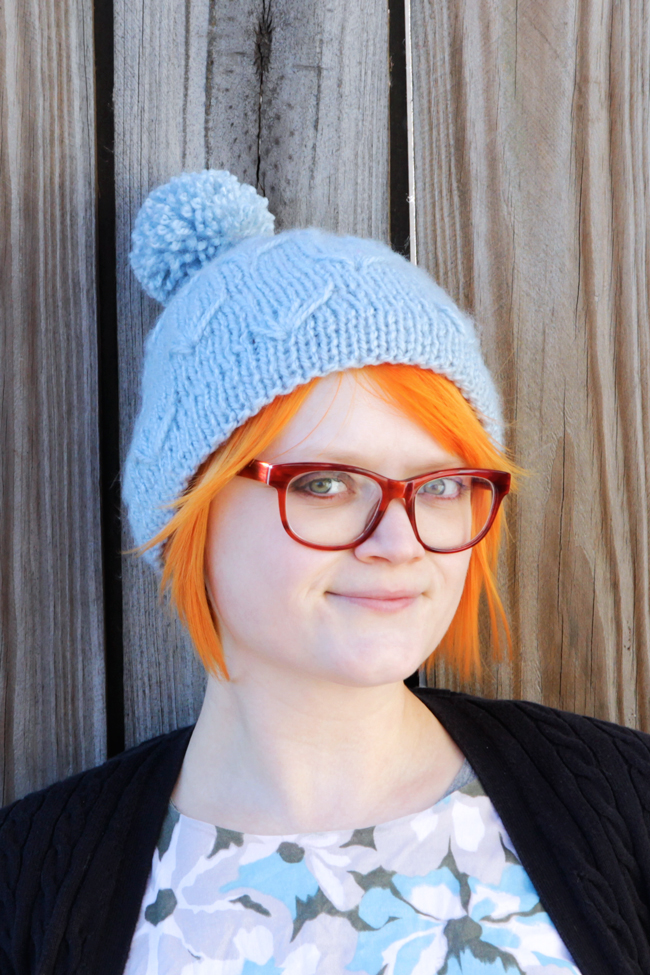
With winter settling in for the season, it feels like about the time to knit up a quick little hat to tide me over through the end of the year. This hat is warm, but won’t make your head sweat on milder early winter days. I’ve also been wanting to play around with knitting hats better sized to my my rather small head (don’t worry, I designed this hat in a standard women’s size as well), and the gauge of this yarn and the motif used throughout the hat patterned perfectly to the two sizes.
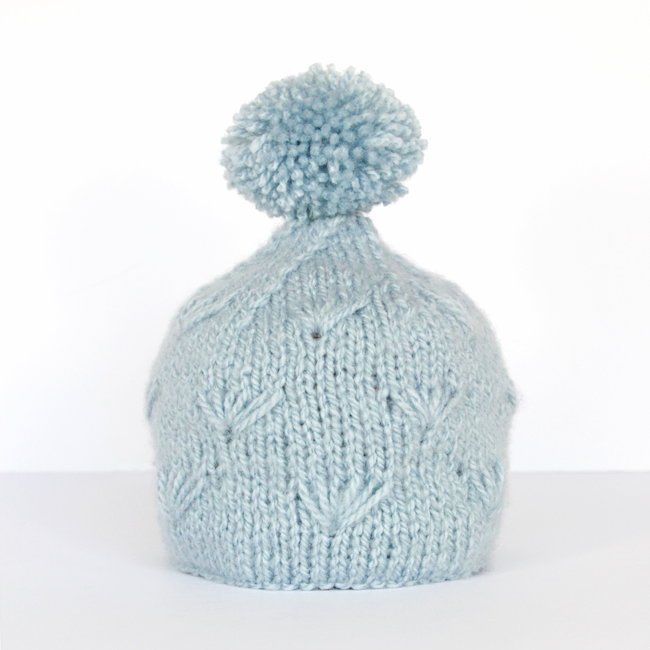
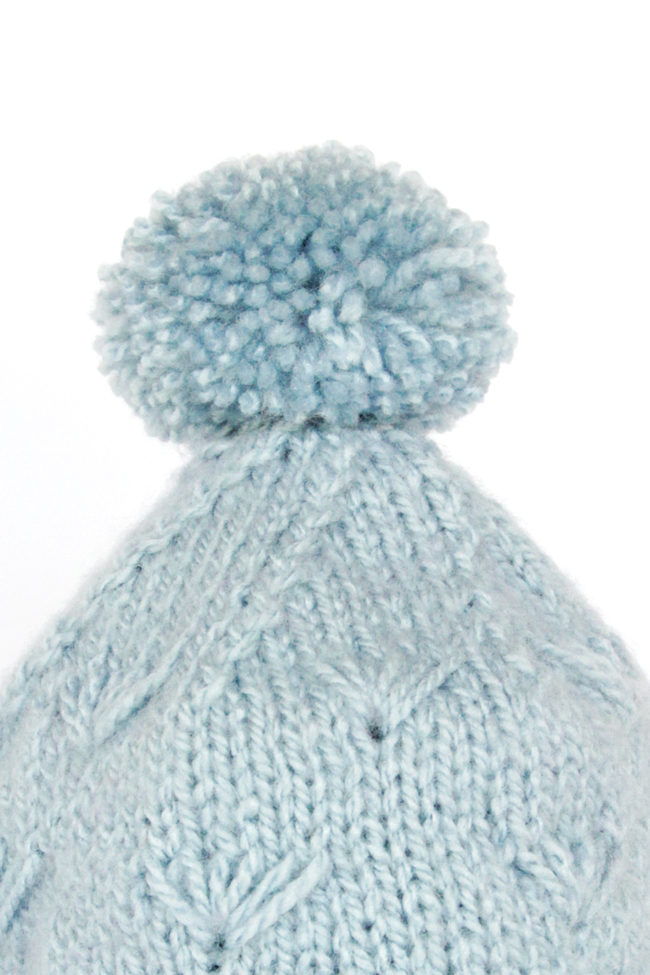
Speaking of the motif used, I’ve seen it most often called a daisy motif, but I think it looks like sea shells or fans. The sea shell effect coupled with the nice, icy light blue yarn were why I gave this hat its name, the Winter Sea Stocking Cap. Plus, I feel like it’s just warm enough (again, without making you too hot) for a winter beach walk.
A note on the daisy motif
The instructions for how to work the daisy motif are described in the patten below. However, this stitch isn’t crazy common, so I shot left and right-handed videos for how to work the stitch that I’ll be posting later this week. I came across the stitch in the 1979 edition of the Reader’s Digest Complete Guide to Needlework, in case you’ve got that lying around for reference. :)
The Pattern
Yarn: Lion Brand Jiffy in Sky
Gauge: 4 rows/inch, 3 stitches/inch on size 10 needles
Supplies
1 skein Lion Brand Jiffy
size 10 needles
stitch marker
scissors
2.5 inch pom pom maker (or the supplies to DIY one)
tapestry needle
crochet hook (optional)
Abbreviations
sts – stitches
CO – cast on
k – knit
p – purl
k2tog – k 2 sts together
rnd – round
[ ] – repeat from [ to ] around until listed sts remain
( ) – indicates set of sts to be repeated, not unlike [ ]
(x/y sts) – parenthesis in bold with sts listed indicate the number of sts that should now be in each rnd. Sts listed in the x position indicate the number of sts for the smaller size, y indicates number of sts in larger size
make daisy – Insert needle in loop 3 rows below second st on left* needle, draw up loop, k2, draw up loop through the same st, k2, draw up loop through the same st
*If you are left handed, you’ll be knitting through the loop three rows below the second st on the right needle.
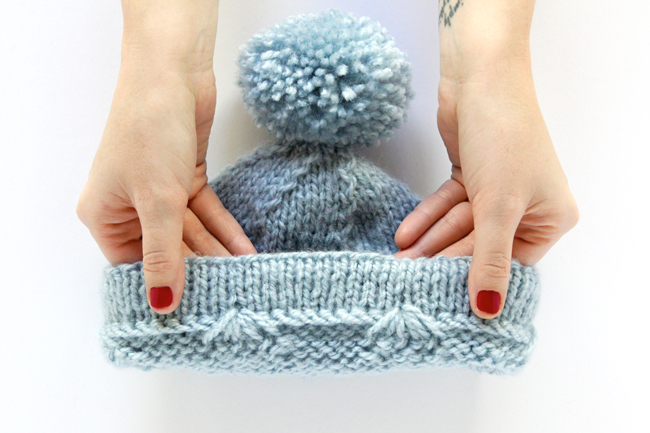
folded hem – If you’re new to folded hems, here’s a great tutorial for the technique I used in this pattern.
Sizing
See this chart for common hat knitting sizes.
60 sts = approx. 19.333 inch head circumference / teen hat or women’s XS hat
70 sts = approx. 22.666 inch / standard adult woman size
CO a multiple of 10 sts & join into a round, marking the beginning of the round with a stitch marker
rnd 1-6. k
7. p
8-13. k
14. k, forming a folded hem15. k
16. k3, make daisy, [k6, make daisy], k3
17. k3, [(k2tog, k1) twice, k2tog, k5], (k2tog, k1) twice, k2tog, k2
18-23. k
24. k7, [k1, make daisy, k5], k1, make daisy**, k1
**You’ll make this daisy over the end of rnd 24 and the beginning of rnd 25. Just move your stitch marker as you work.
25. You’ll already be 3 sts into this rnd. [(k5, k2tog, k1) twice, k2tog] around
26-31. k
32. k3, make daisy, [k2, k2tog, k2, make daisy], k2, k2tog using last st of rnd 32 & first st of rnd 33 (There are now 54/64 sts per rnd.)
33. place stitch marker, k2, [(k2tog, k1) twice, k2tog, k4], k2
34. k8, k2tog, [k7, k2tog], k2tog with last st of rnd 34 & first st of rnd 35 (48/58 sts)
35. place stitch marker, k around
36. k7, k2tog, [k6, k2tog], k2tog with last st of rnd 36 & first st of rnd 37 (42/52 sts)
37. place stitch marker, k around
38. k6, k2tog, [k5, k2tog], k2tog with last st of rnd 38 & first st of rnd 39 (36/46 sts)
39. place stitch marker, k around
40. k5, k2tog, [k4, k2tog], k2tog with last st of rnd 40 & first st of rnd 41 (30/40 sts)
41. place stitch marker, k around
42. k4, k2tog, [k3, k2tog], k2tog with last st of rnd 42 & first st of rnd 43 (24/34 sts)
43. place stitch marker, k around
44. k3, k2tog, [k2, k2tog], k2tog with last st of rnd 44 & first st of rnd 45 (18/28 sts)
45. place stitch marker, k around
46. k2, k2tog, [k1, k2tog], k2tog with last st of rnd 46 & first st of rnd 47 (12/22 sts)
47. place stitch marker, k around
48. k1, k2tog, [k2tog], k2tog with last st of rnd 48 & first st of rnd 49 (6/16 sts)The smaller size is done. If you’re knitting the smaller size, break yarn, draw tail through remaining loops & weave in ends. If you’re knitting the larger size, continue.
49. place stitch marker, k around
50. k2tog until 6 sts remain (6 sts)
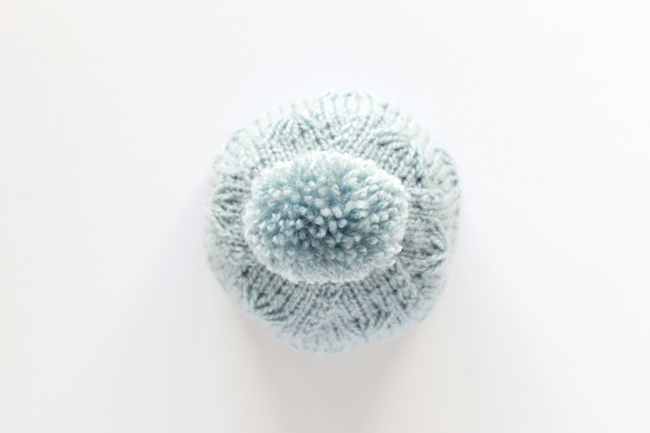
Break yarn, draw tail through remaining loops & weave in ends. Make a 2.5 inch diameter pom pom and attach it to the tip of the hat, sewing to secure.
This hat knits up really easily in a sitting or two, which means you’ll have enough time to knit a couple of these for holiday gifts if you’re still looking for some cute & quick patterns!


Adorableeeee!!! love the hat and your hair! super cute pictures
Love it! Your so talented. I am making one of your baby blankets for my new upcoming grandchild! Thanks.
Love the hat but at the end of row 25, I have 74 stitches. I’ve done it twice but end up the same. Is this right?
Hi Nancy! Glad to have you here. :) How many stitches did you cast on initially? -Heidi
I just bought the yarn to make 3 hats!
casting on soon. which cast on method did you use?
I’m glad you asked! I used the old Norwegian sock cast on. It’s really similar to the long tail but it has a twist for added stretch. :)